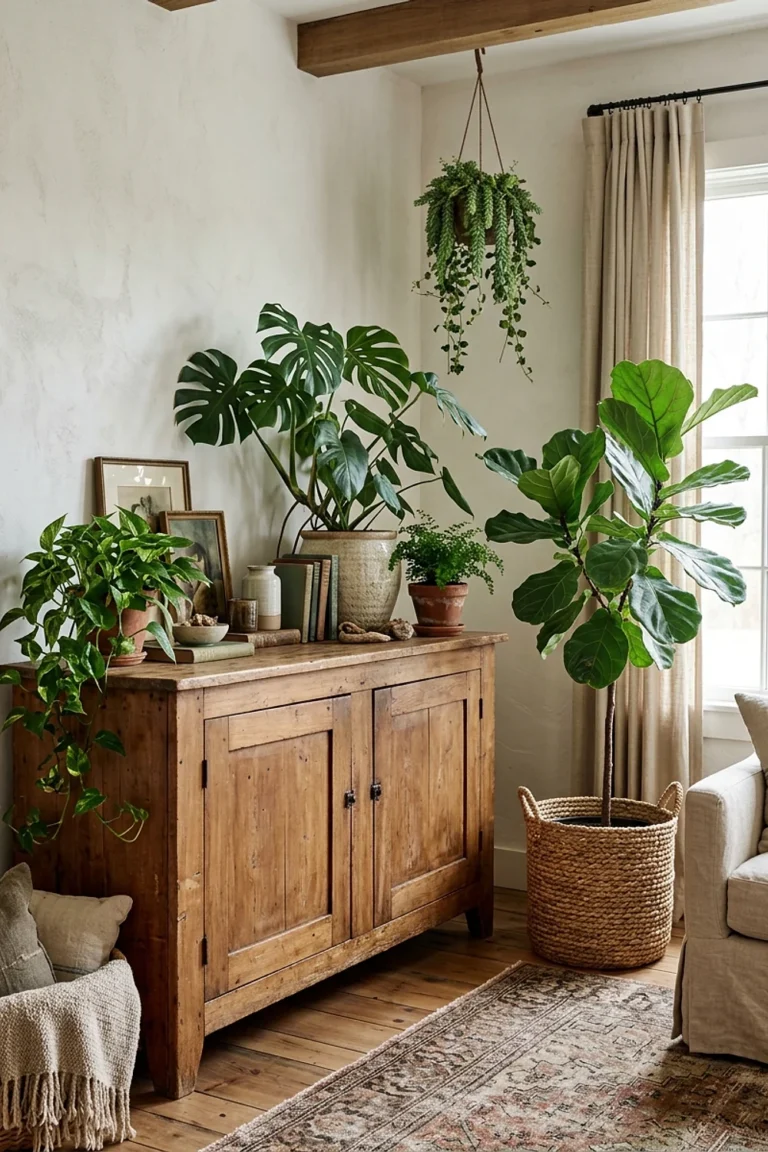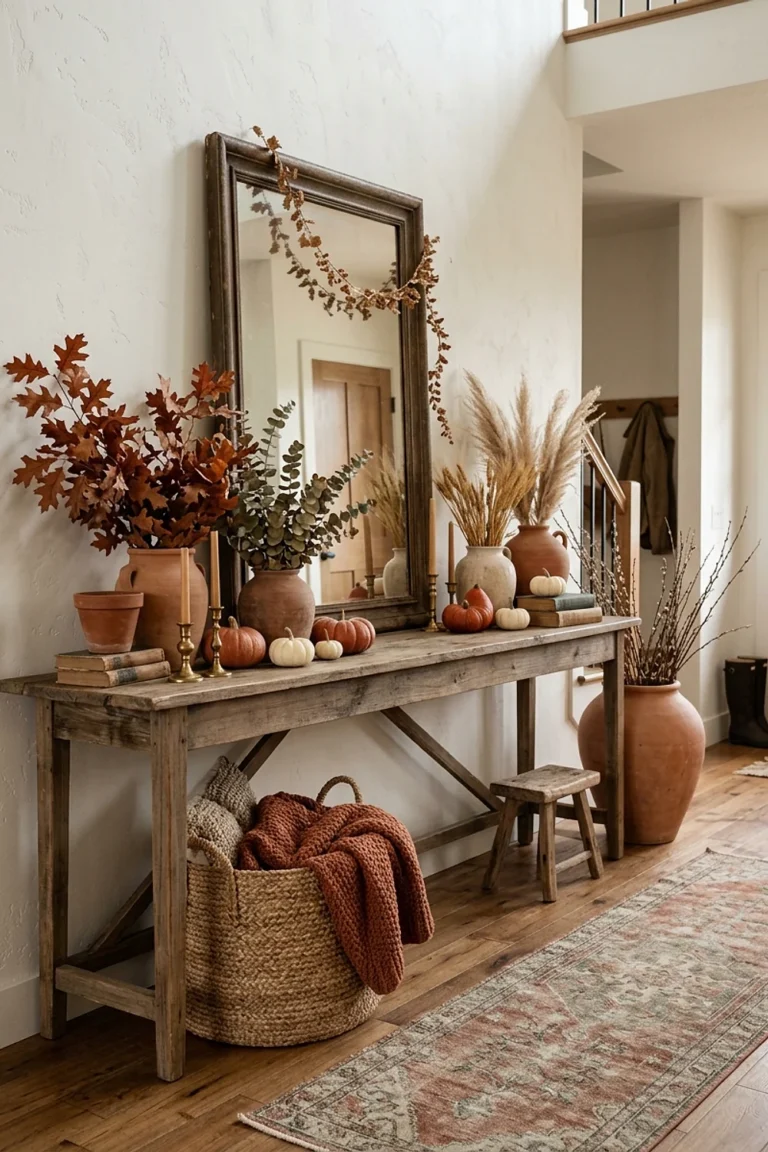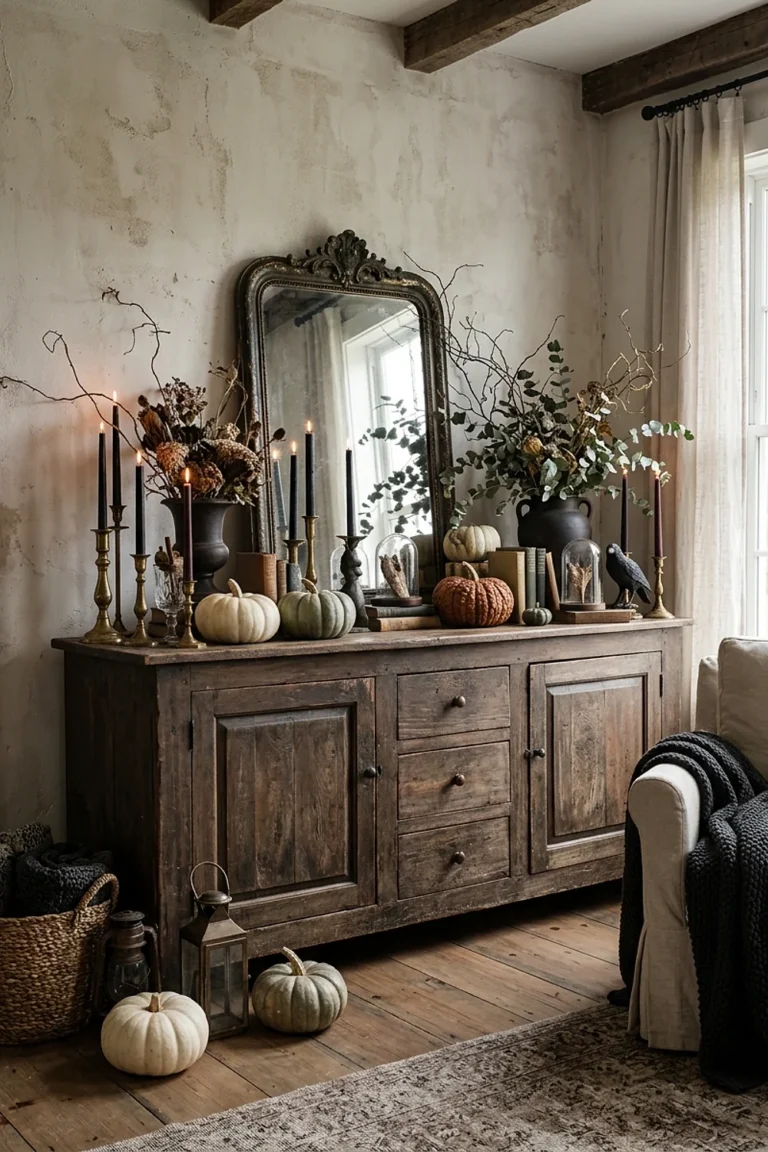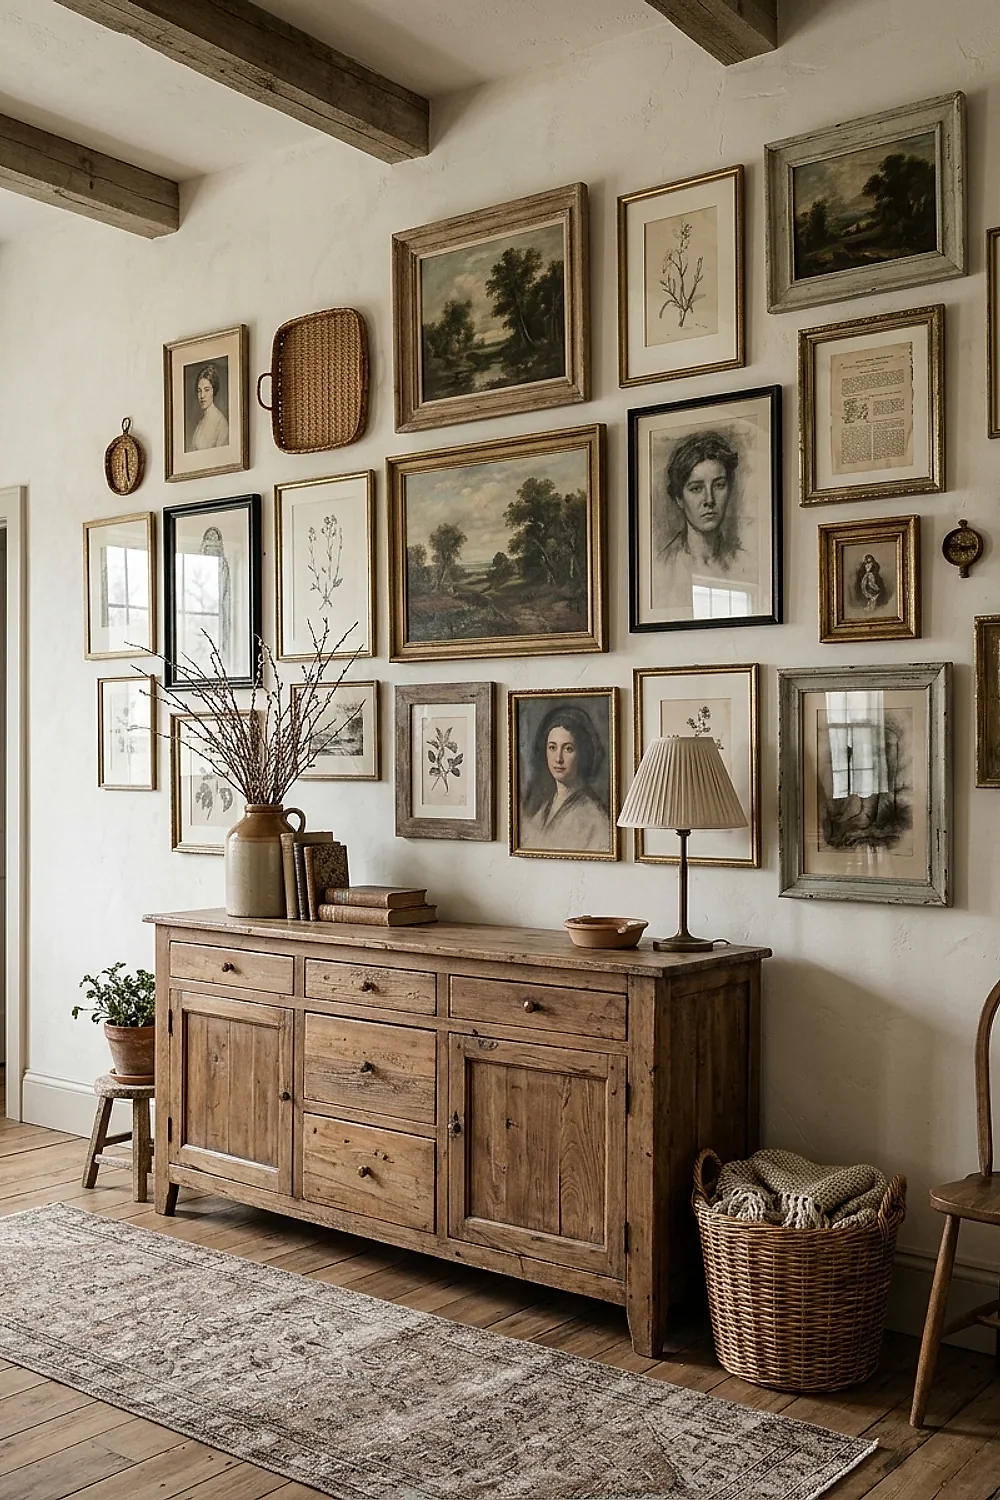
A $47 budget and one bare 52-inch stretch of wall is enough to get started with these 30 gallery wall ideas for Every Room. Each idea is tied to a specific room, with the frame sizes, spacing, and traps that decide whether a wall looks collected or chaotic.
Skim the headings to find your room, or read straight through. The measurements carry over almost anywhere, and the layout tips after item 30 will save a few nail holes.
30 gallery wall ideas for Every Room: The vision board
1. Nine matching frames in a tight grid above the sofa
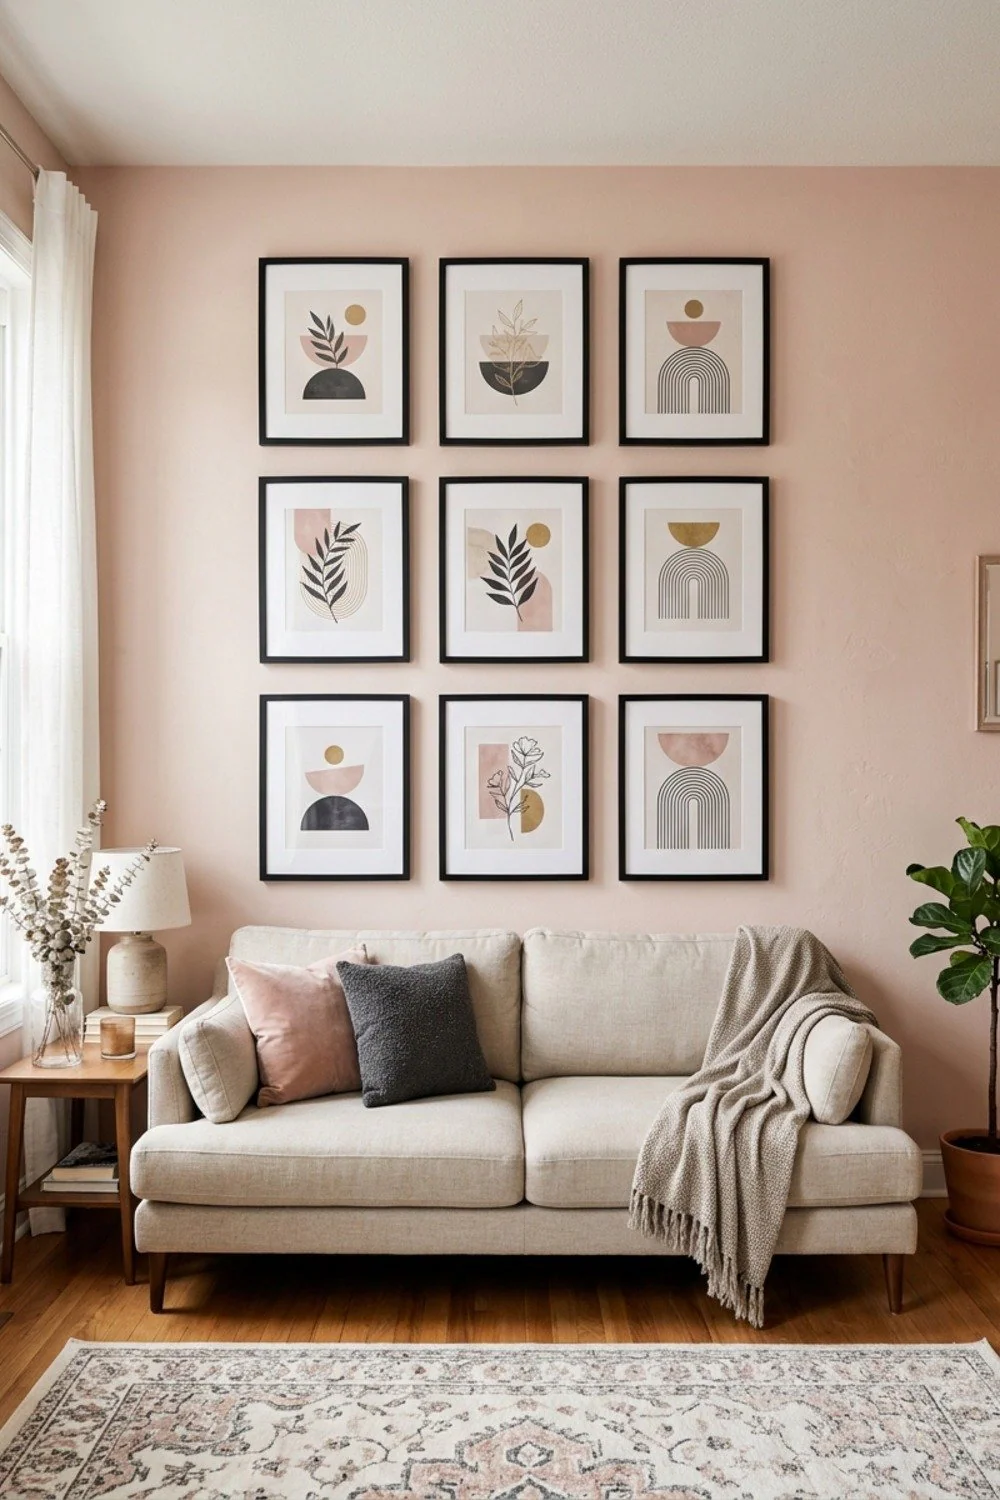
Black oak frames, 16×16 inches each with 2-inch gaps, form a 52-inch square that reads as one big piece of art. Real wood moulding matters here. Thin plastic bows over time, and a grid depends on dead-straight edges.
This suits a rental with a plain sofa wall and a modest budget. At roughly $19 a frame, the total lands near $171. Check that every mat opening is identical, because a quarter-inch difference jumps out in a grid.
2. A staggered cluster lit by plug-in picture lights
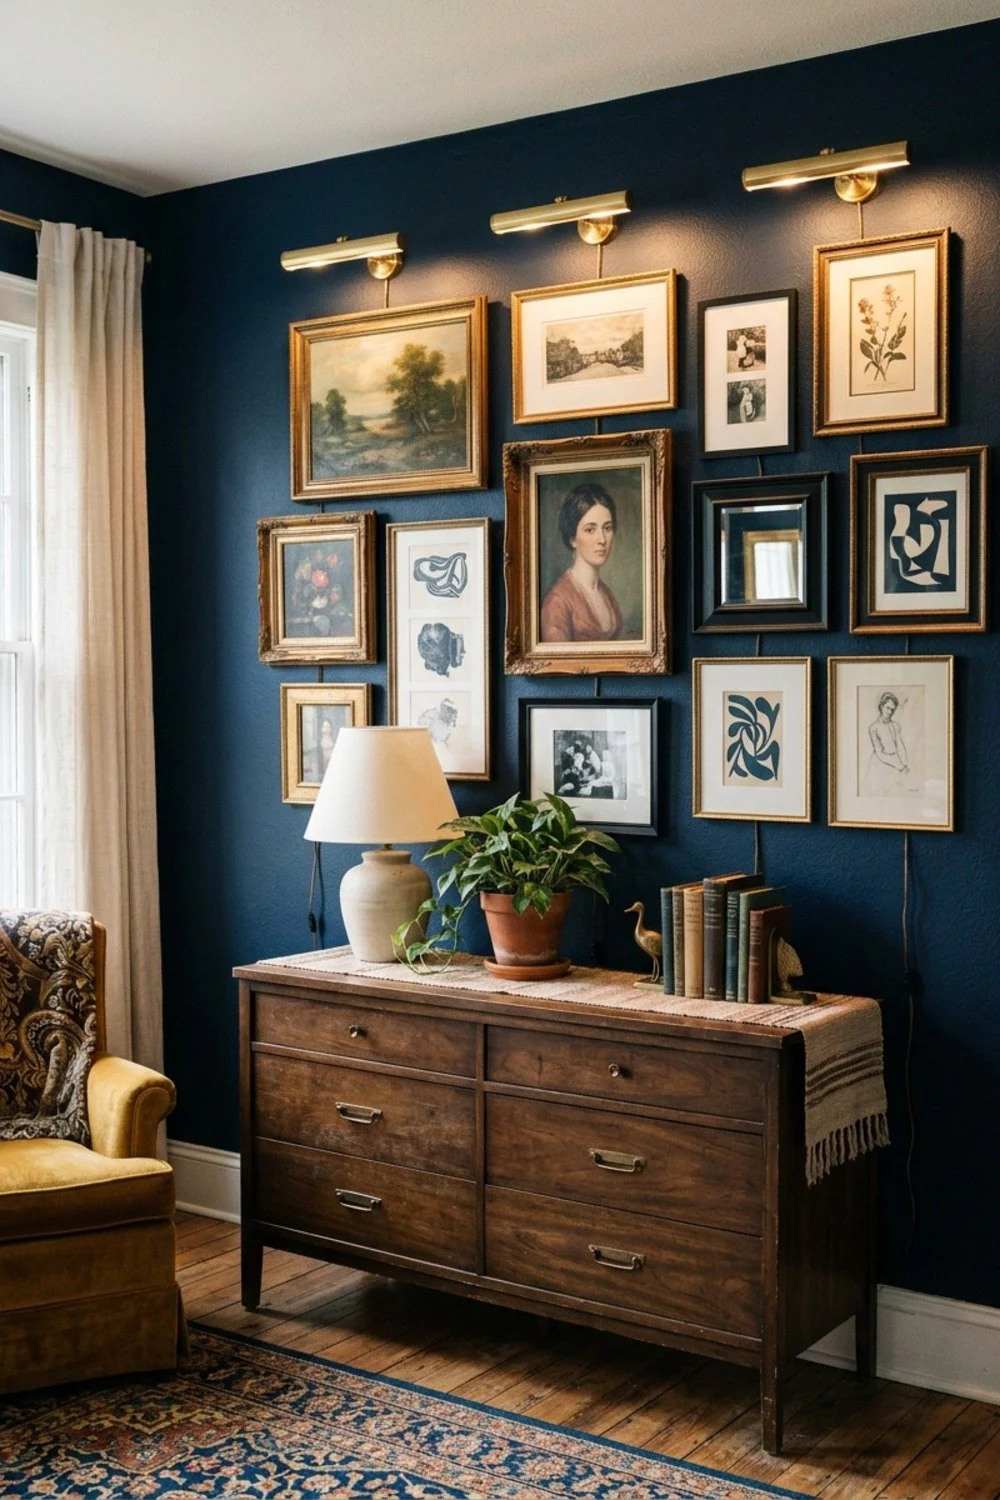
During the gray stretch of January, window light dies by 4pm and a wall of frames turns into a flat gray rectangle. Two 18-inch brass picture lights, about $38 each, throw a warm pool across the top row and keep the colors alive after dark.
Choose plug-in styles with a cord cover if the wall has no hardwired outlet. Hang the lights first, then arrange the art beneath them, since a light mounted afterward almost always lands in the wrong spot.
3. An asymmetrical cluster centered on the mantel
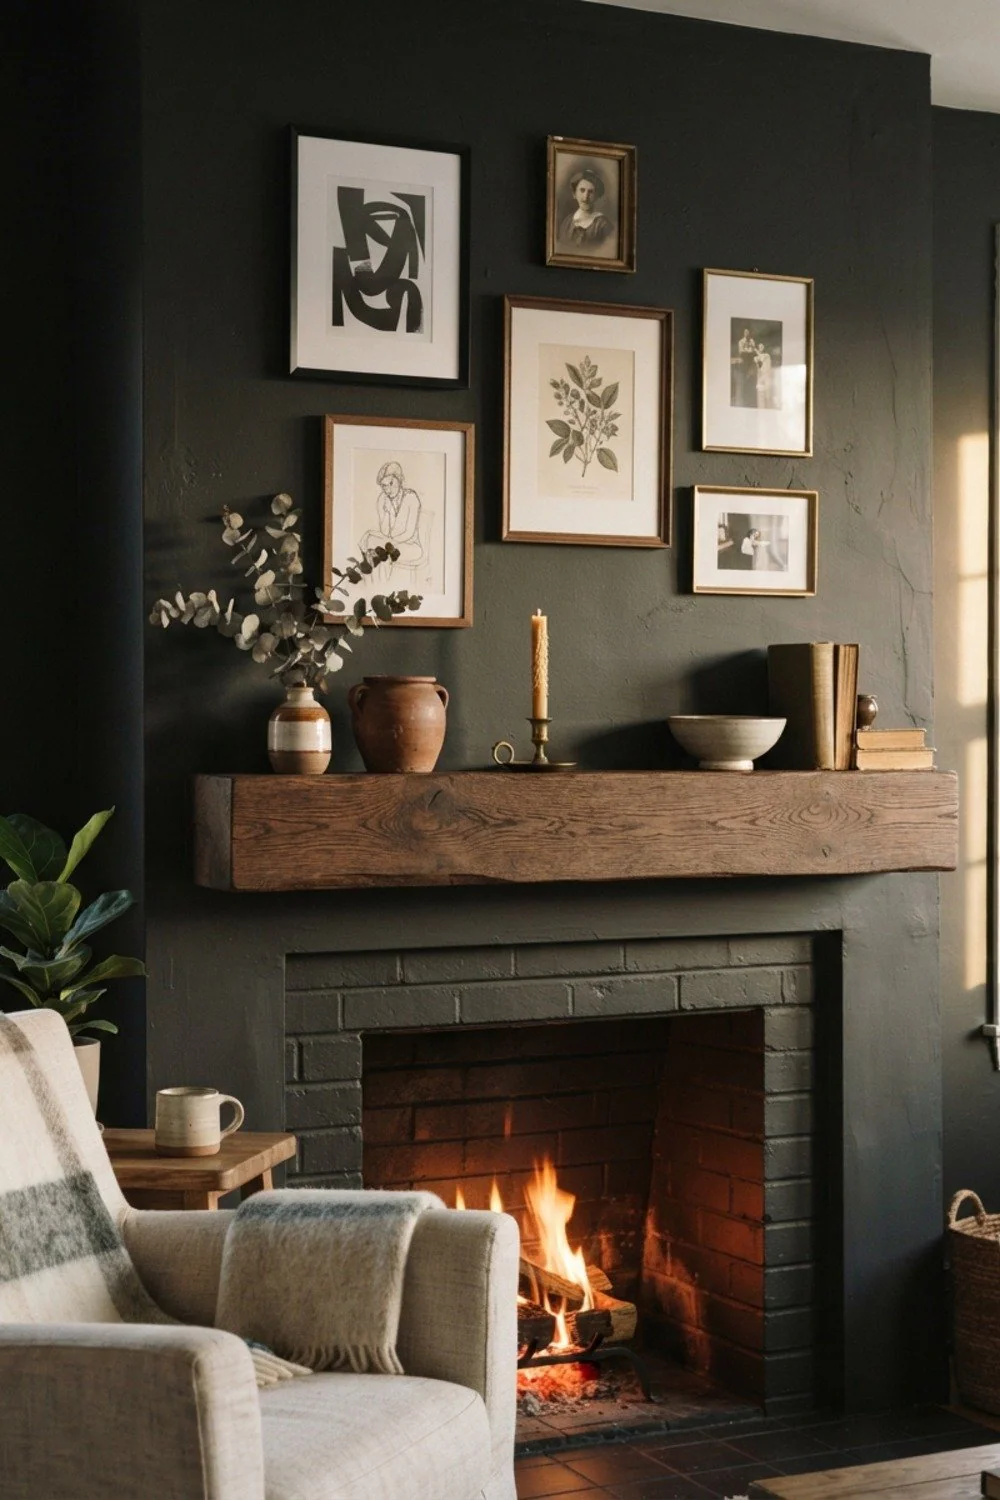
A 60-inch mantel is a ready-made baseline. Center the group on the mantel itself rather than on the wall, and let one side run heavier with a tall frame while the other holds three small ones.
Leave 6 inches between the mantel shelf and the lowest frame so candles and a clock still breathe. Skip this idea if the fireplace gets daily use for real fires, because soot and heat will cloud glass.
4. Black-and-white photographs on a warm white wall
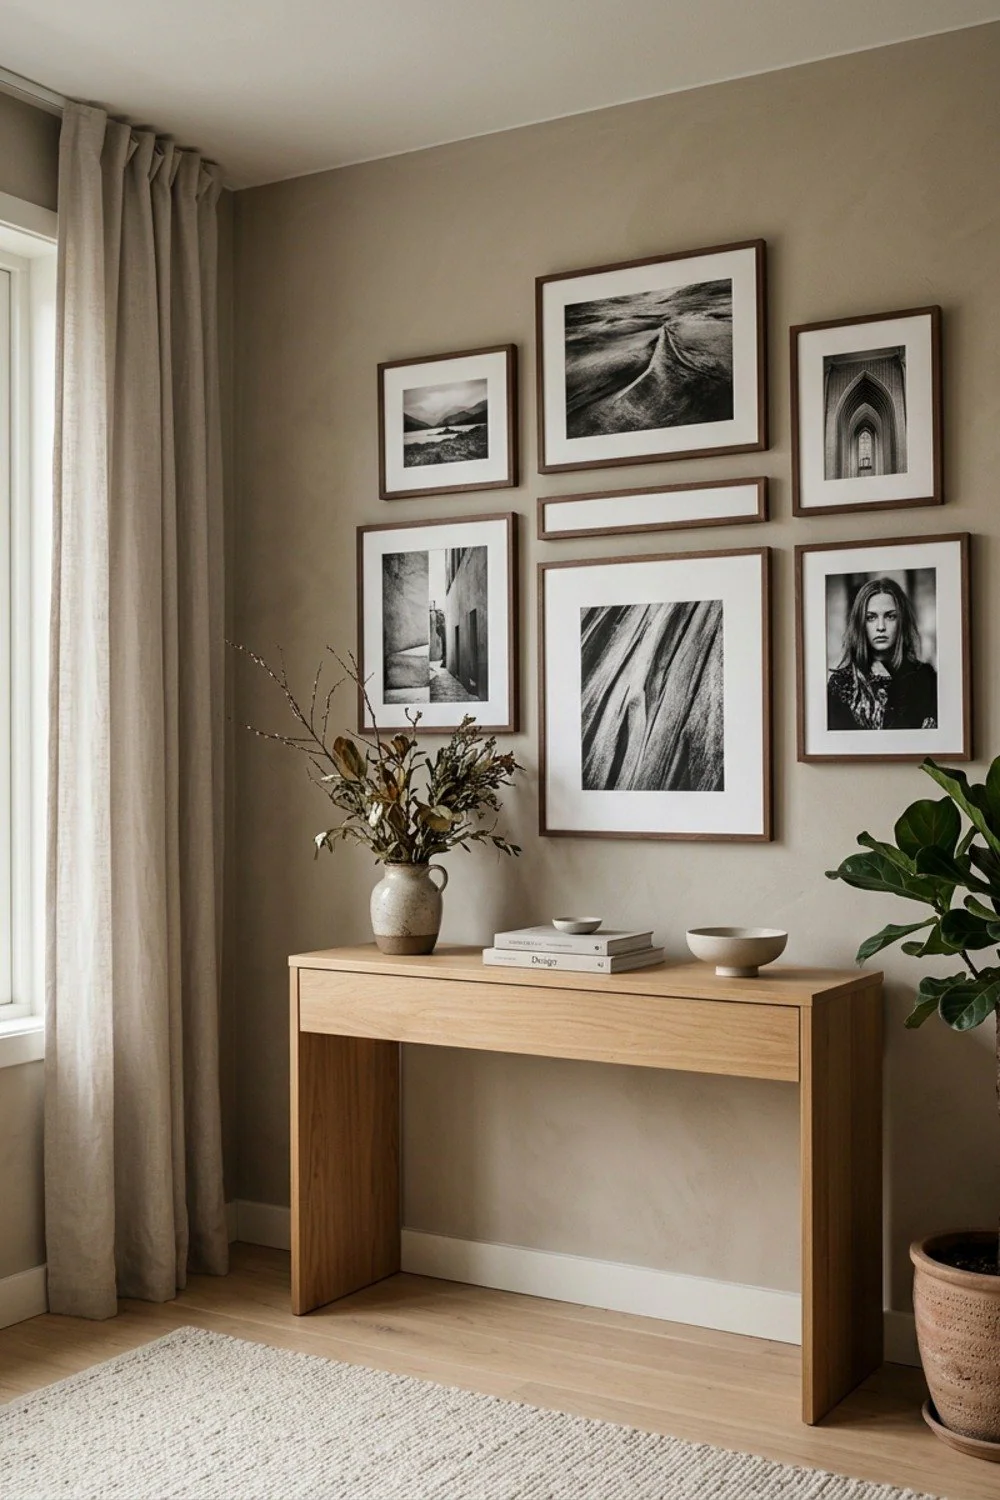
Eight prints in a single palette read as intentional even when the subjects are random: a street corner, a grandparent, a coastline. Pick ivory mats, not bright white, because pure white next to a warm wall turns faintly blue.
This is the move for people who own plenty of photos but dislike color clashes. Print at 8×10 and 11×14, and budget about $2.50 per print at a drugstore lab.
5. Flea market frames unified by one can of matte black spray
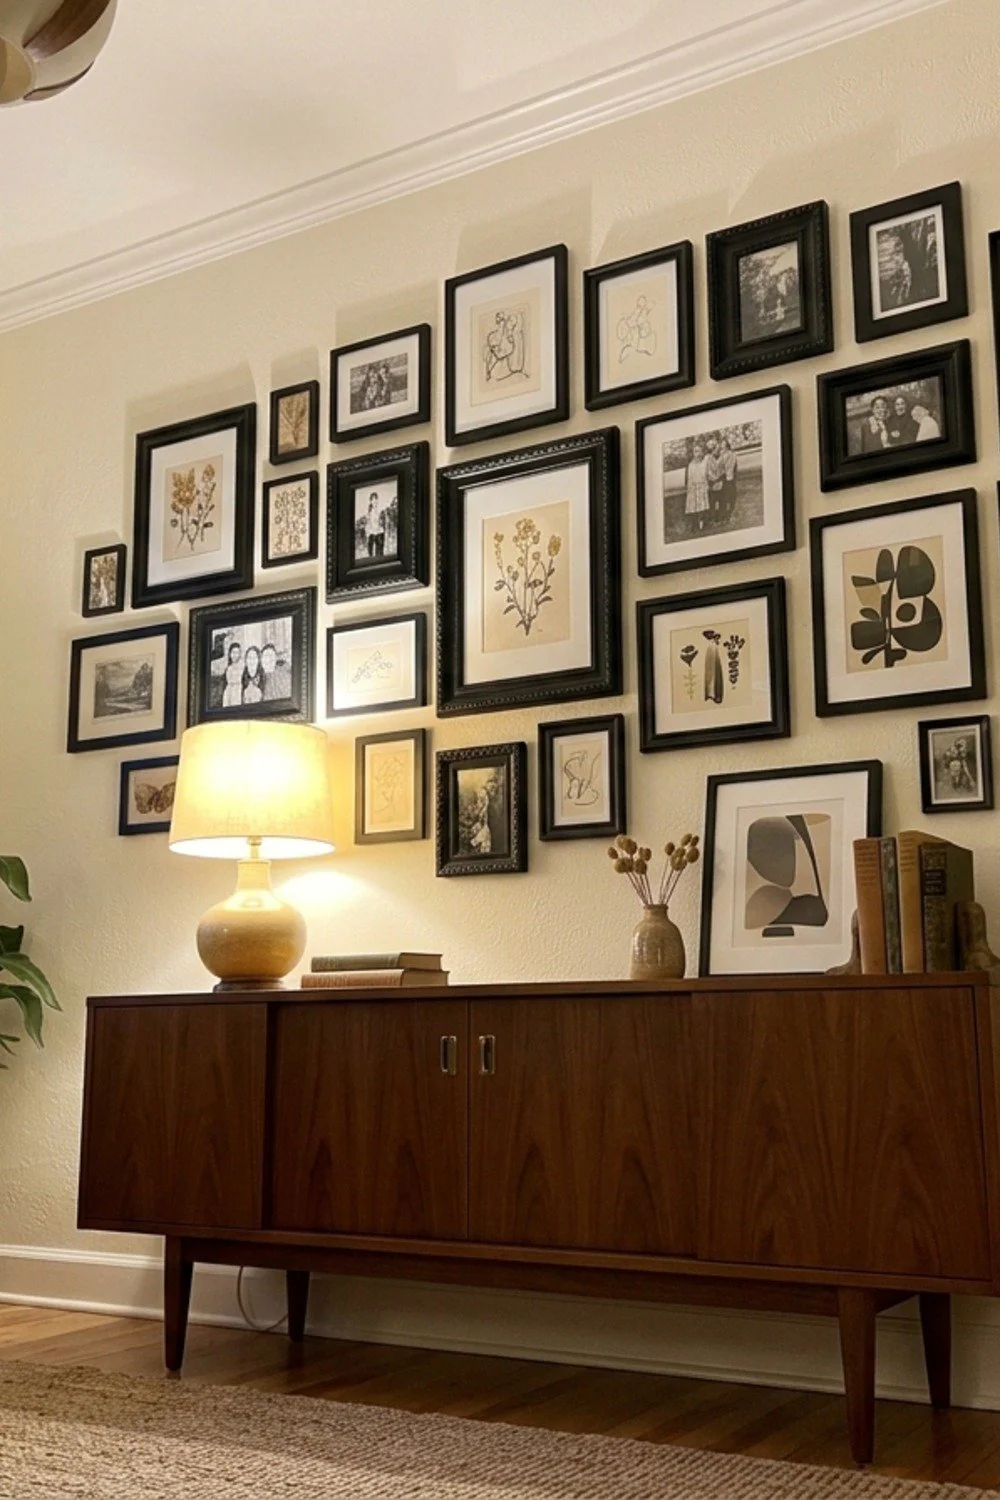
Six mismatched frames at $3 to $9 each, plus a $7.48 can of matte spray paint, cost about $45 and look like a set. Paint the hardware and hanging wire too, or silver hooks will betray the trick.
The common mistake is skipping a scuff-sand on glossy frames. Paint peels off slick varnish within a few weeks, so 10 minutes with 220-grit paper saves the whole project.
6. One oversized print with small frames orbiting it
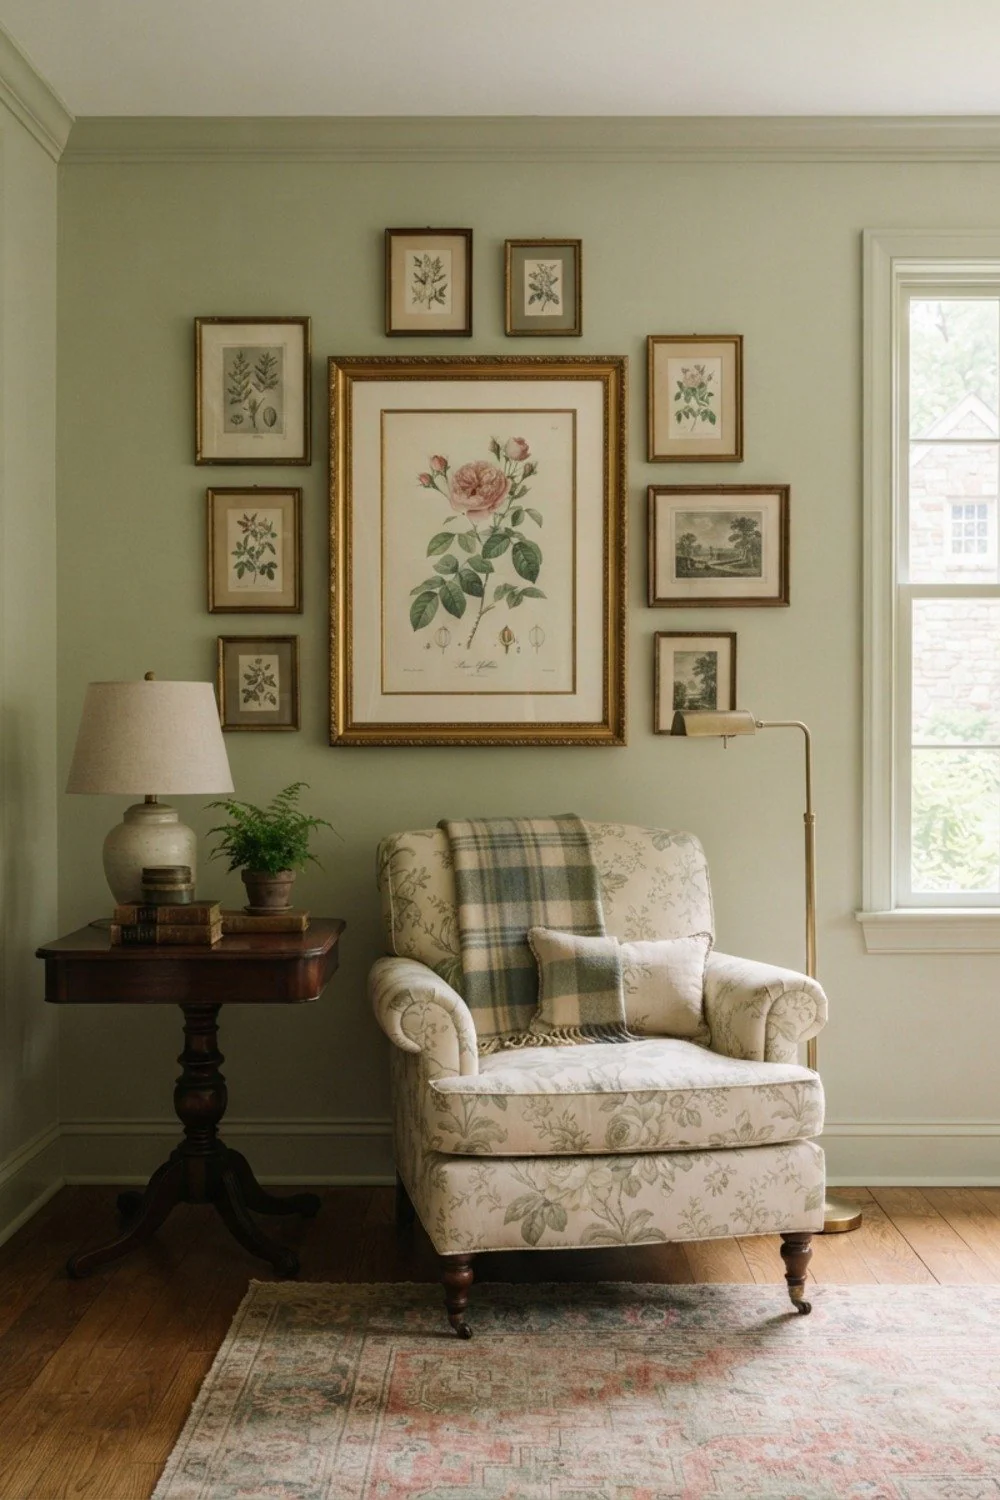
A 30×40-inch print anchors the middle, and four to six 8×10 frames fill in around it. The typical error is hanging the whole group too high, so it floats near the ceiling and the sofa looks like it belongs to a different room.
Keep the lowest edge 6 to 8 inches above the sofa back. Better for living rooms with a plain, large wall and at least 70 inches of width.
7. A tall vertical column beside a window
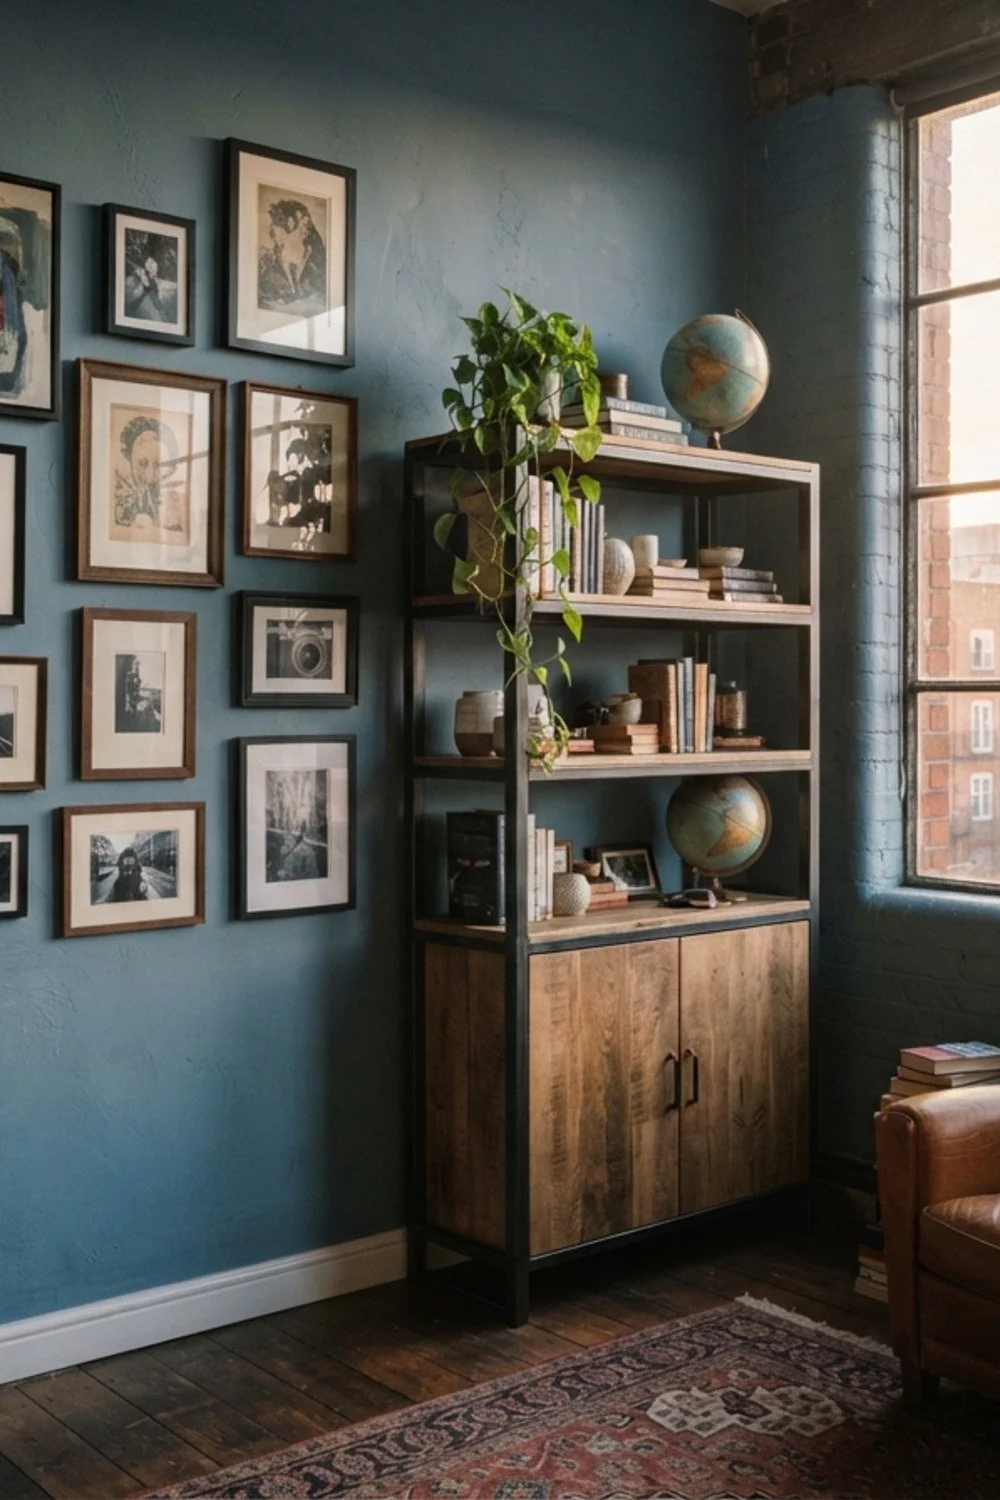
On a 9-foot ceiling, a narrow column of six frames, each 11 inches wide, stacked with 2-inch gaps, fills the awkward strip beside a window. It draws the eye up and makes the ceiling feel taller than it is.
Mind the distance from the window trim: leave at least 4 inches so the column doesn’t look jammed against it. This works only if the strip is under about 20 inches wide, otherwise it looks like a lonely skinny stripe.
8. Two picture ledges that hold a rotating collection
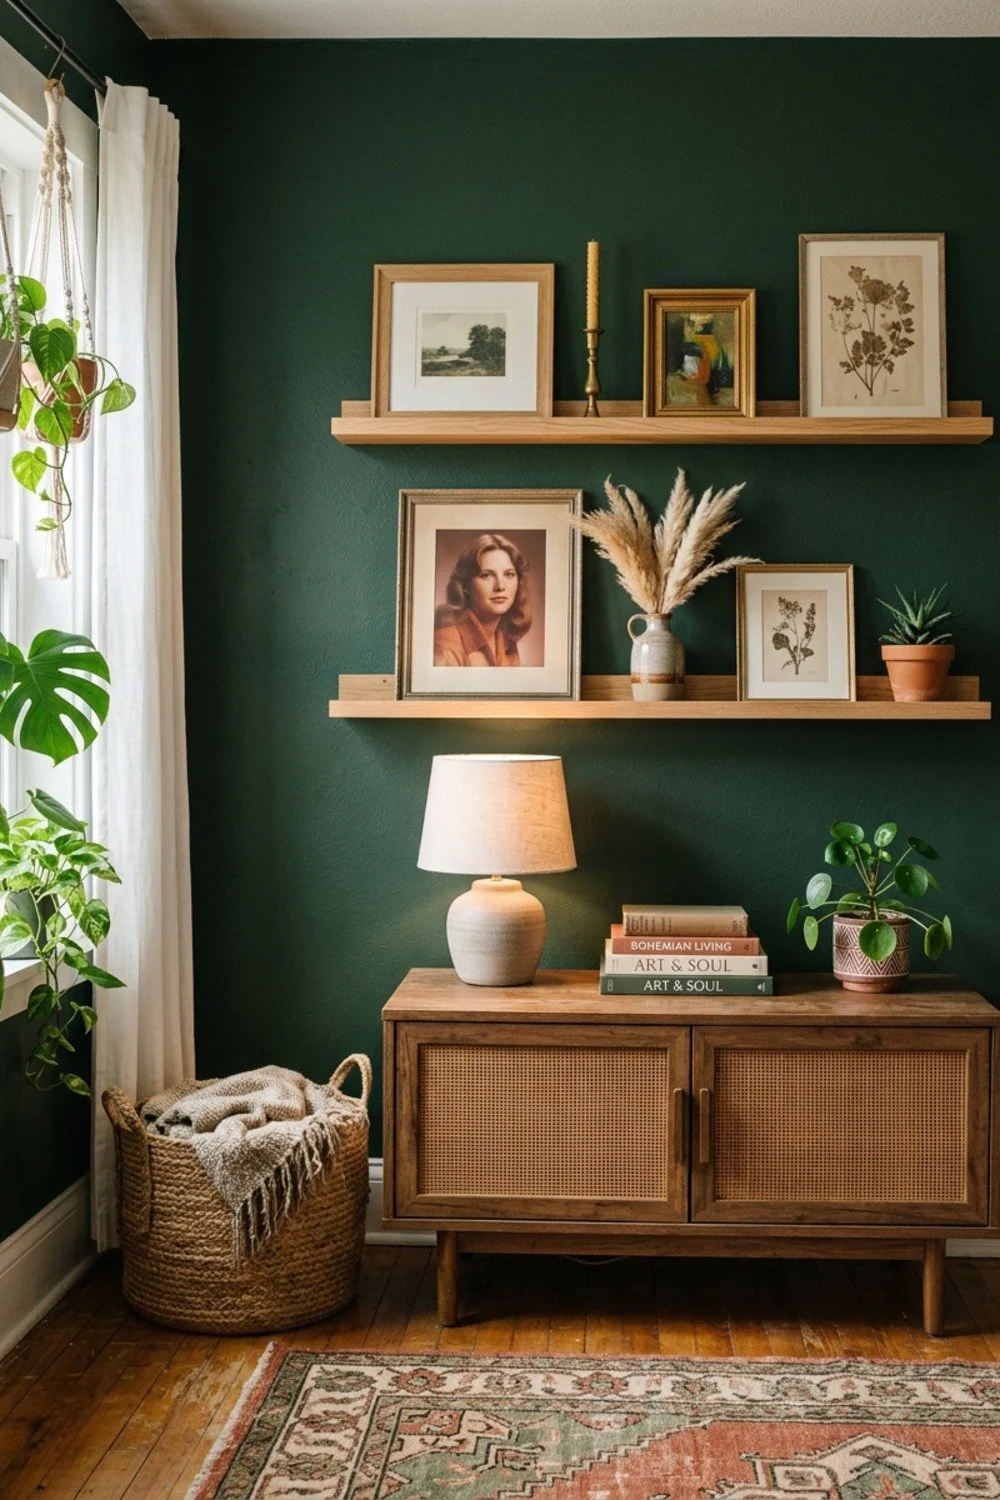
Two 46-inch ledges, 4 inches deep, hold a dozen leaning frames, and swapping a piece takes ten seconds with no new holes. That makes ledges ideal for people who tire of art quickly or collect postcards and small prints.
Pick ledges with a front lip of at least half an inch. Without it, a 5×7 frame slides forward the first time someone slams a door.
Starting points for your space
9. A low horizontal arrangement over the headboard
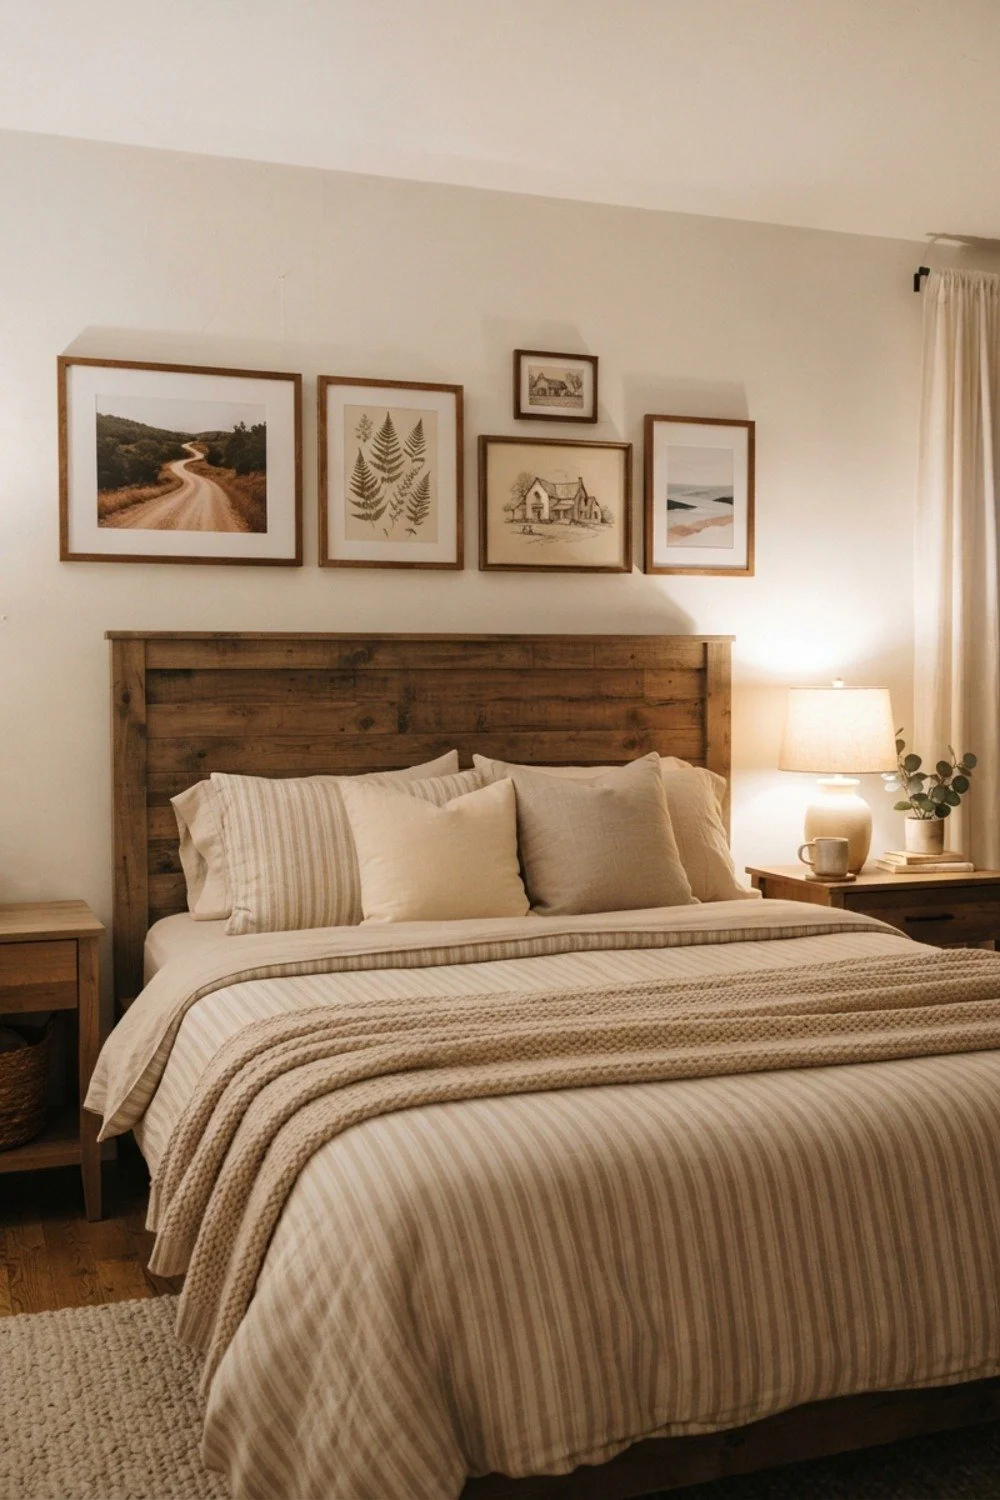
A queen headboard runs about 64 inches wide, so a gallery of 42 to 48 inches suits it. Hang the bottom edge 6 to 10 inches above the headboard so the two read as one composition.
Stick with three to five frames in a rough rectangle. Anything taller than about 30 inches can feel like it looms over a sleeper, and that’s a real trade-off in small rooms.
10. A rectangle with a hard outline
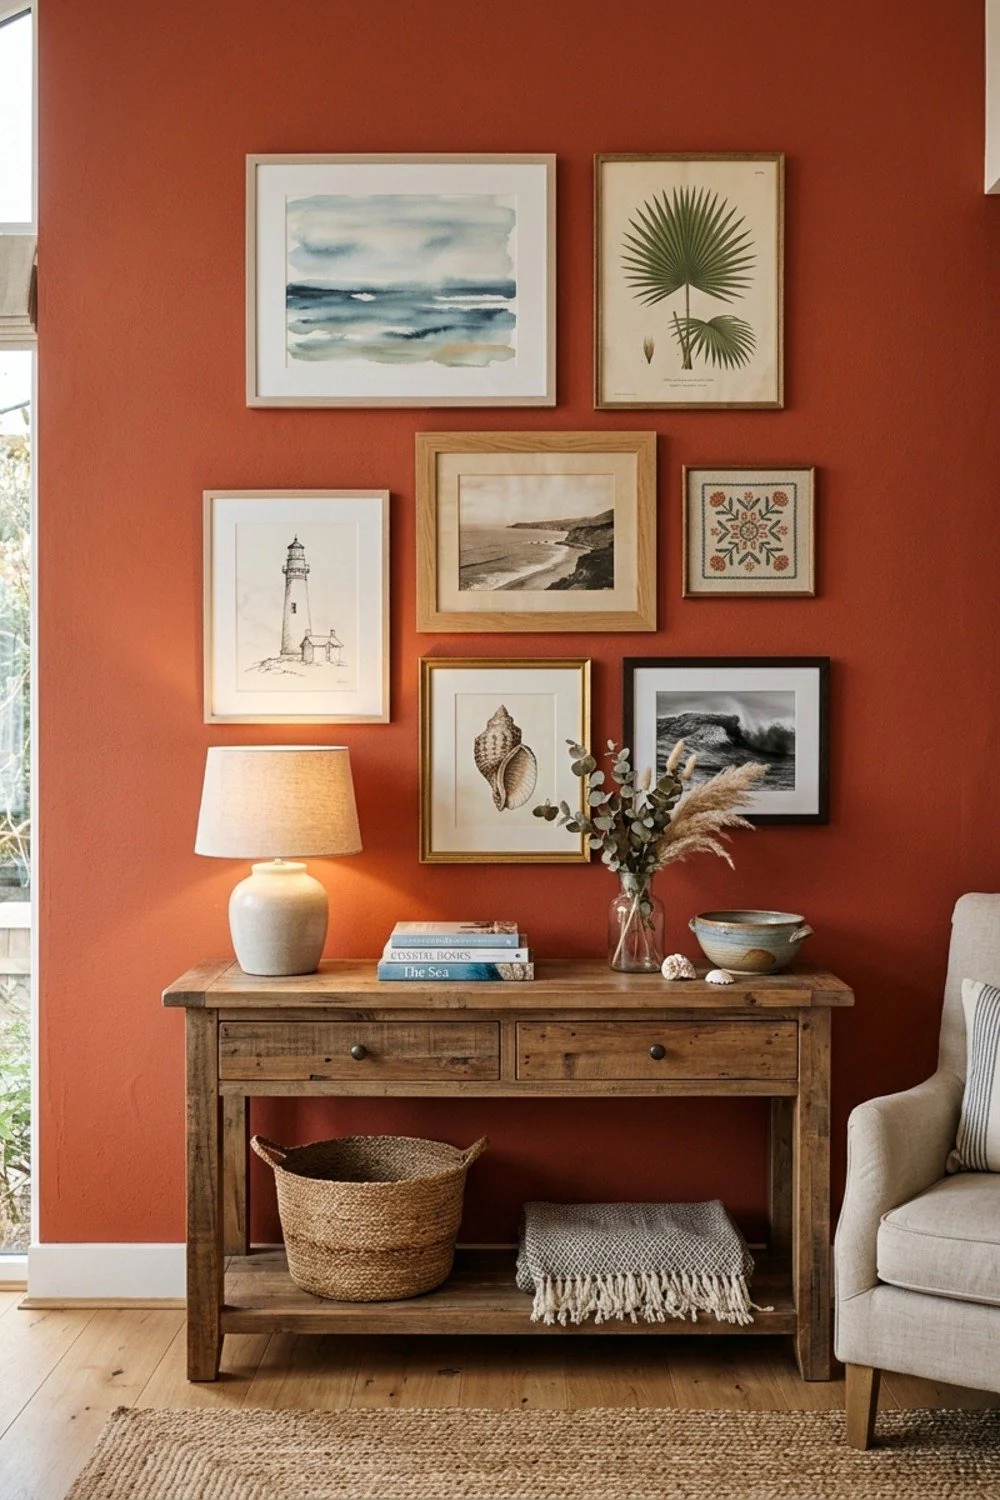
A clean 48 by 24 inch rectangle, with frames fitted flush to every edge, gives the eye a hard outline to rest on. Jagged clusters can feel restless right before sleep, while a grid reads as one calm block. Gaps of exactly 1.5 inches keep it tidy.
This suits anyone who finds a busy wall tiring in a room meant for winding down. Avoid frames of mixed depth, and cut a cardboard spacer to the gap width, since a drift of even a quarter inch shows.
11. Woven pieces mixed with framed prints
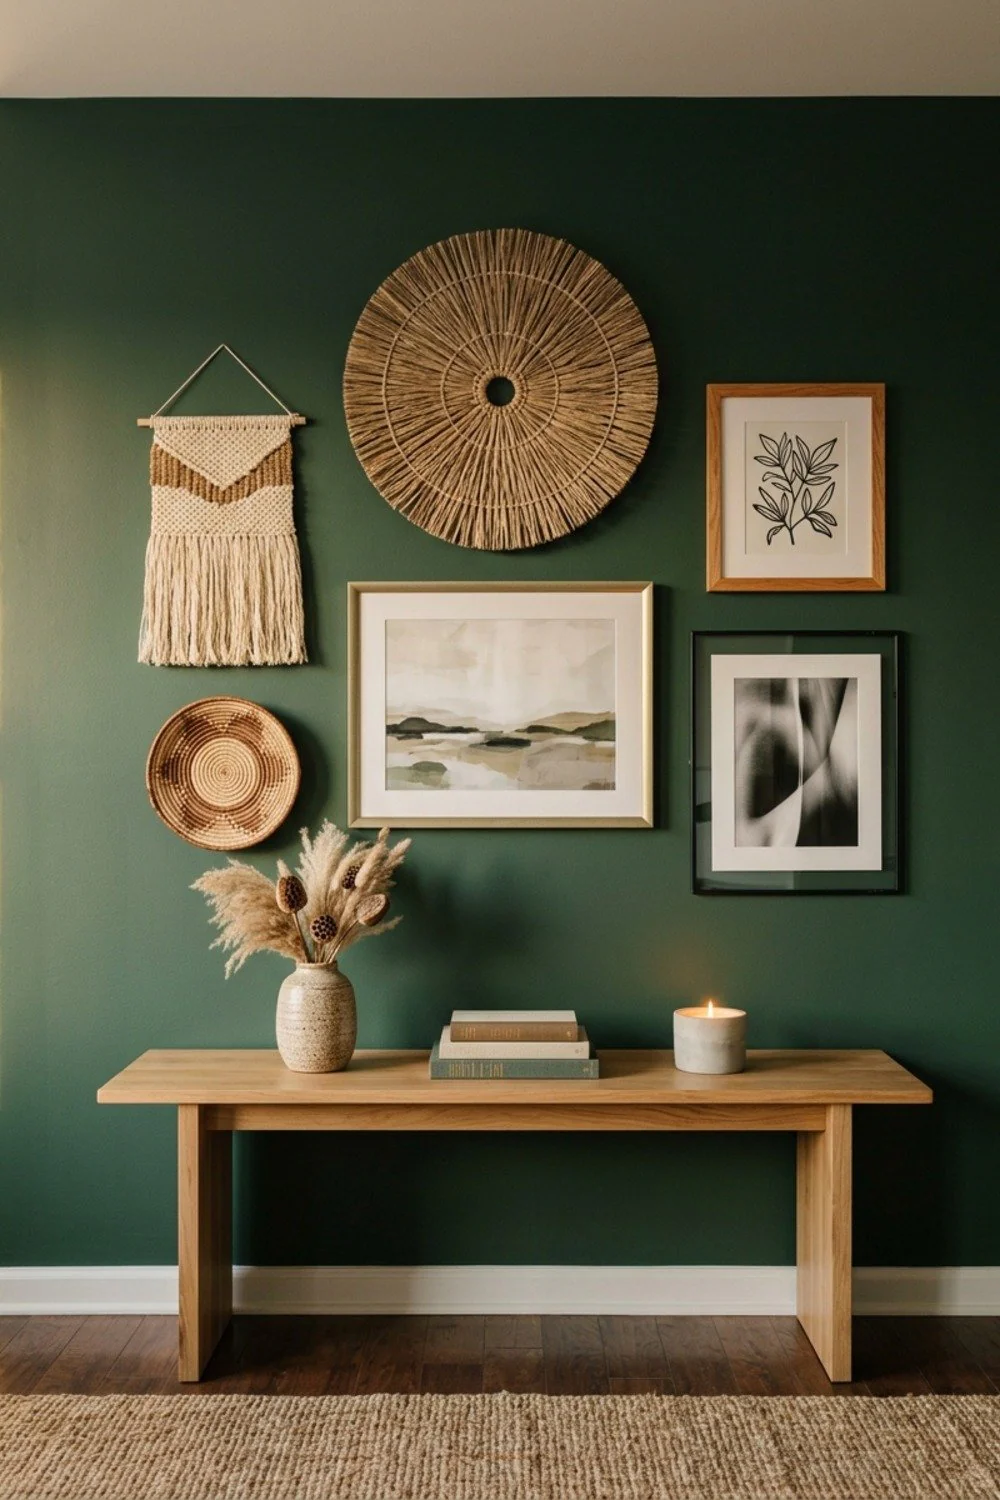
A 14-inch wicker basket, an embroidery hoop, and a linen-matted botanical print give the wall something to touch, not just look at. Natural fiber also absorbs sound, which helps in a bare-floored bedroom.
Hang the textiles with a small nail, not adhesive strips, since woven pieces are lighter than they look but pull sideways. Keep them at least 4 feet from any heat vent, because dry air makes fibers brittle.
12. Plug-in sconces flanked by small pairs
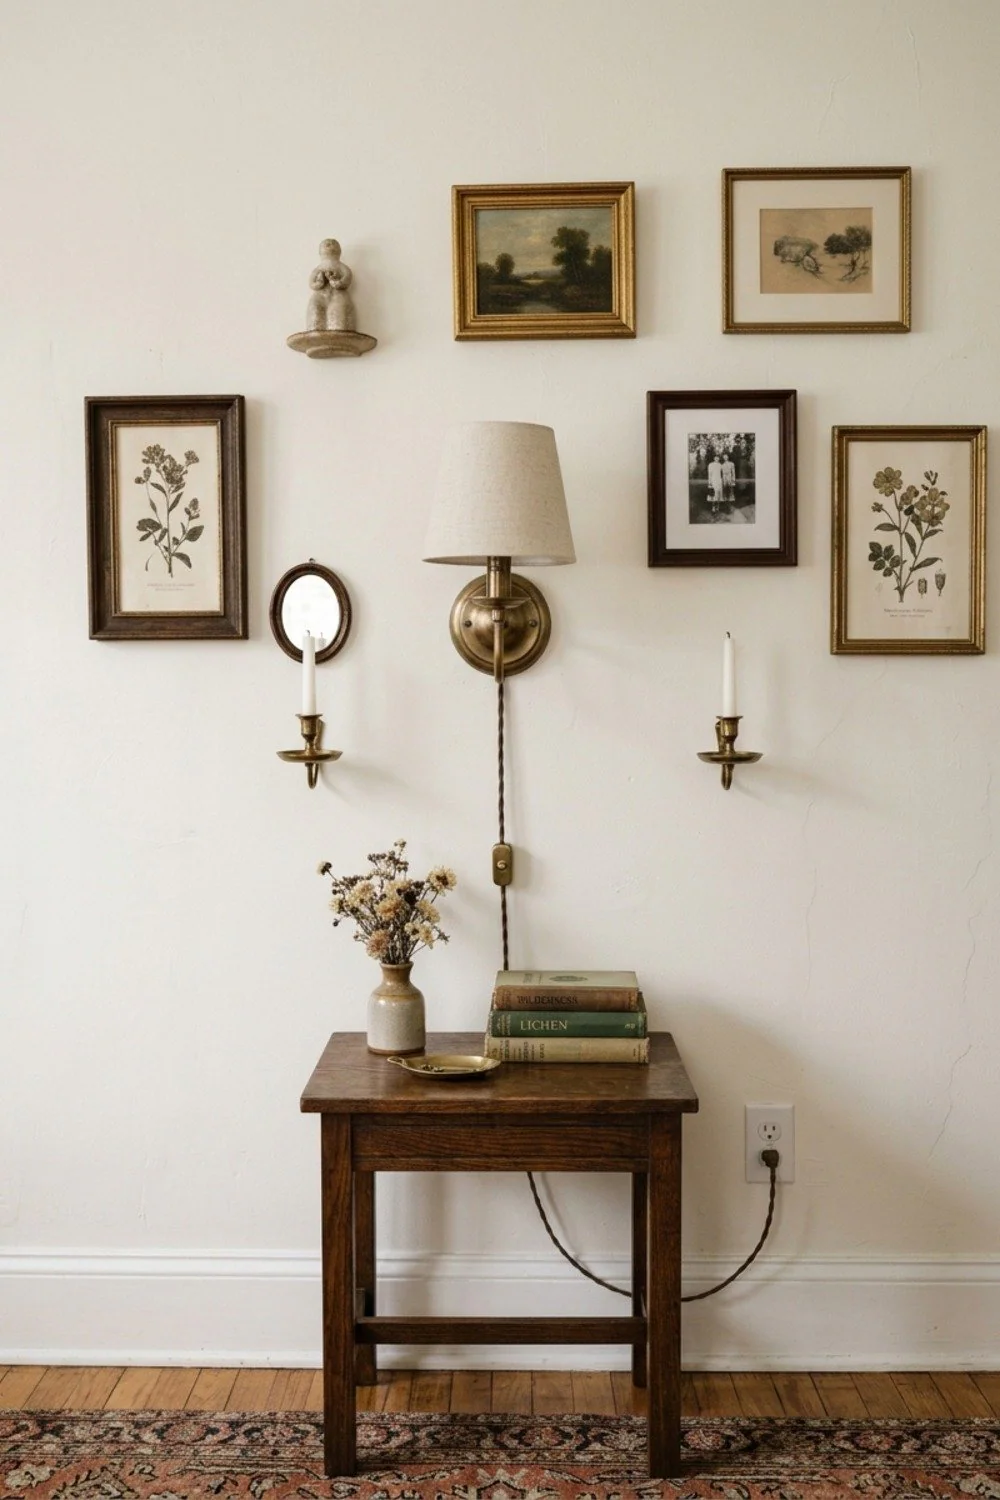
Instead of one wide gallery, hang two bedside groupings of three small frames, with a swing-arm sconce between each pair and the nightstand. The lamp frees up the nightstand surface, and the frames catch the glow without glare.
Mount sconces about 58 inches off the floor for a sitting reader, higher if the mattress is tall. A cord cover painted to match the wall costs about $12 and hides the wire.
13. Frames that follow a sloped ceiling
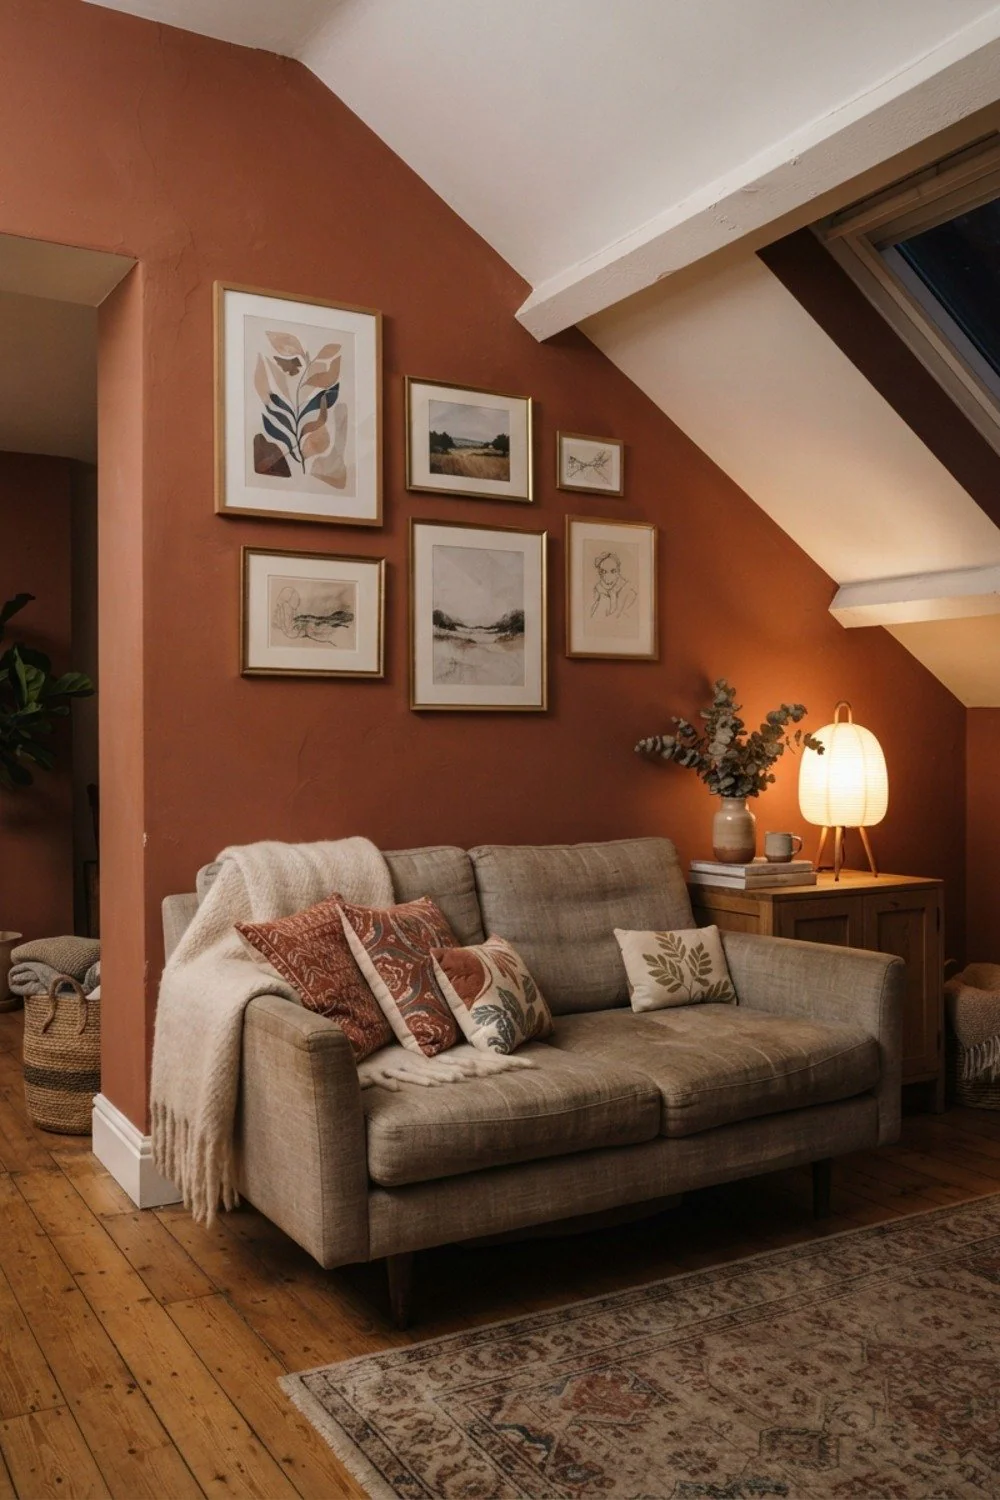
An attic bedroom wall with a 45-degree slope is awkward to fill. Hang frames in a diagonal that mirrors the roofline, keeping the upper corners at least 4 inches below the slope.
Tape paper templates up before drilling, since angles fool the eye. Anything lower than 36 inches on a knee wall gets bumped by beds and dressers, so keep delicate glass above that line.
14. A three-color palette in a child’s room
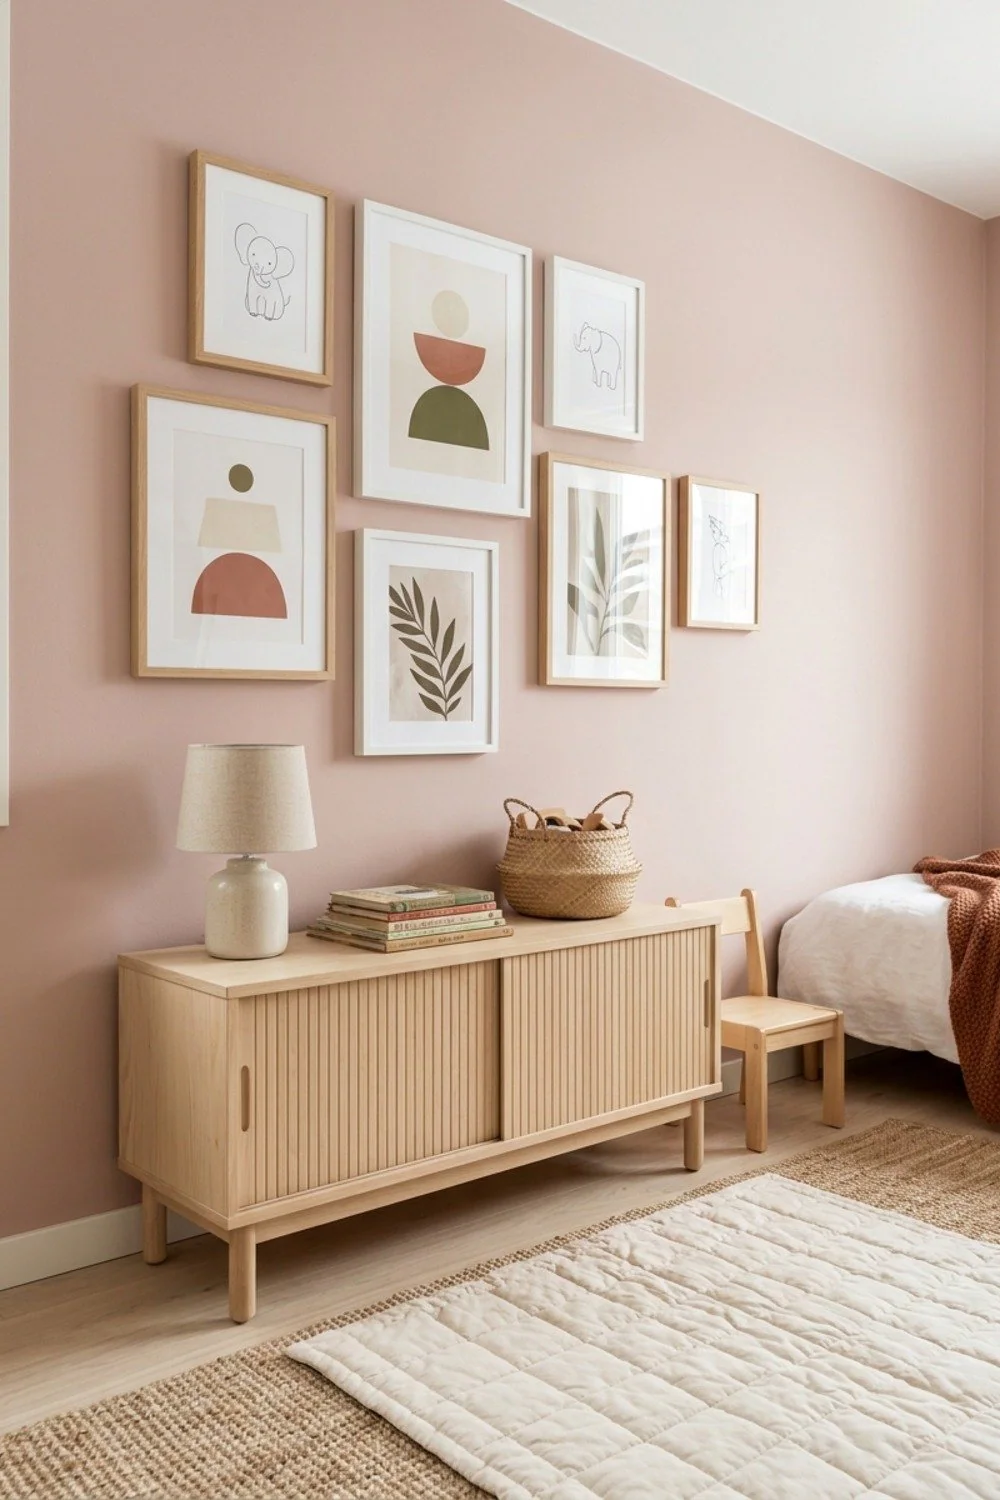
Mustard, sage, and cream repeated across every frame and mat make a mixed set of drawings and prints look planned. Painting the walls pale and letting the art carry the color gives a room that outlasts the dinosaur phase.
Choose colors from a favorite print and pull the rest from it. Avoid more than three, because a fourth makes the wall feel like a toy aisle.
15. Free printable art in $4.98 frames
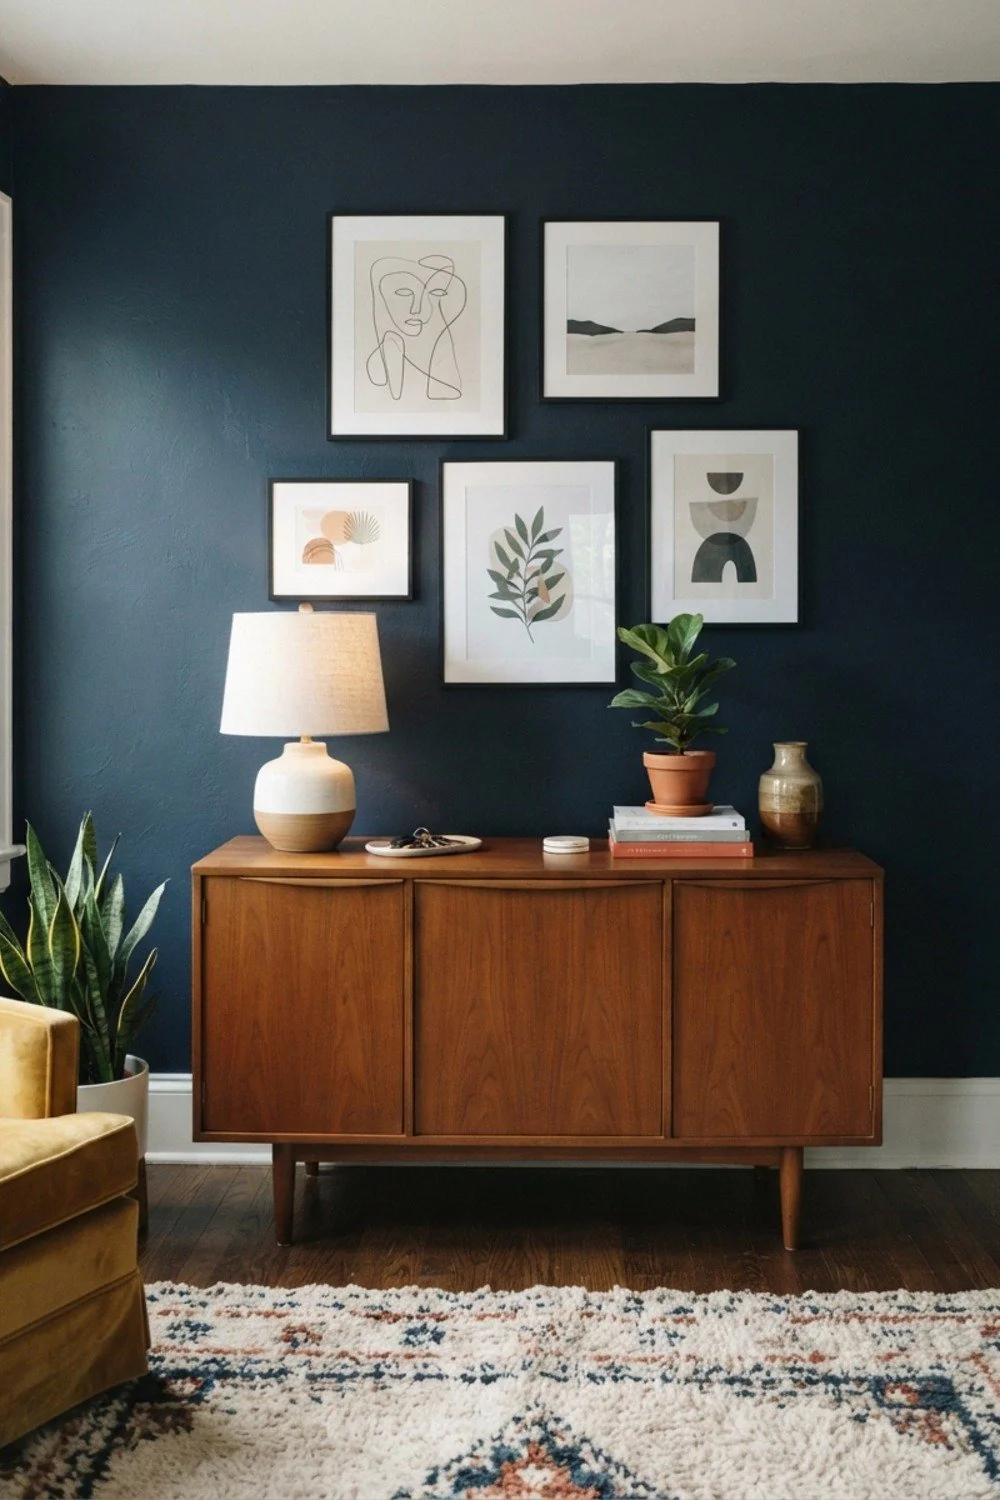
Printing 8×10 downloads at about $0.29 per page and slipping them into $4.98 frames gives a full wall for under $40. Because each print costs so little, swapping art as a child grows barely dents the budget, which makes this the right price for a nursery.
Watch the paper weight. Standard 20-pound copy paper ripples within weeks, so use 65-pound cardstock for a flat, matte finish, and keep it out of direct sun, which fades cheap inkjet ink quickly.
More vision board
16. Botanical prints above a kitchen banquette
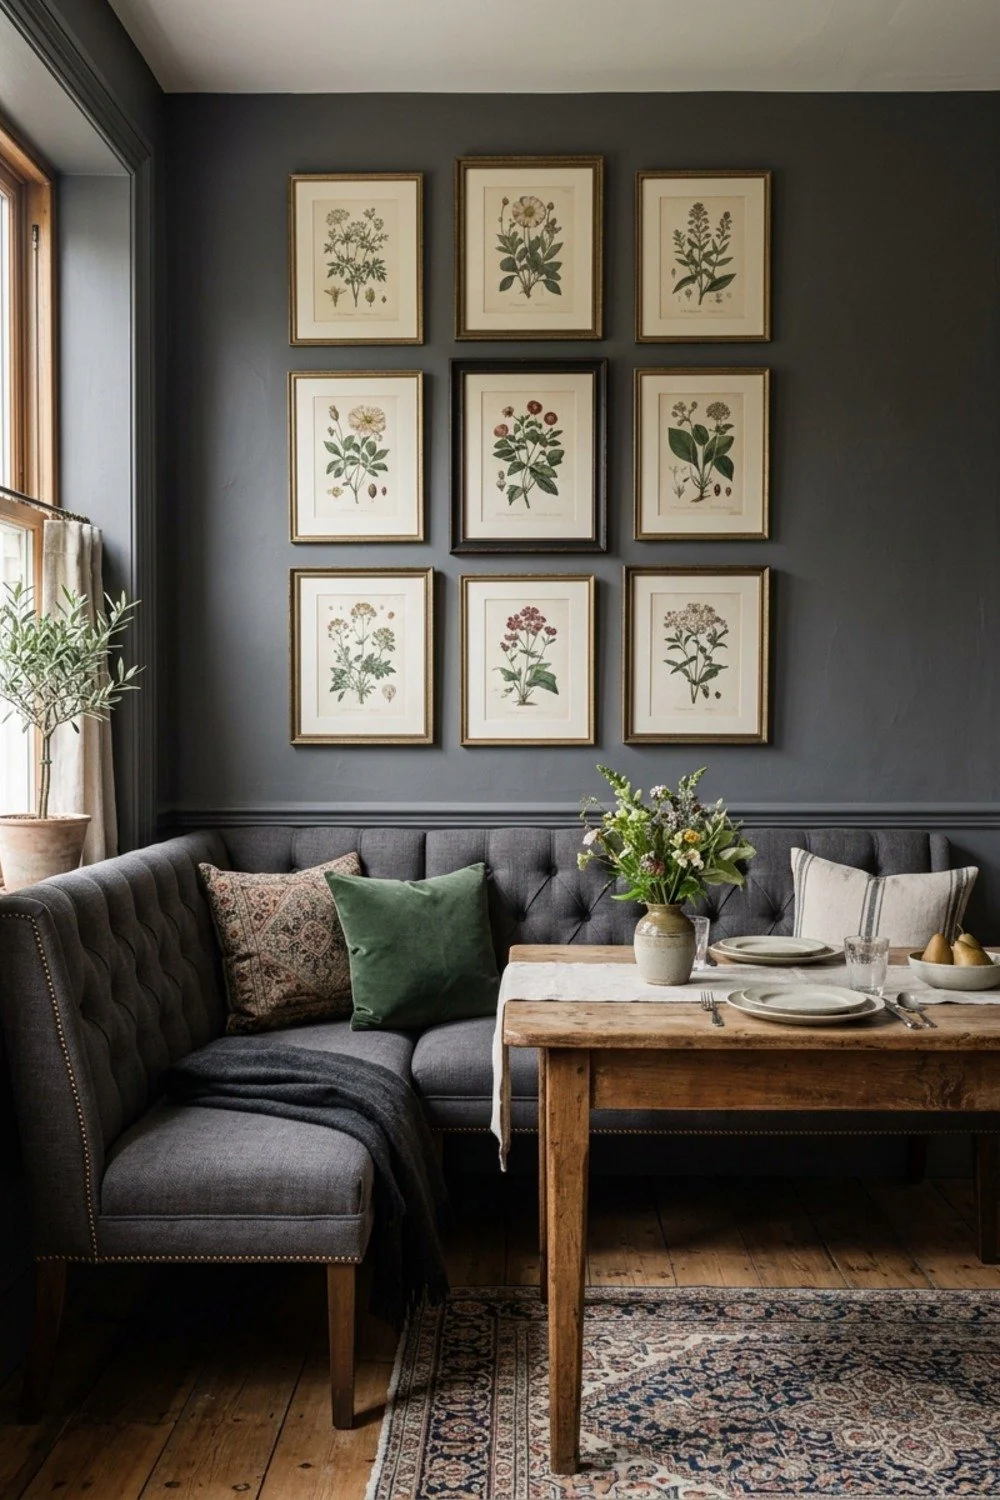
Steam and grease are the enemies in a kitchen, so hang art at least 4 feet from the range. Banquette walls are usually safe, and the soft green of botanicals suits a breakfast corner at 8am when light skims low across the table.
Always use glass, never bare paper. A wipe with a damp microfiber cloth every couple of weeks keeps the surface clear of the film that builds up in cooking rooms.
17. Mixed materials on a dining room wall

One oak frame, one brass mirror, and a hand-thrown ceramic wall bowl give a wall three different surfaces. Matte, shiny, and glazed textures catch candlelight differently, so the wall changes across an evening.
Repeat one color across all pieces, such as the same cream in the mat, the bowl glaze, and the mirror’s backing. Without a repeat, mixed materials look like a yard sale.
18. A gallery sized to the sideboard beneath it

A 66-inch sideboard wants art spanning about 44 inches, two-thirds of its width, so the gallery reads as part of the furniture grouping rather than a separate project. Hang it with the bottom edge 8 inches above the surface, leaving room for a lamp and a vase.
This suits dining rooms and entries where the sideboard is the focal point. The oversize mistake is letting the gallery run wider than the furniture. Overhang looks like a mistake, and it makes the sideboard seem undersized.
19. A trio of 11×14 frames in a breakfast nook
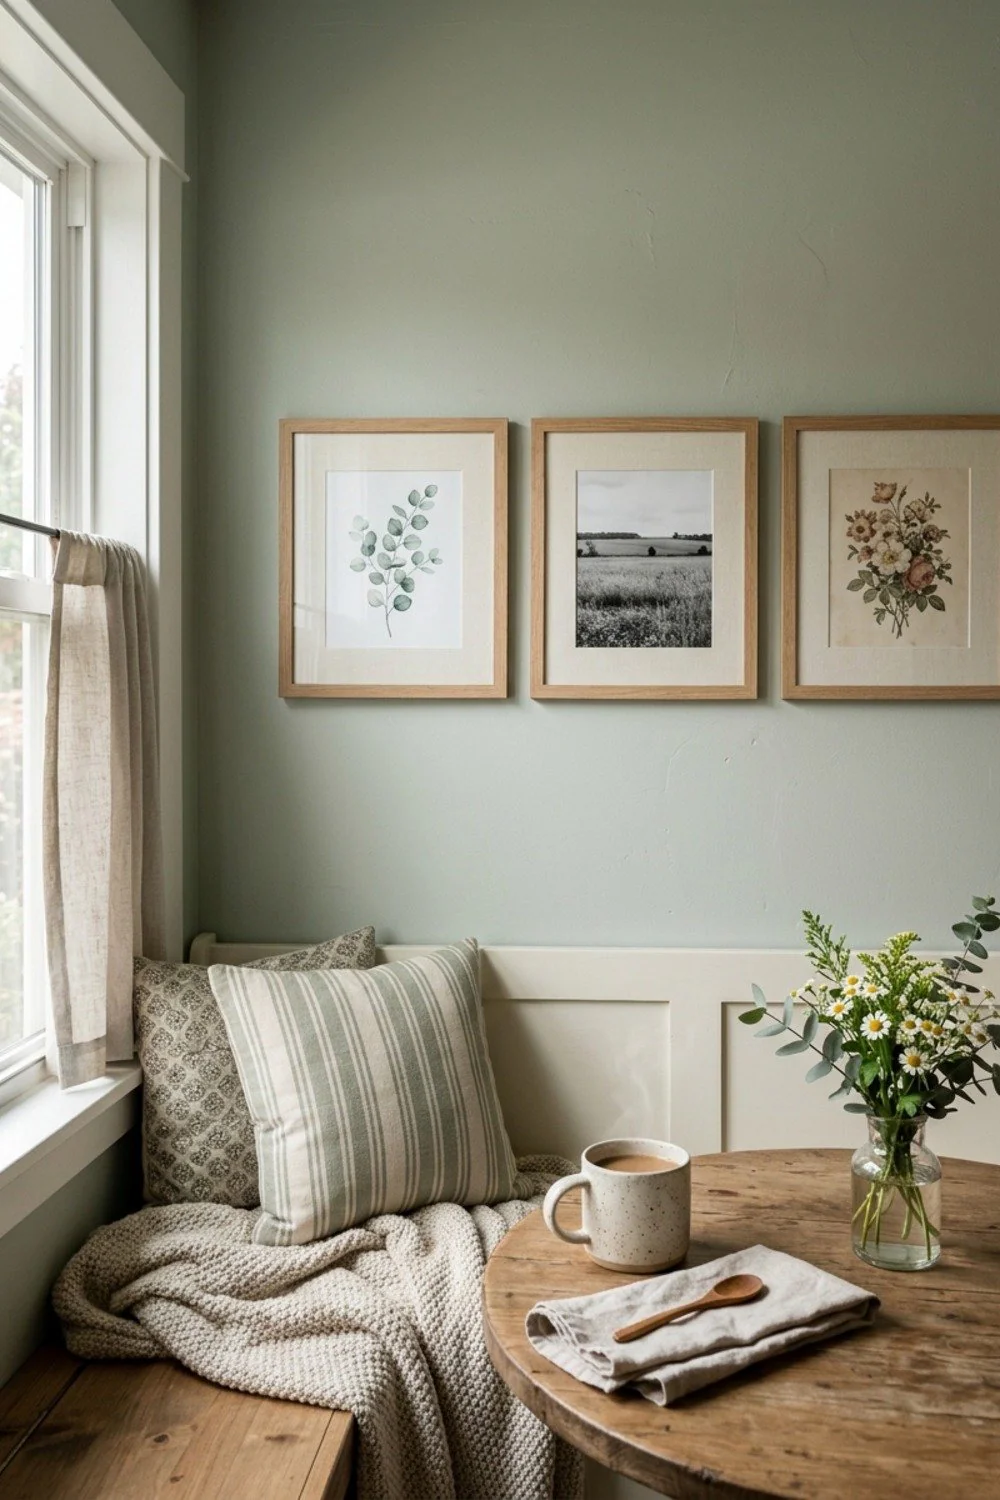
Three frames in a row, 3 inches apart, fit the narrow wall above a bench without crowding it. Landscape or abstract prints work well, as they feel open in a spot where elbows and coffee mugs already compete for room.
Hang them 10 inches above the bench back. Higher than that and they float away from the seating they’re supposed to serve.
20. Acrylic-glazed frames for the bathroom
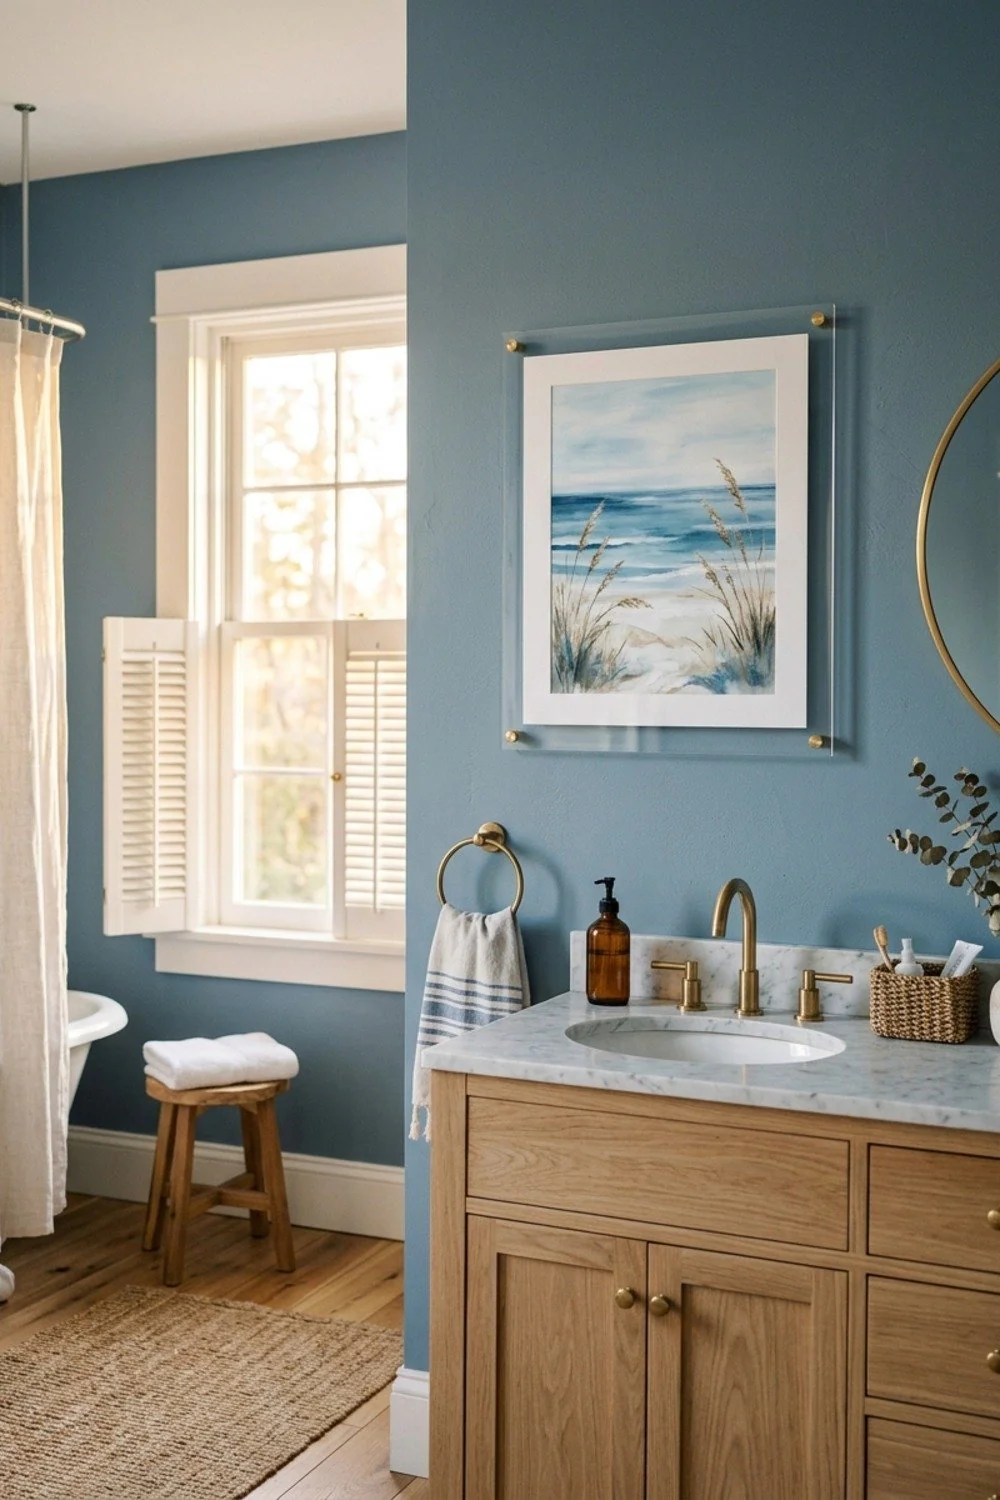
Acrylic glazing, sealed backs, and moisture-resistant prints such as photographic paper or a framed fabric swatch survive daily showers, while ordinary paper warps and glass fogs in bathroom humidity. Acrylic is also lighter and shatter resistant, which matters over a hard tile floor.
This suits a busy family bathroom, or any bathroom with weak ventilation. Keep art at least 3 feet from the shower itself. Wood frames swell near a tub, so metal or resin frames are the safer choice.
21. A vertical stack above the toilet
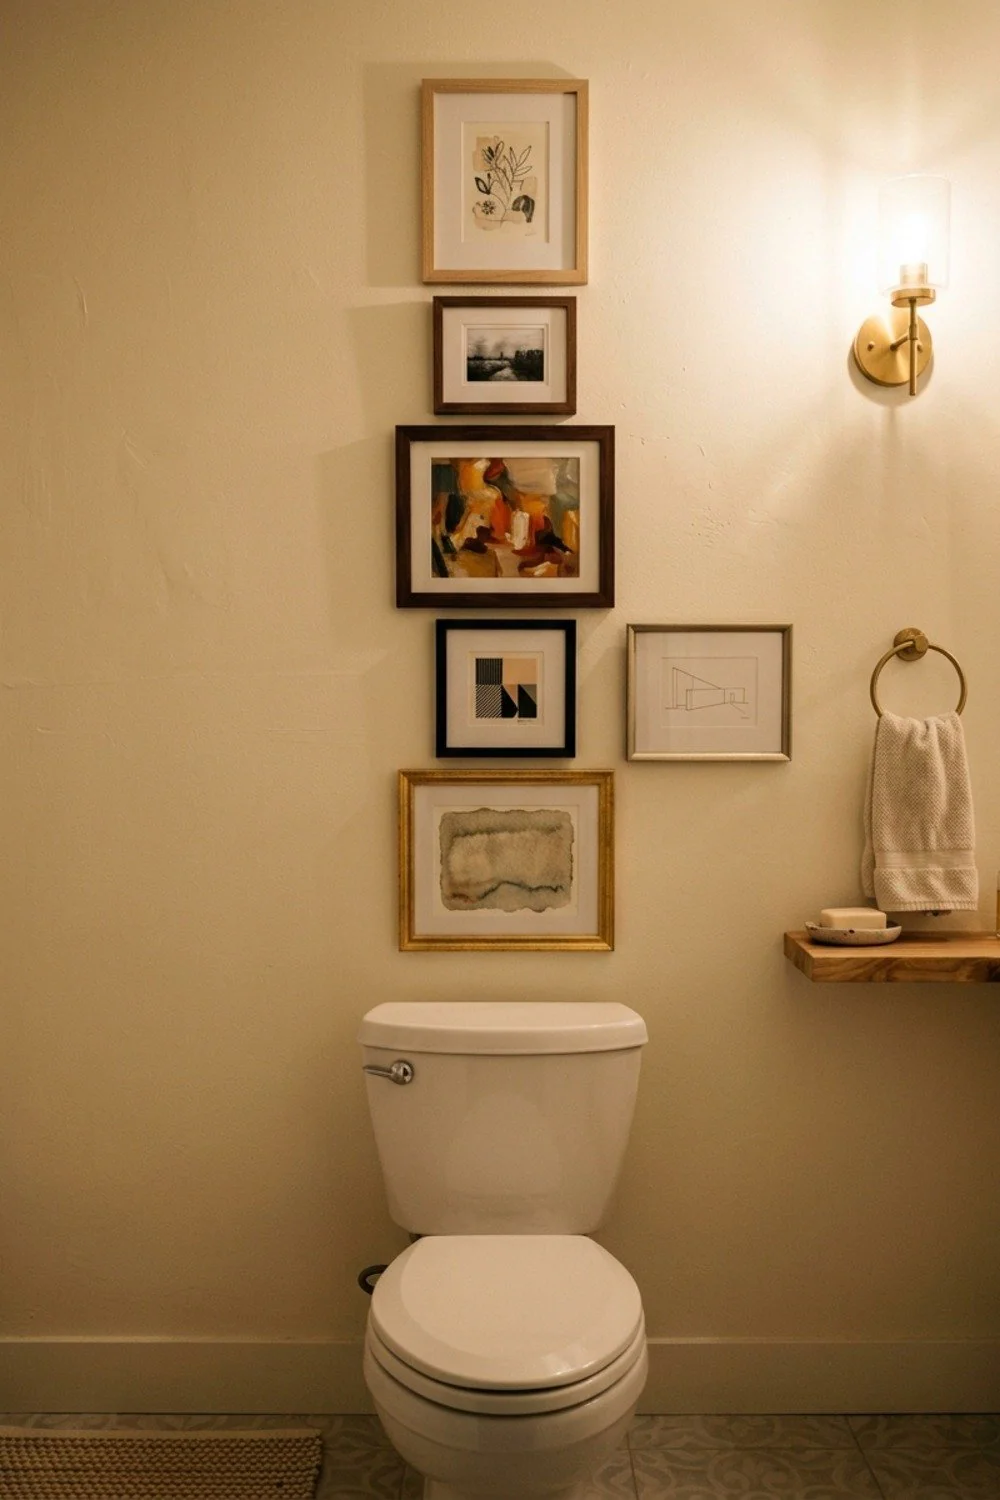
Narrow walls above a toilet tank gain visual height from a column of three 8×10 frames spaced 2 inches apart, which draws the eye upward and uses height instead of width. Leave 7 inches clear above the tank so nothing knocks against it.
This suits a small bathroom where horizontal space is scarce. Skip heavy glass in a spot where a falling frame could crack porcelain; acrylic glazing or a light frame is a safer pick.
22. A floor-to-ceiling cluster in a powder room
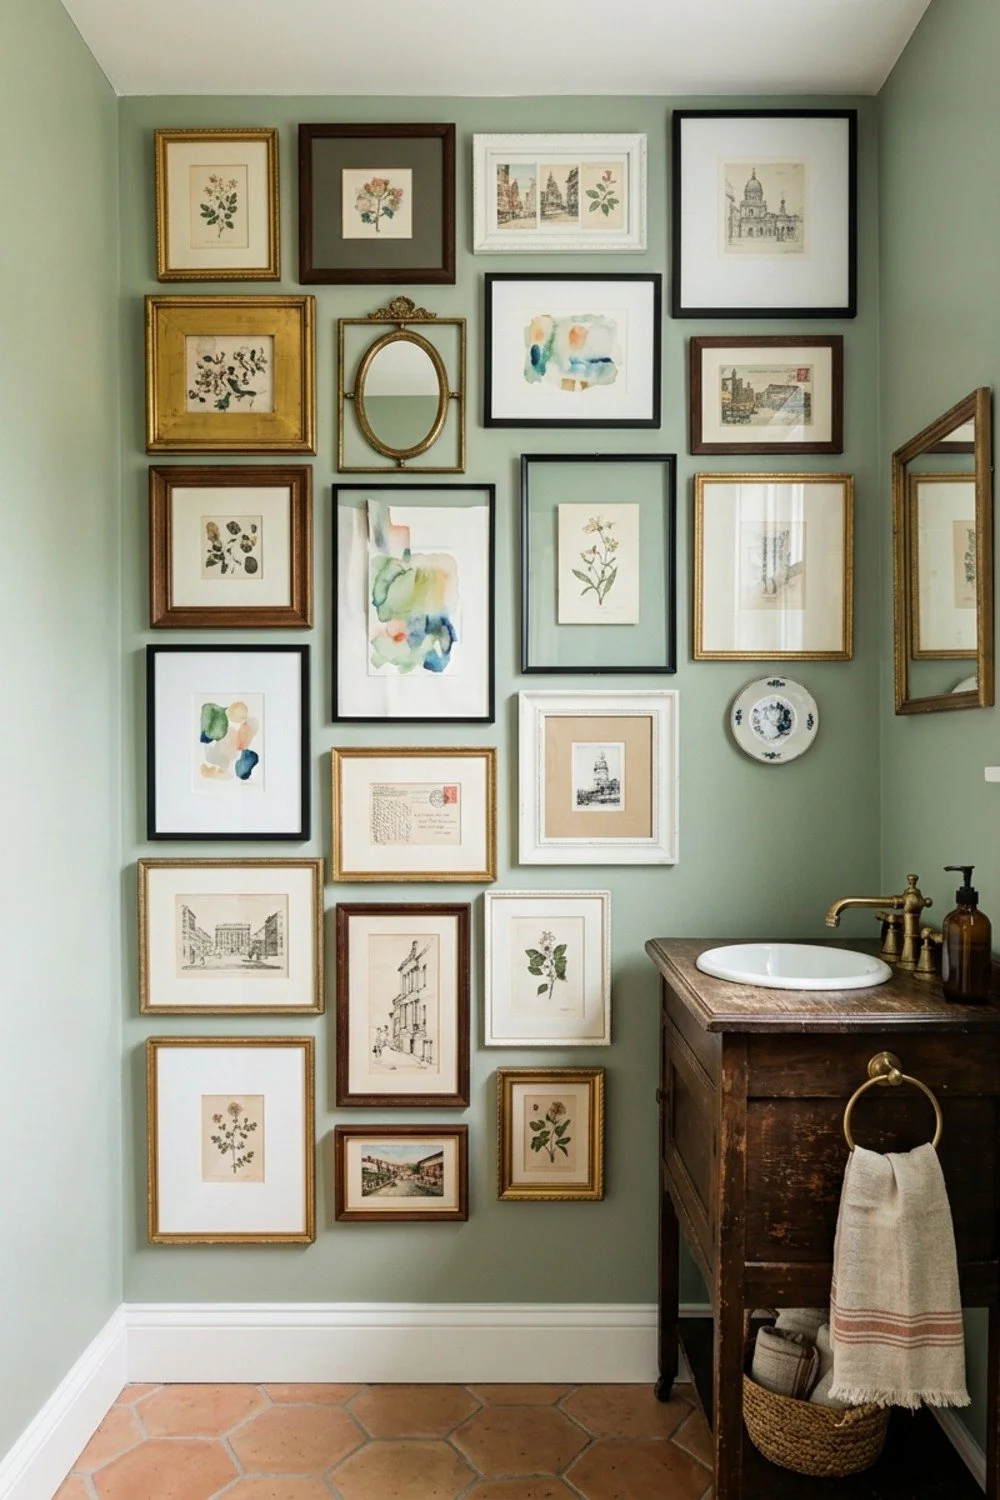
A powder room is a short visit, so it can take a bold wall. Navy paint and 14 frames in gold and black, running from wainscot to ceiling, turn a 5-by-6-foot room into something memorable.
Mix sizes from 5×7 to 16×20 and keep gaps at 1.5 inches. Dark paint swallows cheap frames, so spend a little more on the gold ones.
23. A framed set above the laundry machines
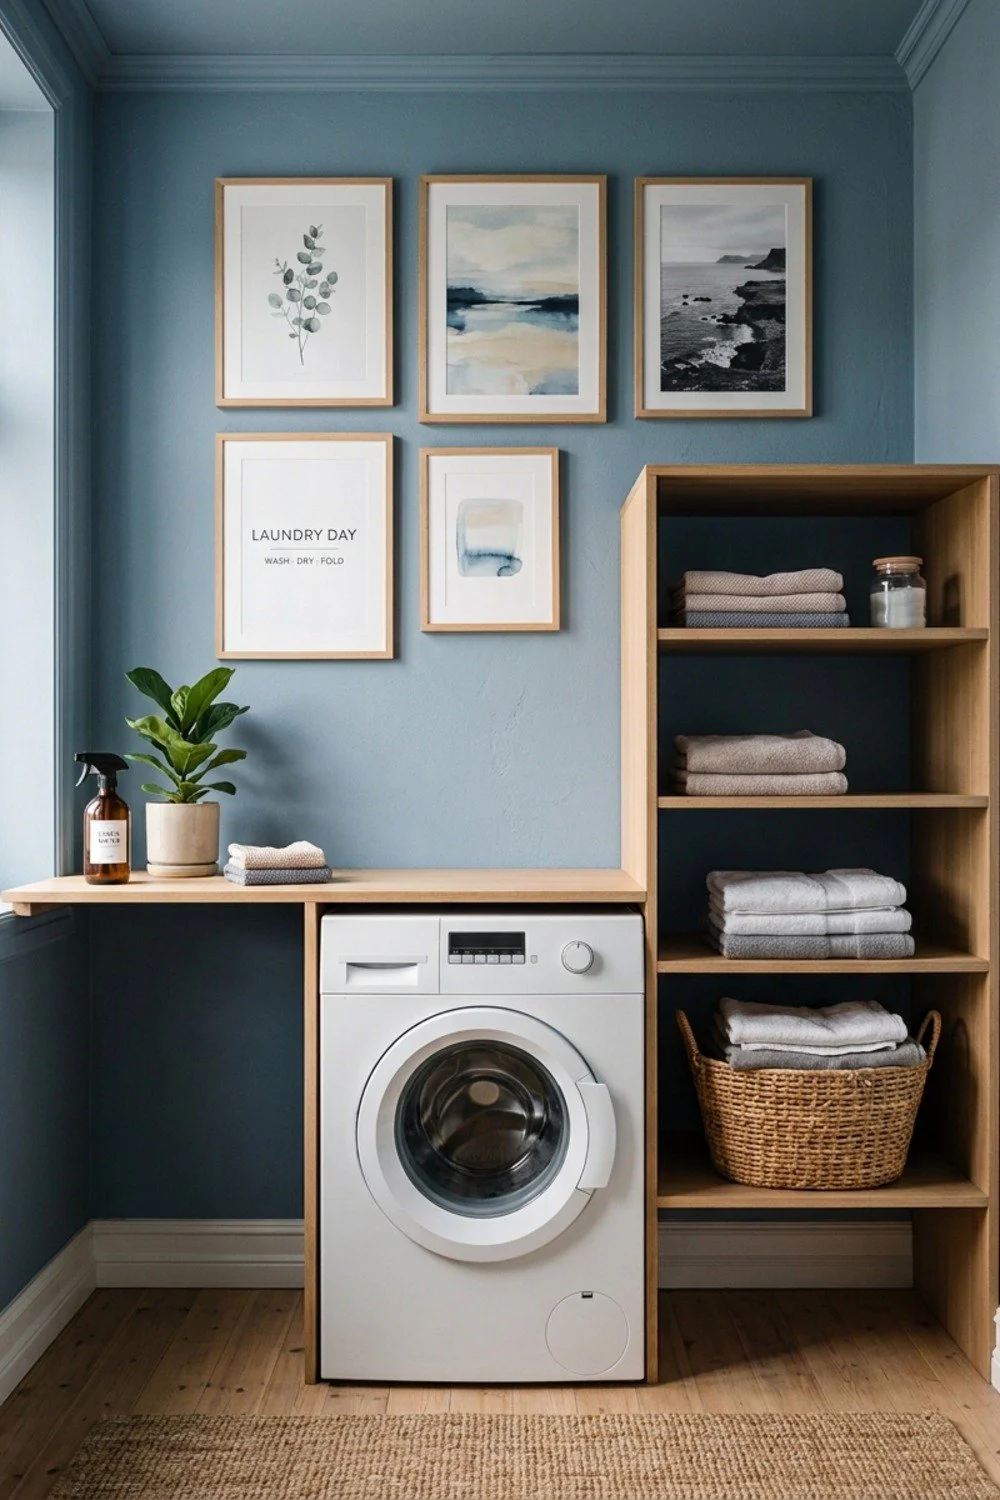
A laundry room wall earns its keep when it works. Hang a 24-inch brass drying rail below a row of four 8×10 frames, and the wall holds delicates and stays attractive.
Keep the art 8 inches above the rail so wet sleeves never touch the glass. This idea pays off most in a windowless room that needs a bit of life.
Design inspiration and ideas
24. A mirror anchoring the art by the front door
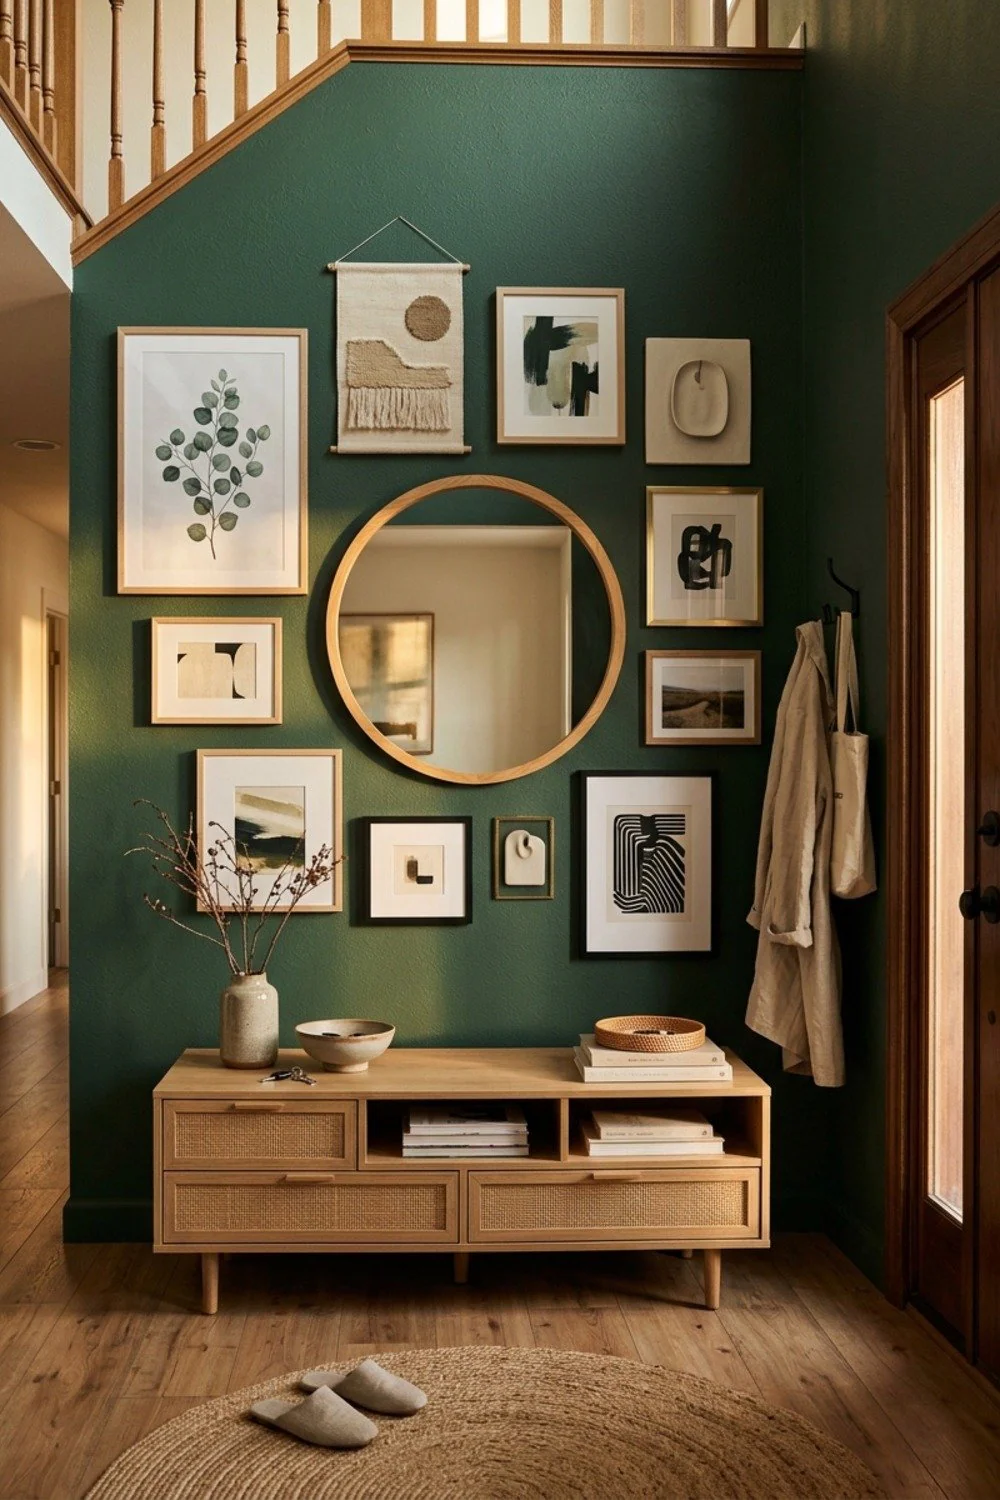
A 30-inch round mirror between two vertical pairs of frames gives you a last glance before leaving. The mirror also bounces daylight into a dim foyer, which flat art can’t do, and the curve softens a run of rectangles.
It suits narrow apartment entries best. Position the mirror’s center at 60 inches so it works for most heights. Avoid placing it facing clutter, since the reflection doubles whatever’s in view, so check what sits opposite, such as a shoe pile or coat hooks.
25. A diagonal climb up the staircase
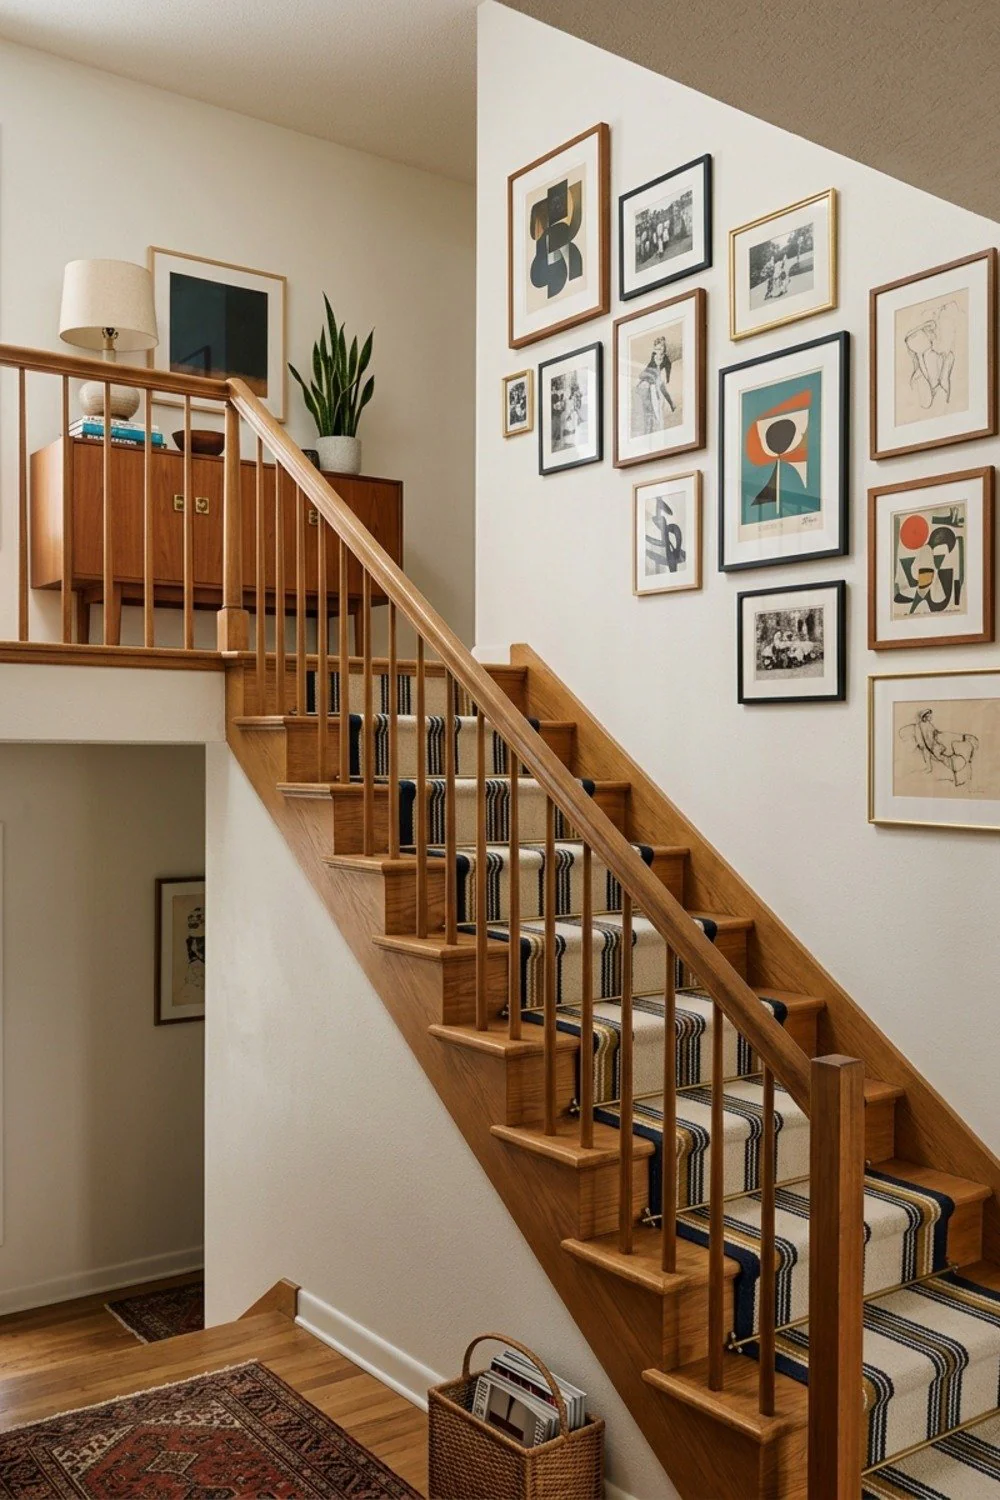
Frames on a stair wall should rise with the steps, not stay level. Cut paper templates, tape them along a line parallel to the stair rail, and hang the lowest frame 57 inches above the stair nosing.
Use frames at least 8 inches wide with the same spacing as elsewhere in the house. A tall stairwell with 14 or more frames feels like a family history, which is a good reason to include photos.
26. A hallway runner of identical frames
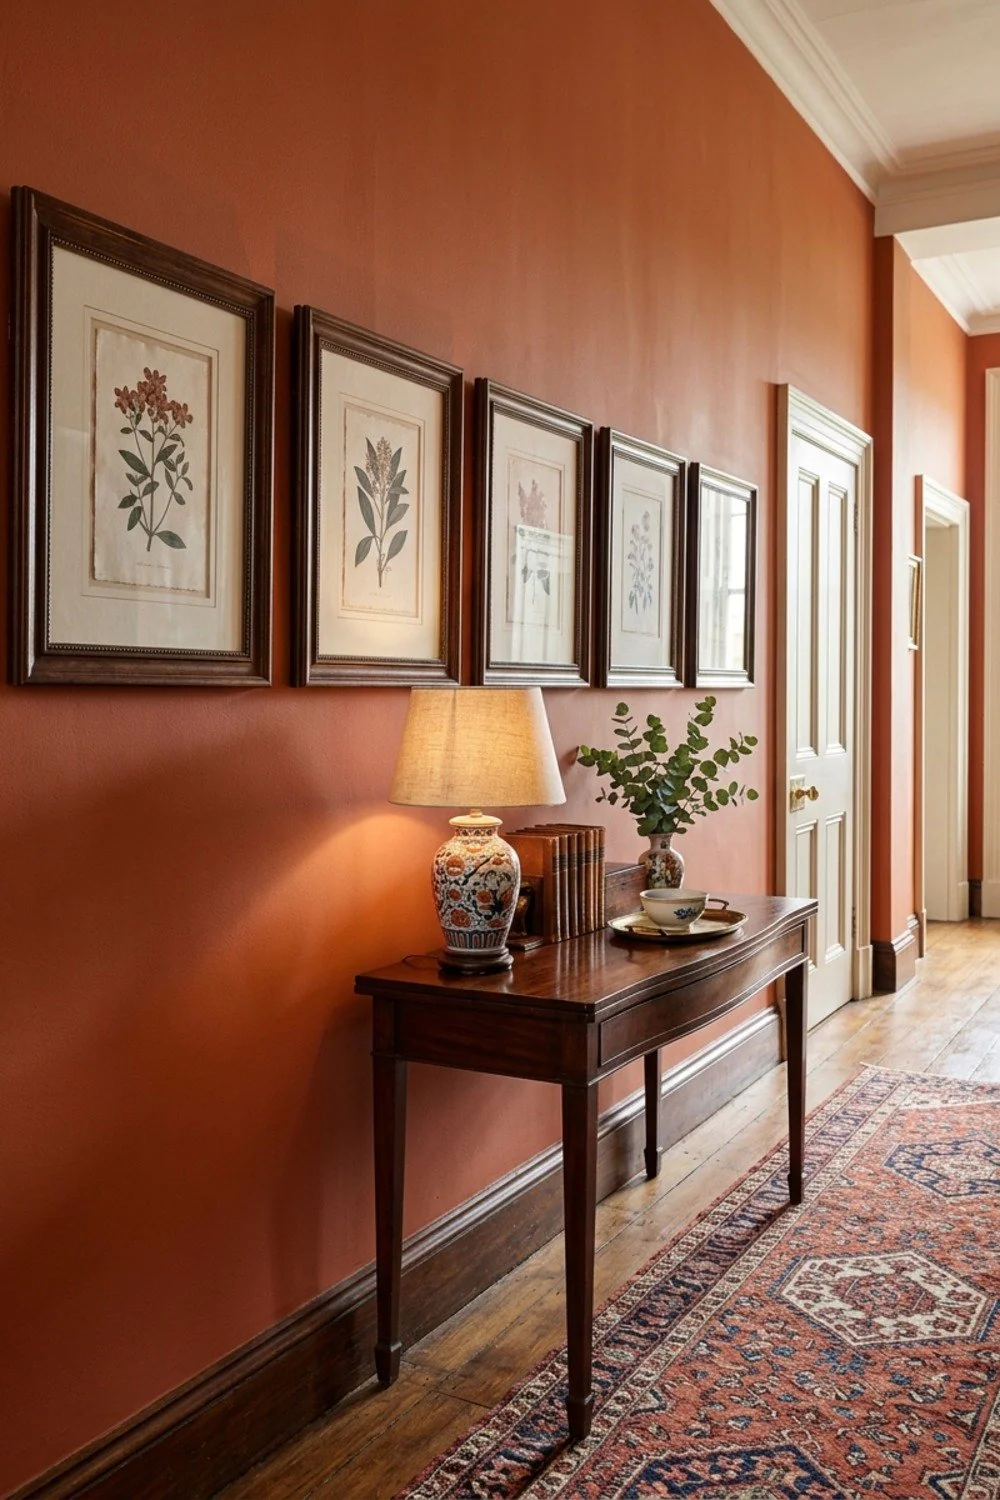
Seven 12×16 frames in a single line, centered at 57 inches, keep a long hallway calm. Matching frames and mats let the eye move along without stopping, so the run reads as one rhythm instead of seven separate pictures.
This suits narrow, busy corridors in family homes. Hallways are rarely wider than 42 inches, so pick low-profile frames under 1 inch deep. Anything chunkier catches shoulders and backpacks, wearing scuffs into both the frames and the paint.
27. A gallery blended with a pinboard above the desk
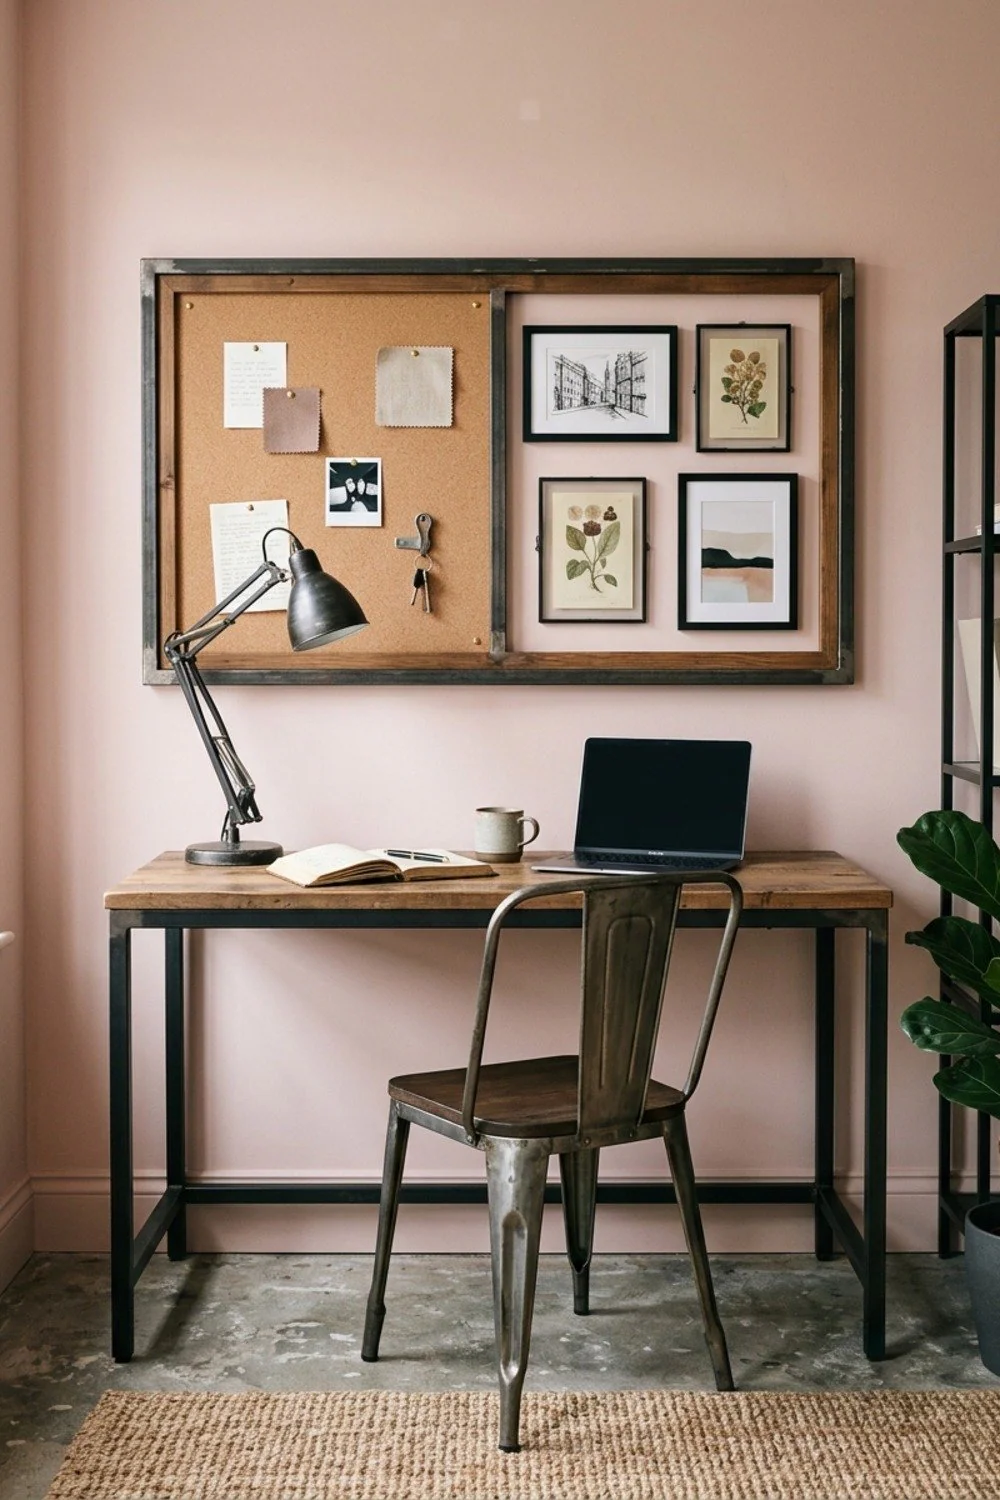
A 36-by-24-inch cork or linen pinboard flanked by four frames gives a home office a spot for today’s notes next to permanent art. Frame the pinboard in the same wood as the others and it blends in.
Hang the lot so the lowest edge is 12 inches above the desk, high enough to clear a monitor. The pinboard goes at eye level, since that’s the zone you’ll use most.
28. A frame border around a wall-mounted TV
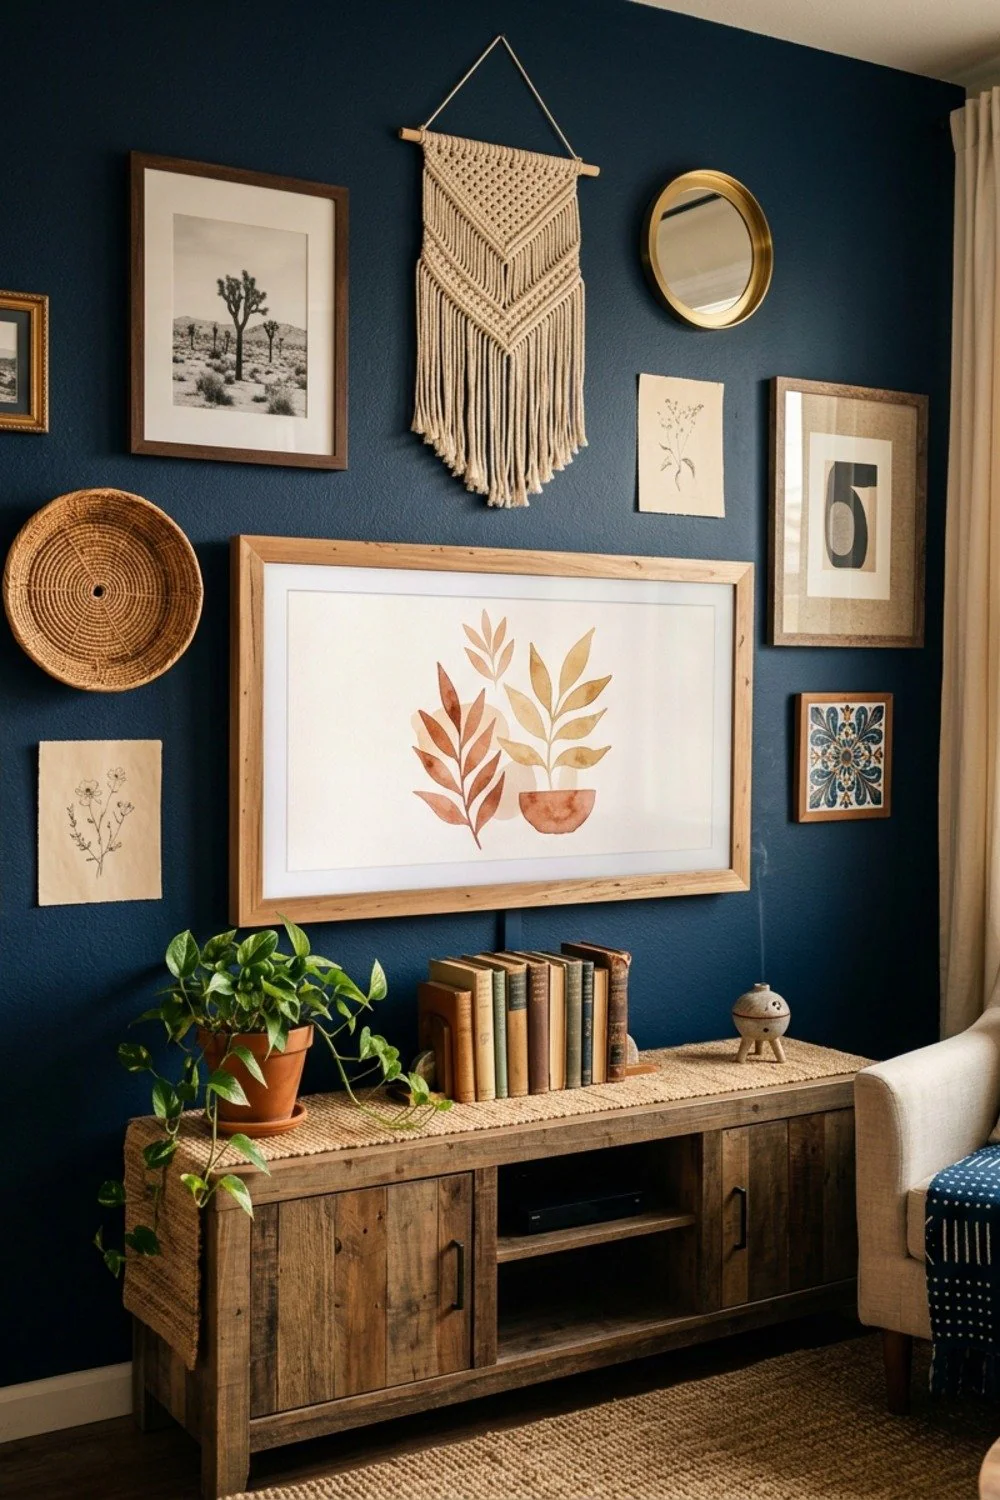
A 55-inch screen looks like a black hole on a bare wall. Surround it with 6 to 10 frames in assorted sizes, keeping 3 inches between each frame and the TV edge.
Choose art with dark or saturated colors, since pale prints near a black screen look washed out. Route cables behind the wall first, before a single nail goes in.
29. A frame set that wraps a doorway
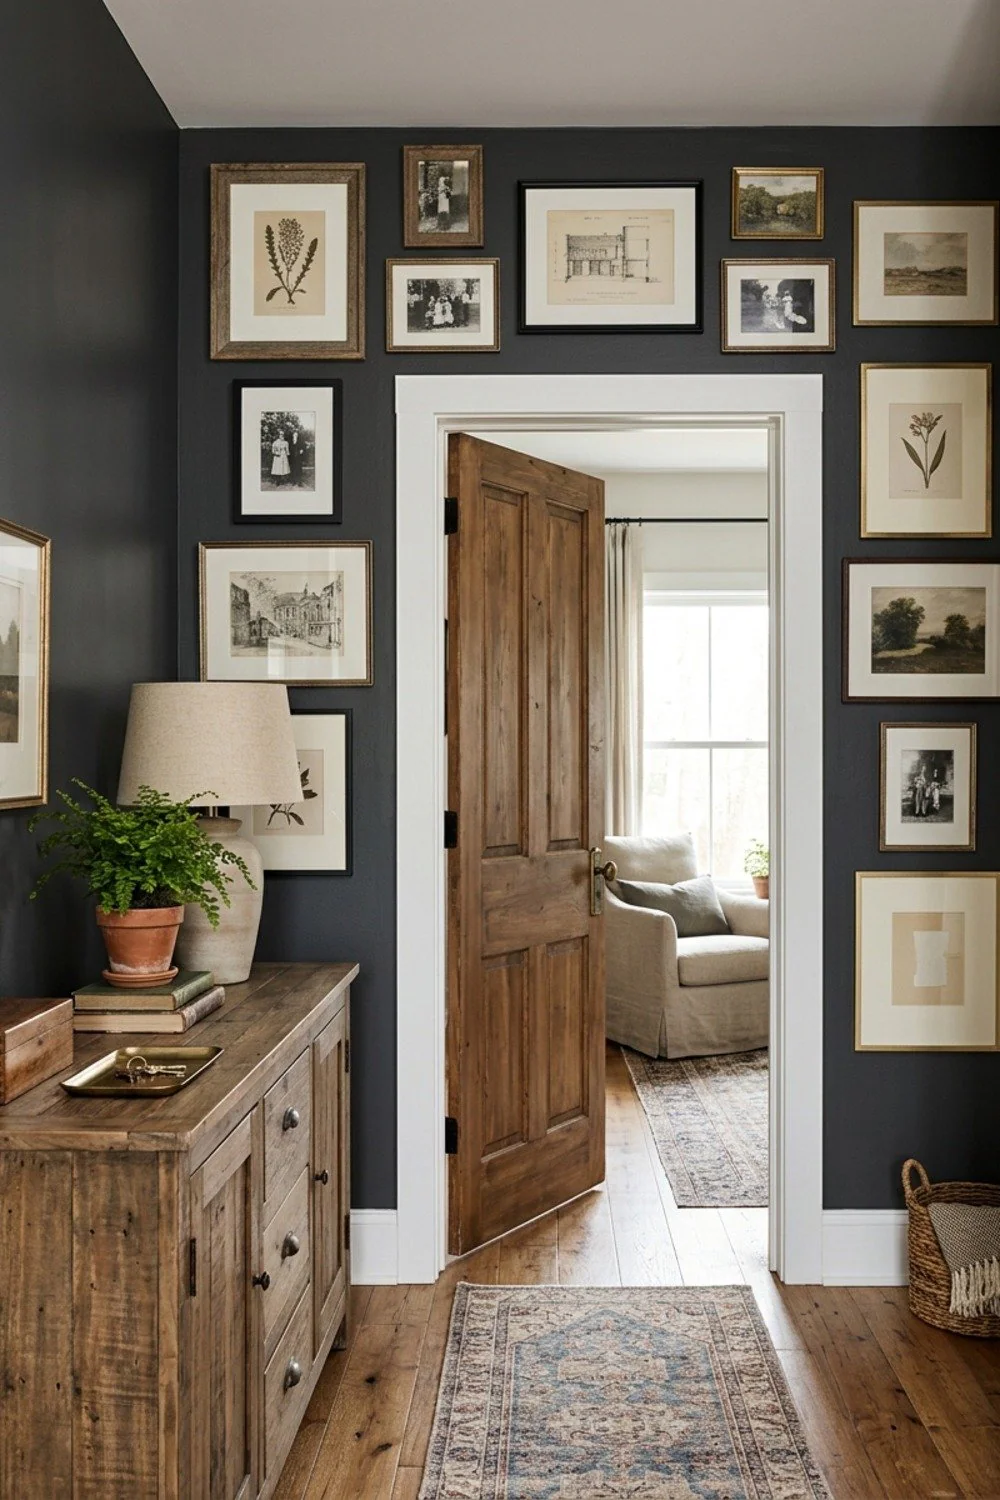
Four small frames hung over the casing and one tall piece beside it turn a corridor into a gallery. The narrow strip above and beside a door is wasted space in most homes, and framing the opening makes the door itself part of the display.
Keep everything 3 inches off the trim and at least 6 inches above door height, so swinging doors never clip the frames. This suits hallways and landings with plenty of doors but little open wall; check the swing before nailing anything.
30. Adhesive strips for the rental wall
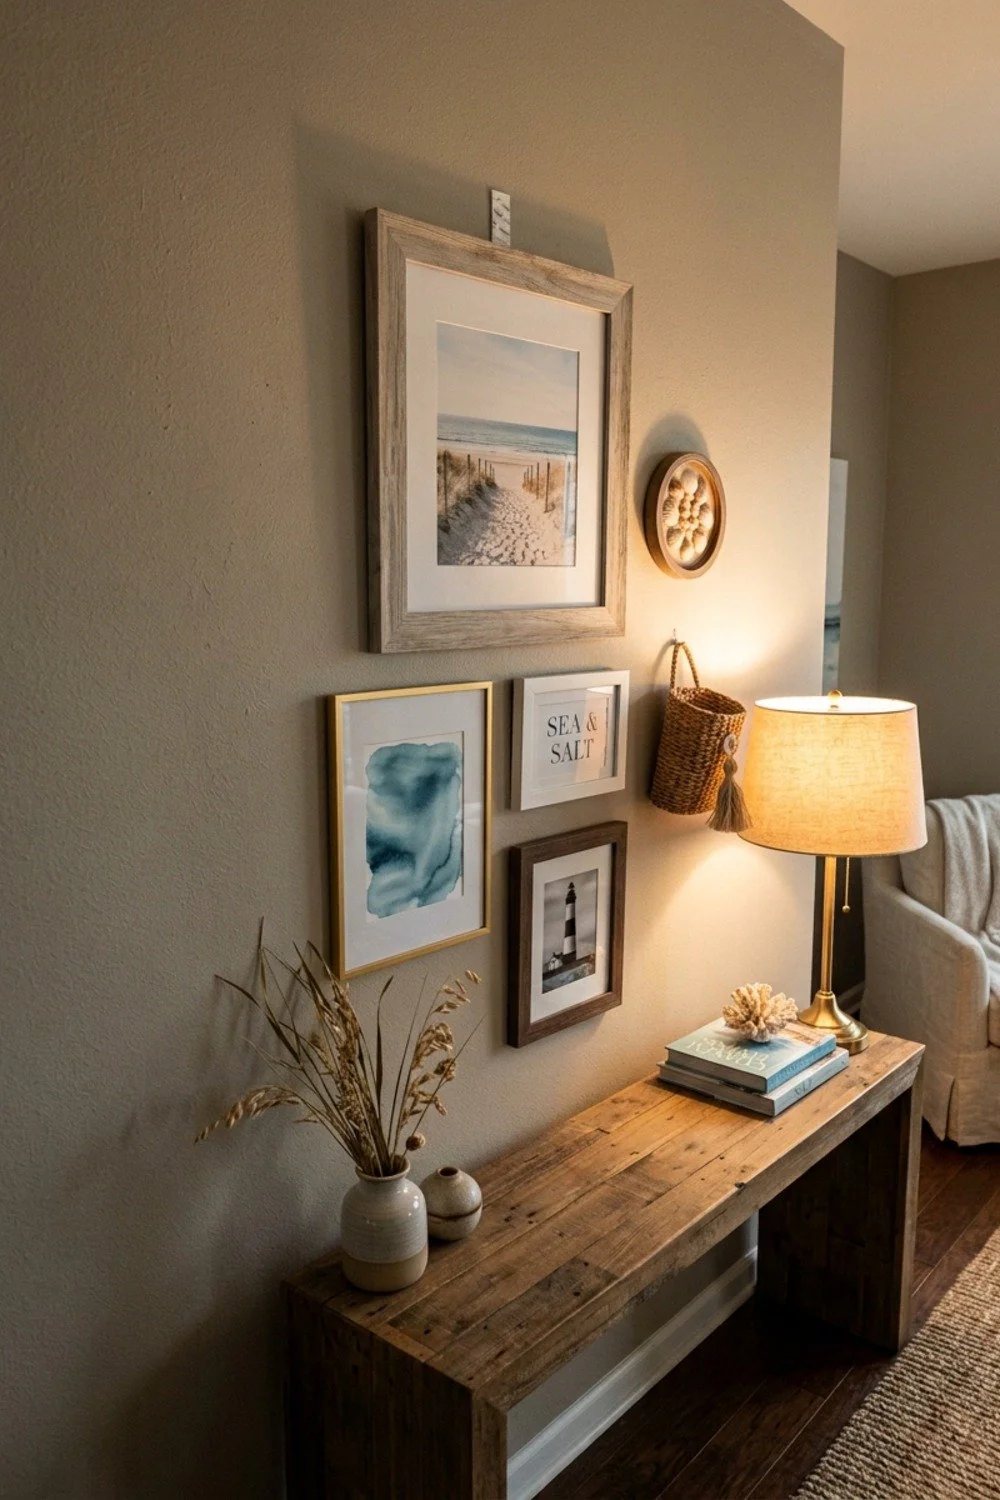
Adhesive hanging strips let renters hang a full set without a single nail hole, and the rated weight is printed on the package. Keep each frame under that limit, and clean the wall with rubbing alcohol before pressing the strip on.
Hold each frame firmly against the wall for 30 seconds. Then wait an hour before hanging anything, since adhesive needs time to bond.
Things that elevate the room
Should the whole arrangement center at 57 inches? Right. The center of the group sits at eye level, not the top row and not the first frame.
Gaps matter more than most people expect. Tight, consistent spacing looks deliberate, while uneven gaps look accidental.
- Keep the group at two-thirds to three-quarters of the width of the furniture below it.
- Use 2 inches between frames in most rooms, 1.5 inches in small ones.
- Hang the bottom edge 6 to 10 inches above sofas, beds, and sideboards.
- Cut kraft paper templates and tape them to the wall before hammering anything.
- Start with the largest frame and build outward.
Here’s a counterintuitive fact: a wall of mixed frame finishes with identical mats looks more unified than matching frames with random mats. The mat is what the eye reads first.
Measure twice.
What went wrong
Hanging too high is the most common error, and it happens because people hang each frame at eye level instead of treating the group as one object. The fix is to find the group’s center point first.
Another trap is buying every frame at once. A wall that grows over a few months, with pieces you actually love, beats an instant set from a single store.
- Skipping paper templates, which leads to extra holes in the plaster.
- Mixing too many mat colors, which fractures the wall.
- Ignoring weight, since a 14-pound mirror needs a stud or a proper anchor.
- Choosing art only for color match, which leaves the wall without meaning.
Making it flow between rooms
30 gallery wall ideas for Every Room can feel like 30 separate projects if each wall follows its own rules. A single repeated element ties them together: the same frame color, the same mat tone, or one recurring subject like botanicals.
Walk the sightlines between rooms. If you can see a hallway wall from the living room sofa, the two groups should share at least one frame finish.
Vary the scale, though. A grid in the living room, a loose cluster in the bedroom, and a single line in the hall give each room its own pace while the shared frame color keeps the house coherent.
Pick one wall and start
The best of these 30 gallery wall ideas for Every Room is the one that fits a real wall you pass every day. Measure the space, cut the paper templates, and let the numbers decide the layout before the art does.
Save or pin these gallery wall ideas so they’re ready when the weekend arrives. Then pick the single room with the plainest wall, measure its width, and start there.
Frequently Asked Questions
How much does a gallery wall cost?
A basic wall of six to nine frames runs $45 to $171, depending on frame quality and printing. Thrifted frames with spray paint are the cheapest route, while solid wood frames at about $19 each cost more but last longer.
How high should a gallery wall hang?
The center of the whole group should sit around 57 inches from the floor. Over furniture, hang the bottom edge 6 to 10 inches above the sofa, bed, or sideboard.
Can gallery wall ideas for Every Room work in a rental?
Yes. Adhesive hanging strips, picture ledges, and leaning frames let renters build a full wall with no nail holes, as long as each frame stays under the weight rating on the package.
Should all the frames match?
No. Mixed frames look collected if the mats are identical or the colors repeat across the set. Matching frames suit grids and hallways, where a rigid, ordered look is the goal.