Dust mites measure about 0.3 millimeters, and a single used mattress can hold them by the million. That’s the real problem behind most hypoallergenic bedroom decor shopping, because a label on a product matters less than how many dust-holding surfaces the room has and how many of them you can wash or wipe.
Every one of the 28 projects below is something you can build yourself with a sewing machine, a drill, a paintbrush, or nothing more than a pair of scissors. Each lists its skill level, timing, and tools, so a Saturday doesn’t turn into a month of half-finished piles.
Hypoallergenic bedroom decor you can build this weekend
Hypoallergenic bedroom decor comes down to three moves. Block allergens with tightly woven fabric, remove the ledges and textures where dust settles, and pick finishes that don’t off-gas into the room you sleep in.
Does a surface you can wipe in ten seconds beat one you have to vacuum twice a week? Exactly. That one question sorts most of the projects below.
Here’s how the difficulty labels work:
- Beginner: no special skills, usually under two hours.
- Intermediate: basic sewing, drilling, or sanding, and anywhere from two hours to half a day.
- Drying time is listed separately, because paint and sealer don’t care about your schedule.
Finish one project completely before starting the next.
1. Zippered pillow protectors from tight-weave cotton

A standard pillow measures 20 by 26 inches, so cut two panels of tightly woven cotton at 21 by 27 and sew a zipper into one short end. The weave density is what blocks mites (pores under roughly 10 microns), and the thread count printed on a package tells you very little.
This is a beginner project. Plan about 90 minutes with a sewing machine, a zipper foot, and a 22-inch zipper. It suits anyone who sleeps on feather or older pillows, where mites settle in deepest.
The common mistake is a zipper that gaps at the corner. Stop stitching an inch short of the end, backstitch hard, then sew a second pass.
2. Lidded plywood bins for under the bed
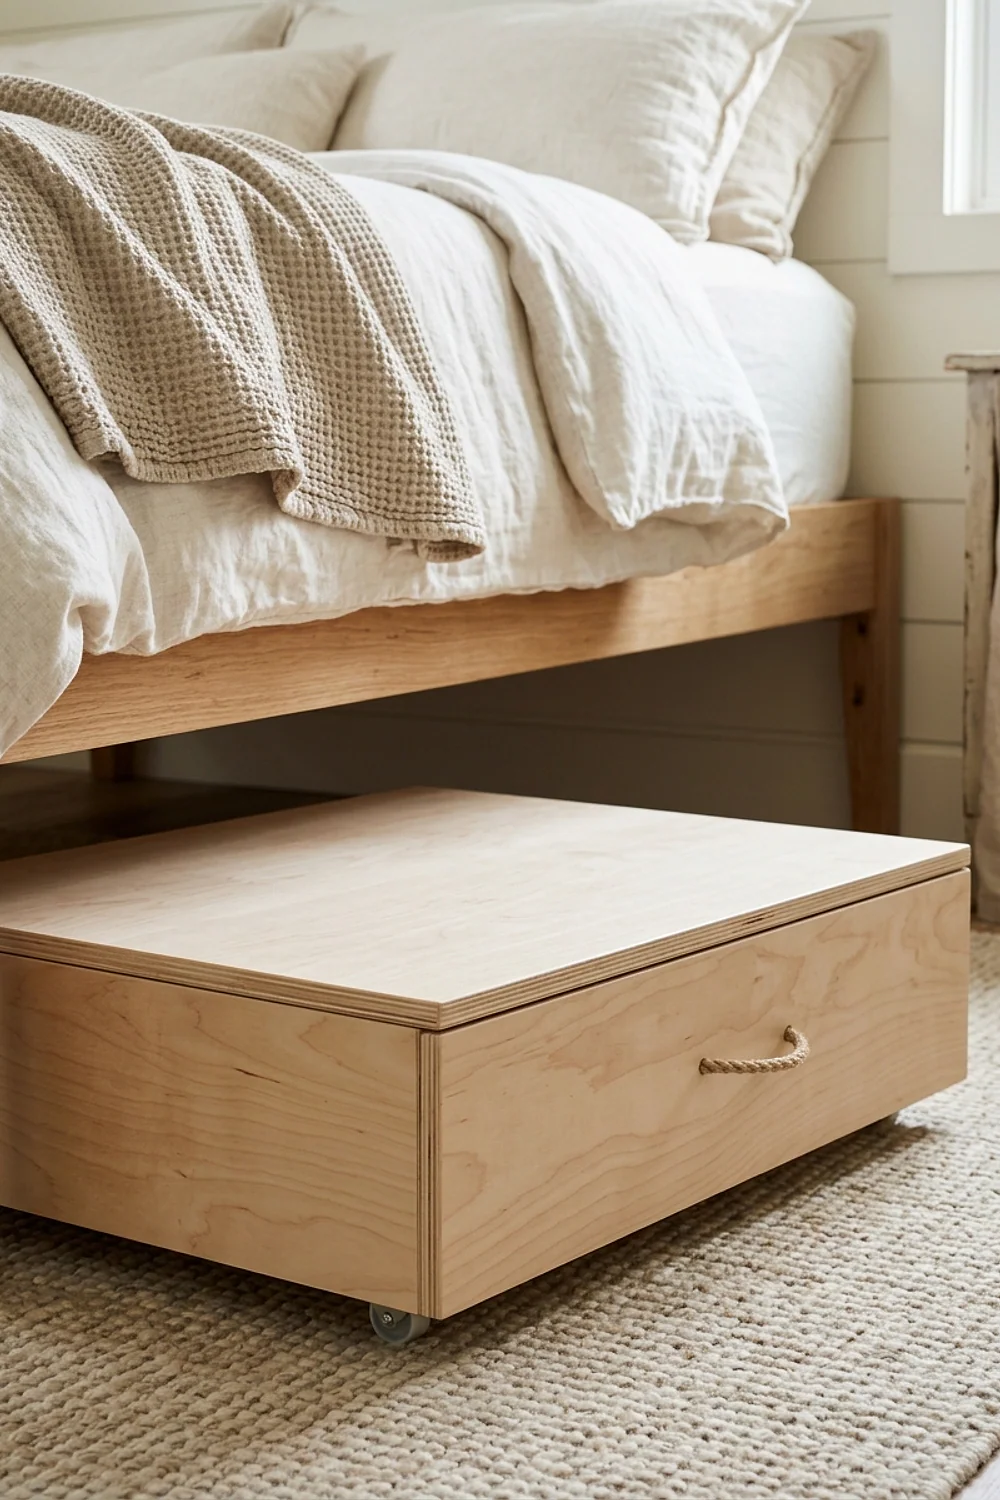
The 6 to 9 inches under most beds is the dustiest storage in the house, because open boxes breathe room air all night. A box built from half-inch birch plywood, about 36 by 18 by 6 inches, with a flush lid keeps linens sealed in.
Call it intermediate: roughly three hours with a saw, a drill, wood glue, and sandpaper, plus a coat of water-based polyurethane. It’s the right fix for a platform bed with a low gap and a closet that’s already full.
Leaving the lid off defeats the purpose. Add a finger pull cut with a 1-inch hole saw so closing it never feels like a chore.
3. A duvet cover sewn from two flat sheets
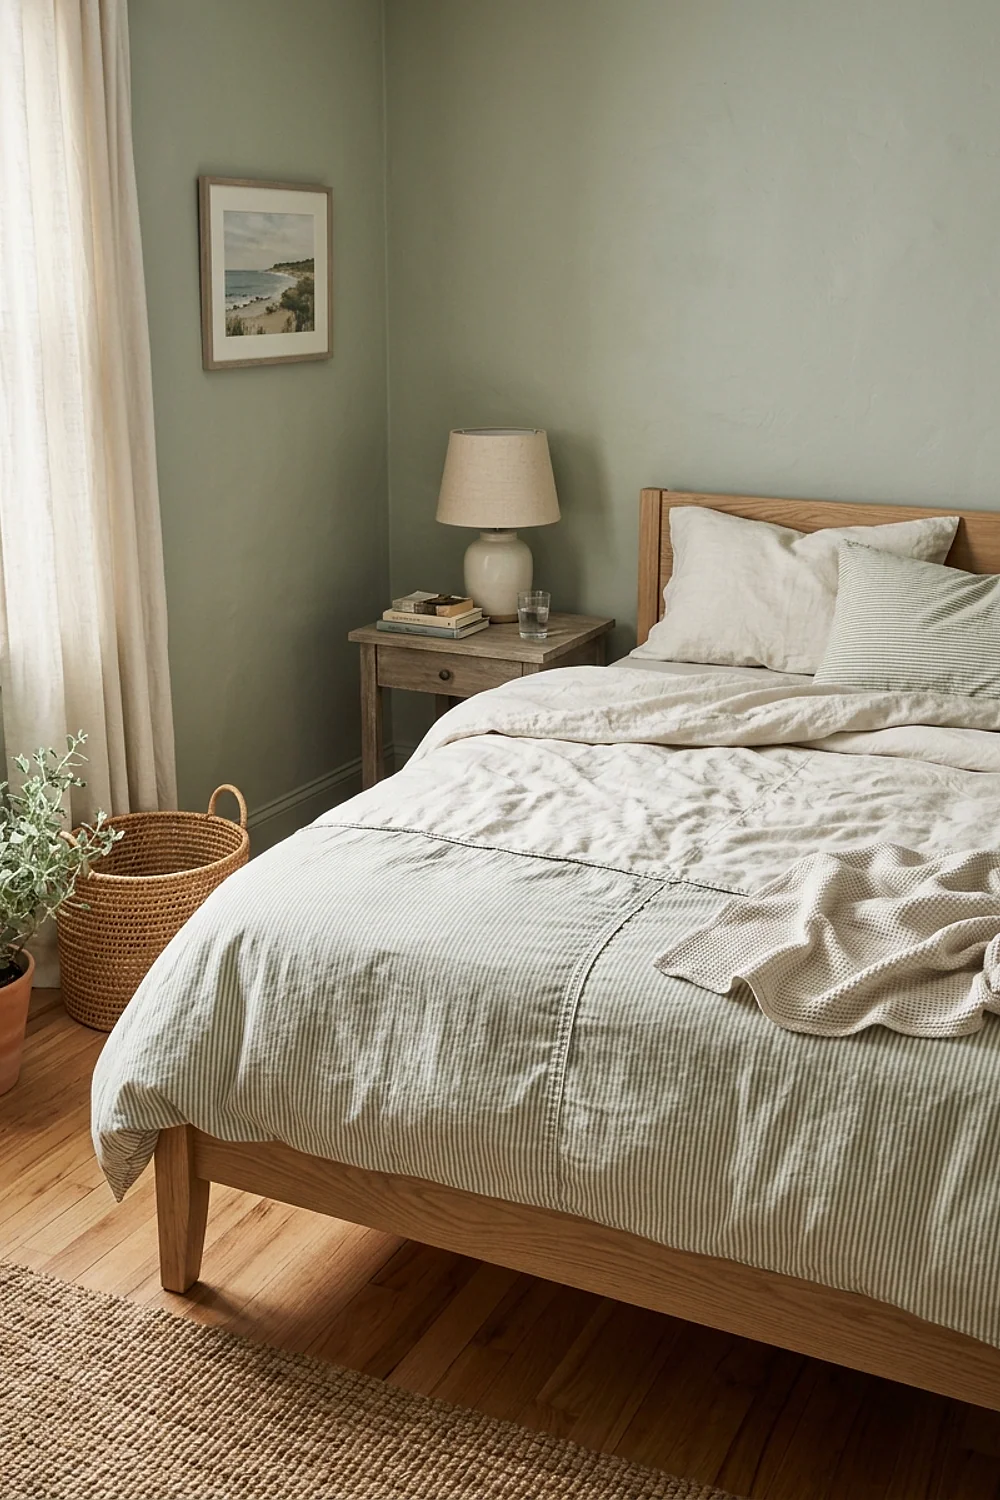
Two flat queen sheets in cotton percale, around $35 on sale, make a duvet cover for far less than a ready-made one. Percale is crisp and smooth, so it sheds lint and releases dust when washed, while a fuzzy flannel holds onto both.
Sew three sides with a half-inch seam and finish the fourth with snaps or ties. It’s a beginner job: about an hour with a machine, pins, and an iron.
Here’s the counterintuitive part. Cold water doesn’t kill mites, but a wash at 130°F (54°C) does, so choose a fabric that survives that heat and pre-wash it before cutting.
4. A zero-VOC sage wall behind the bed

A muted gray-green wall, painted in zero-VOC matte, goes quiet at 4pm when the light turns gold and low. Paint a section about 4 feet wide behind the headboard, or the whole wall if the room is under 120 square feet.
This is beginner work. Budget about four hours for two coats with a 9-inch roller, an angled brush, and painter’s tape.
Zero-VOC doesn’t mean zero smell, so open the windows for 48 hours and don’t sleep in a freshly painted room on night one.
5. A floating nightstand shelf in sealed pine

A 1×10 pine board, about 18 inches long and mounted 24 inches off the floor, replaces a nightstand and clears the floor underneath for the vacuum. With no legs and no drawers, there’s nowhere for dust to hide.
The project is intermediate. You’ll need a stud finder, a drill, a level, and a French cleat, and it takes about 90 minutes plus sealer.
Screw into studs. A lamp, a water glass, and two paperbacks will pull plastic anchors out of drywall faster than most people expect.
6. A washable slipcover for an upholstered headboard

Upholstered headboards are comfortable and dust-prone. A pillowcase-style slipcover in washed cotton canvas turns the whole thing into something you can throw in the machine.
Measure width, height, and thickness, add an inch of ease, and sew three sides. Two hours and a machine are all you need, so it’s a beginner-to-intermediate job.
Pre-wash the canvas twice first. Cotton canvas can shrink 3 to 5 percent, and a slipcover that fit on Saturday won’t fit on laundry day.
7. Plug-in sconces with wipeable metal shades

Fabric lamp shades gather a gray fuzz you rarely see until the sun hits them sideways. An enamel or metal shade wipes clean with a damp cloth, and mounting plug-in sconces about 52 inches above the floor frees the nightstand surface altogether.
Beginner level, about 45 minutes with a drill, a level, and a paintable cord cover. Choose 2700K bulbs at around 800 lumens for reading without that clinical glare.
Hide the dangling cord. A loose cord is a dust ribbon and a trip hazard at once.
8. Washable cotton curtains in place of heavy velvet

Heavy velvet drapes soak up dust and rarely get washed, which makes them one of the worst offenders in a bedroom. Cotton duck or linen-blend panels with clip rings can be laundered monthly.
Hem the panels 4 inches at the bottom and hang them 1 inch above the floor so a mop or vacuum passes cleanly. It’s a beginner project, about two hours with a machine and an iron.
Skip anything lined with a “dry clean only” backing. If you can’t wash it, it won’t get cleaned.
9. A cordless roller shade trimmed to fit
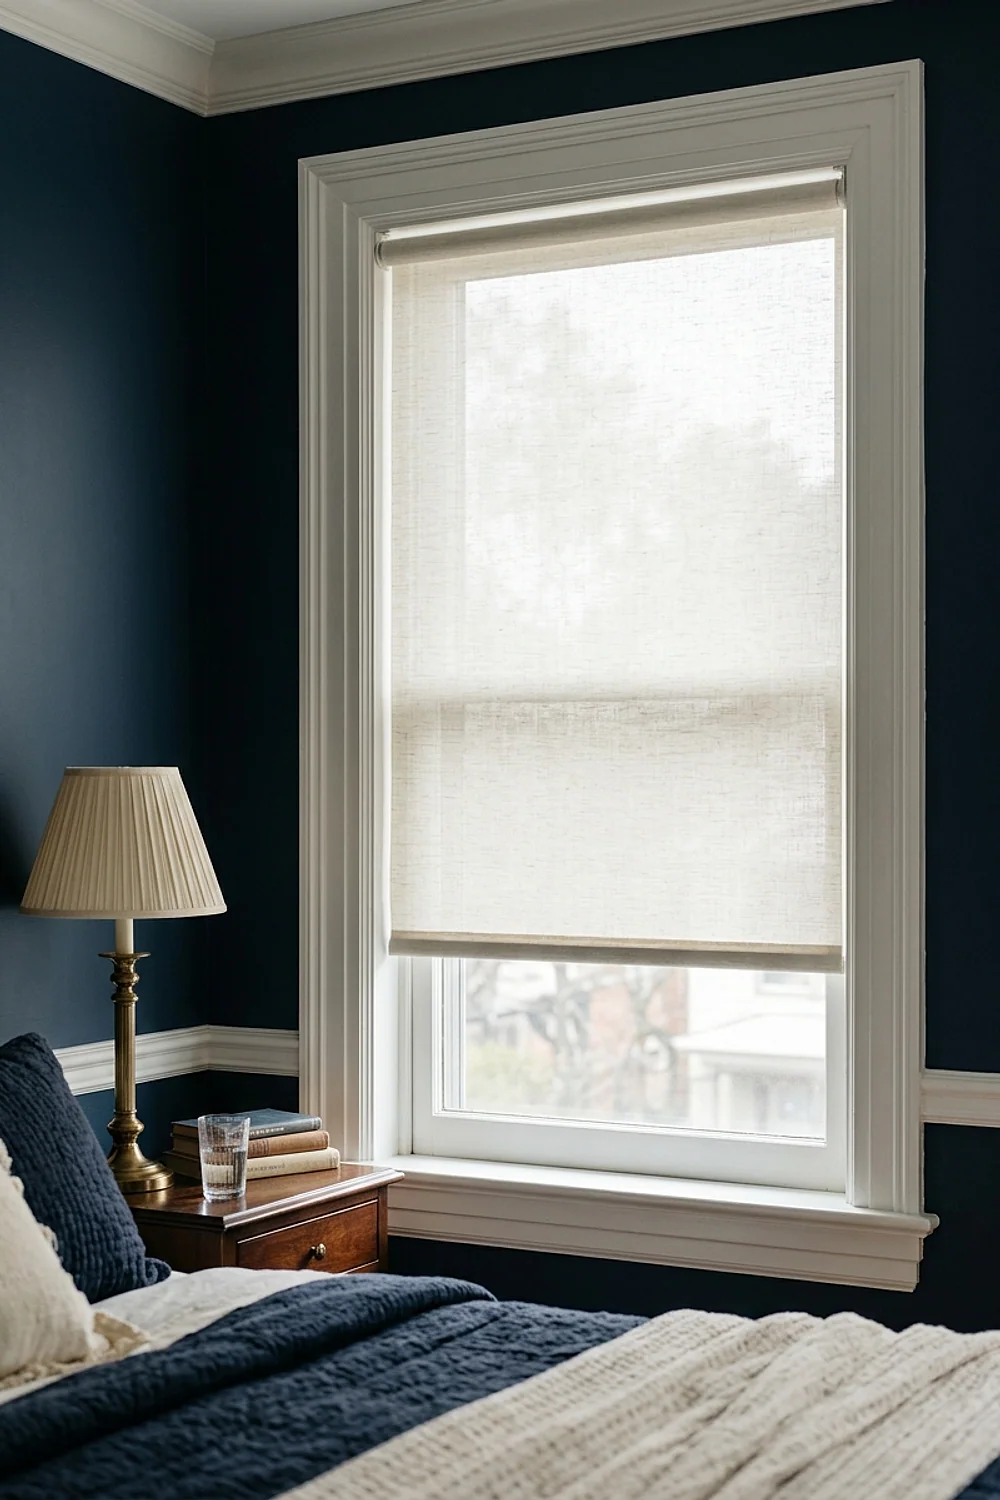
Every slat on a mini blind has two dusty faces, while a roller shade has one flat sheet to wipe. A trim-to-fit cordless version runs about $20 and is cut down in minutes.
Measure the inside width at three points and use the narrowest number. You’ll need a tape measure, a hacksaw for the tube, and a drill for the brackets, and the whole job takes about 20 minutes.
It’s the best fit for narrow windows and kids’ rooms, where dangling cords have no business.
10. A hemmed muslin throw, 50 by 70 inches

Double-gauze muslin feels like a dry, crinkled cloud under your hand, and it gets softer with every wash. At 50 by 70 inches it covers a lap or the foot of the bed without the weight of a quilt.
Beginner level. You’ll want a machine and an iron, and about 40 minutes with a rolled hem.
Wash the fabric before hemming, or the raw edges will fray into lint. That lint is exactly what a hypoallergenic bedroom doesn’t need.
11. A painted drop cloth rug
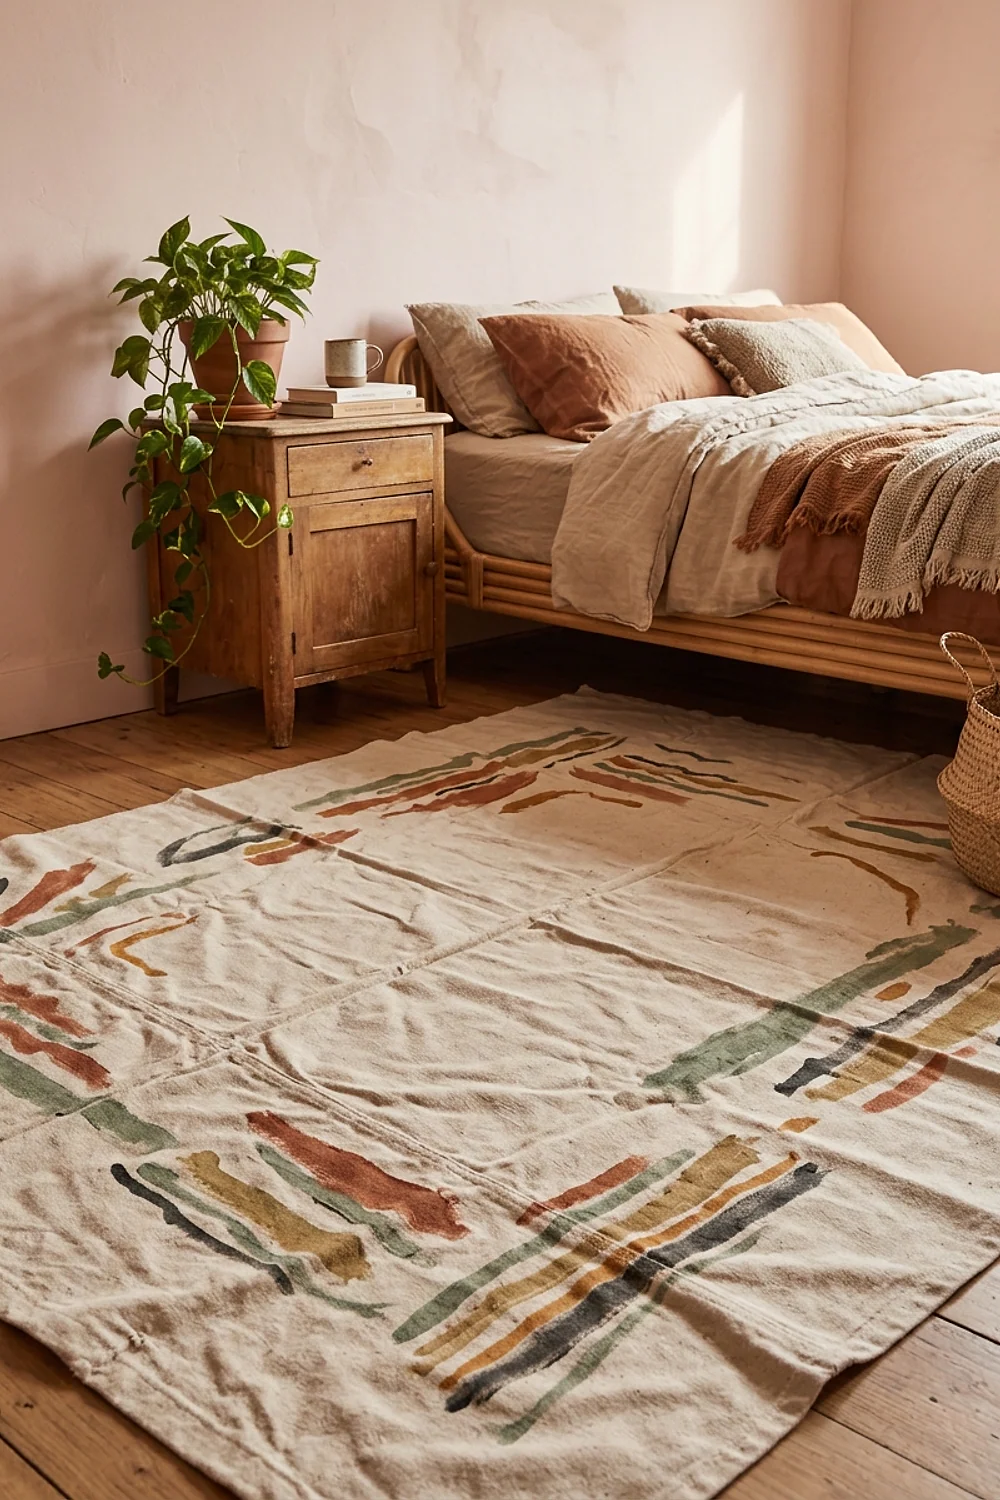
A 6 by 9 foot cotton canvas drop cloth, under $30, makes a flat-woven rug that keeps no pile for dust to bury in. Under a queen bed, a rug should extend 18 to 24 inches past each side.
Hem the edges with iron-on tape, tape off a stencil pattern, and roll on latex paint. Humidity matters: a rainy November Sunday can stretch drying from four hours to a full day.
Beginner skill, a weekend’s patience. Shake it outdoors monthly instead of dragging a vacuum across the pattern.
12. Cabinet doors on an open bookcase

Open shelves display everything and dust everything. Pre-cut MDF doors with concealed hinges close the front of a standard 30-inch bookcase and cut dust exposure for books and baskets.
This one is intermediate. Plan about three hours with a drill, a 35mm hinge bit, and a hinge jig for repeatable holes.
Choose full-overlay doors, not inset. Inset doors need tighter tolerances than a hand-built bookcase usually has.
13. A sealed pine bench for the foot of the bed

A 1×12 pine bench, about 45 inches wide, 14 inches deep, and 17 inches tall, gives you a place to sit and drop a robe. Three thin coats of water-based polyurethane, sanded lightly with 220 grit between coats, make the whole surface wipe-clean.
Intermediate level, one afternoon plus drying time. You’ll need a saw, a drill, pocket screws or glue, and a sander.
Use water-based sealer, not oil. Oil-based finishes yellow over white wood and hold their smell for days.
14. A painted arch behind the bed

A string, a pencil, and a thumbtack draw a clean arch. For a 60-inch-wide bed, the radius is 30 inches, centered on the middle of the bed.
It’s a beginner-to-intermediate paint job: about three hours with painter’s tape, an angled brush, and a mini roller. It gives a bare wall presence without a single textile.
Seal the tape edge with a thin coat of the base wall color first. On textured walls, that stops the new color bleeding underneath.
15. Felt glides and sliders under heavy furniture

A dresser that weighs 120 pounds gets vacuumed behind about once a year, usually never. Self-adhesive felt glides on hard floors, or rubber sliders on carpet, let you shove it aside in ten seconds.
Beginner level, 15 minutes, with scissors and a damp cloth. It suits rooms where every wall already has furniture against it.
Use the right kind for your floor. Felt on carpet does nothing, and plastic on hardwood scratches.
16. A gallery wall of thrifted frames behind glass

Frames with glass, picked up for a few dollars at a flea market, can be wiped. Bare canvas and textured fiber art collect dust on every ridge.
Hang five 8 by 10 frames with 2 inches between them, centered about 57 inches off the floor. It’s a beginner task: 30 minutes with a screwdriver, a level, and a microfiber cloth.
Avoid cardboard-backed frames that smell musty. Musty backing is a mold flag, so leave those on the shelf.
17. A thrifted ceramic lamp, rewired
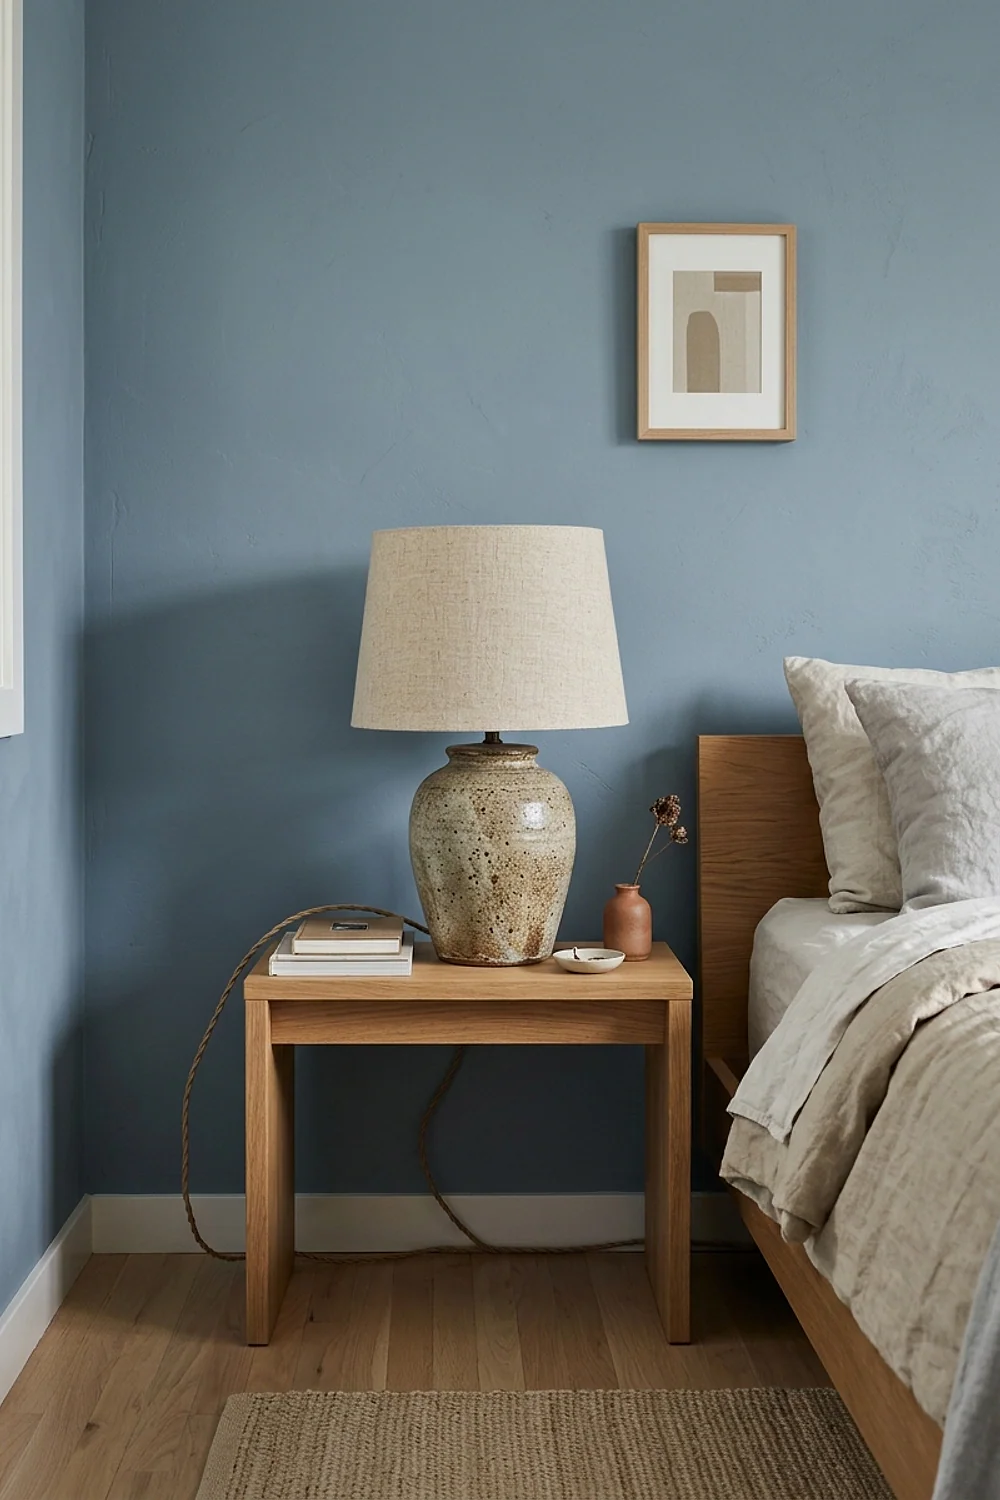
Plenty of 1970s ceramic lamps have solid bases and tired cords. A new lamp kit takes about 40 minutes and gives a glazed, wipe-clean base a safe second life.
This is intermediate, since you’re working with wiring. You need wire strippers, a screwdriver, and a UL-listed kit, and you must unplug everything first.
Finish with a 2700K bulb at around 800 lumens. Frosted glass globes outlast linen shades, and they never fade in afternoon sun.
18. A peg rail instead of the clothes chair
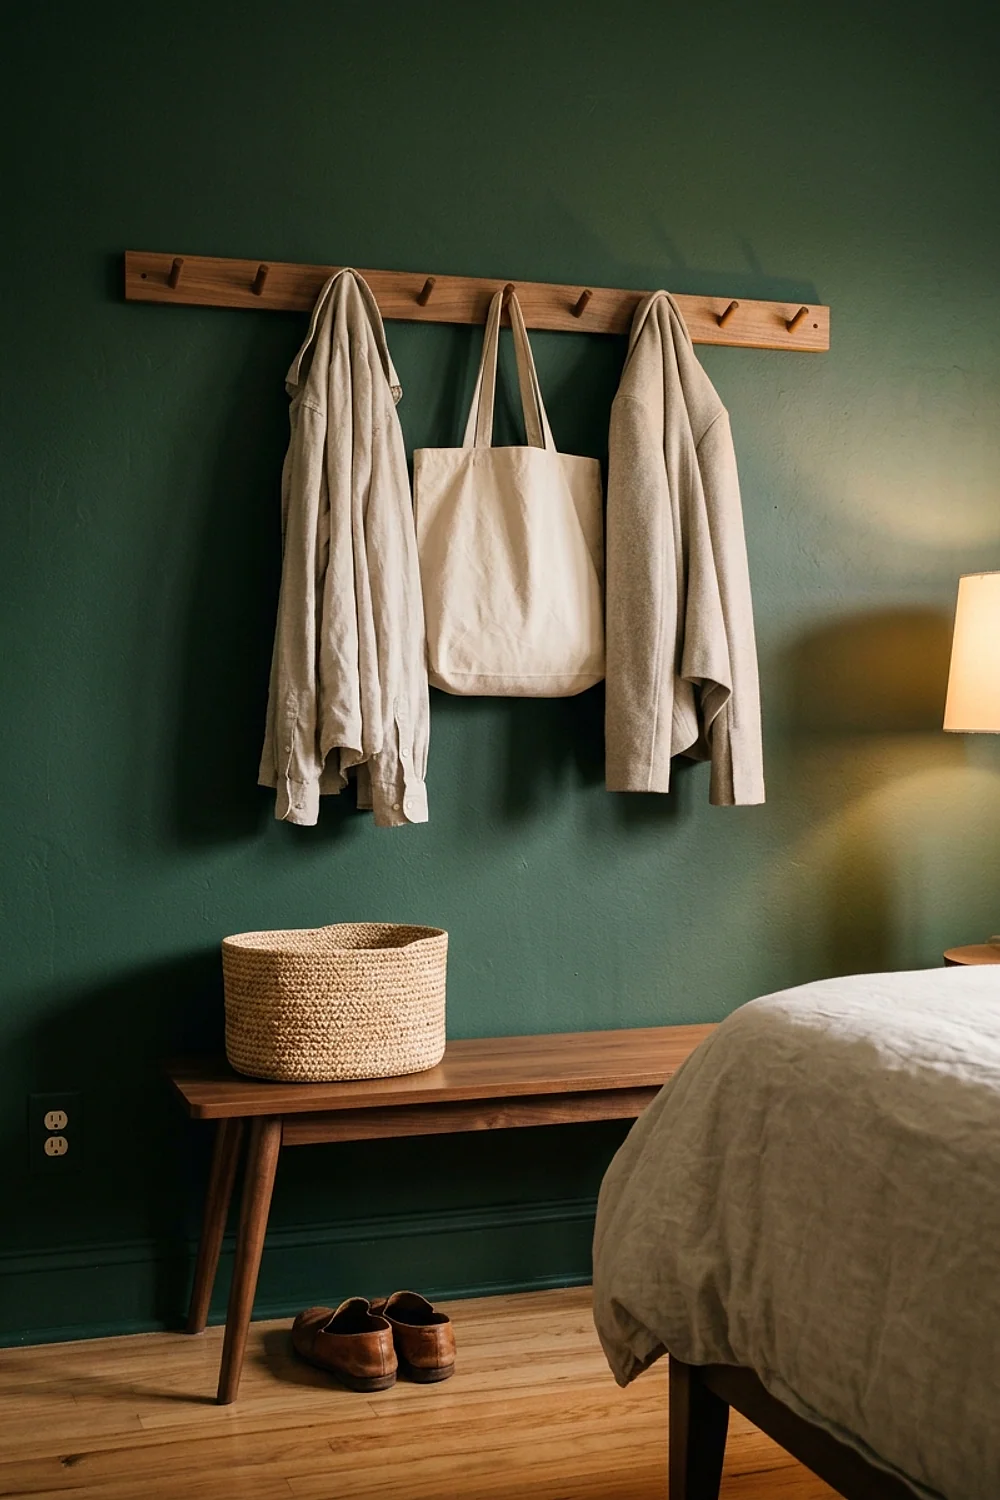
The chair holding yesterday’s jeans is a dust shelf. A 36-inch 1×4 poplar board with four Shaker pegs, mounted about 60 inches up, gives worn clothes somewhere to hang and air out.
Beginner project, about an hour. Use a drill with a 3/8-inch bit, a level, and wall anchors if you can’t find studs.
Don’t overload it. Four hooks is plenty, and a fifth jacket is the moment the rail turns back into the chair.
19. A lidded galvanized hamper with a cotton liner
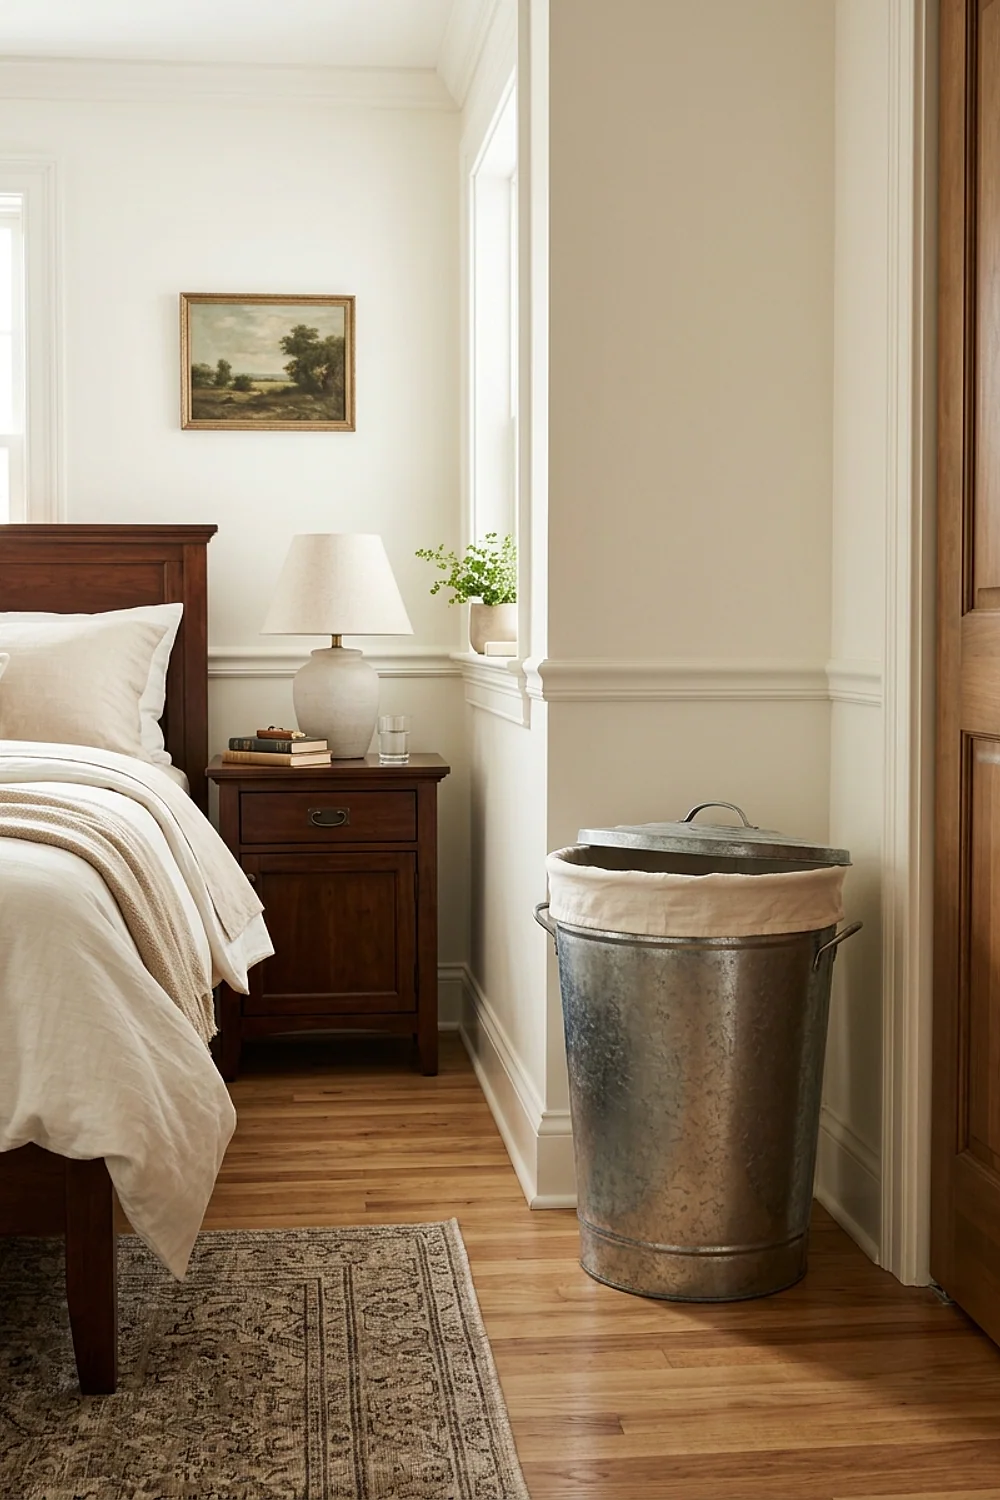
A lidded bin keeps worn laundry from scattering skin flakes and odors around the room. A drawstring cotton liner, sewn from about a yard of fabric, protects the metal and goes into the wash with everything else.
Beginner level, 30 minutes with a machine or iron-on hem tape. It suits small bedrooms where the hamper sits in plain view.
Don’t let the liner stay damp. A wet towel at the bottom can leave rust marks on bare galvanized steel.
20. Envelope pillow covers with washable inserts

An 18-inch insert in a 19-inch envelope cover looks full and tidy. Cut one 19-inch square for the front and two 19 by 14 panels for the back, overlapping them by 5 inches.
No zipper makes this a beginner project at 30 minutes per cover. Choose polyester-fill inserts you can machine wash, because down feathers can trigger allergies for some sleepers.
Hem the overlapping edges. An unfinished edge unravels within a few washes.
21. A box-fan air filter, built in half an hour

A 20-inch box fan and four 20 by 20 by 1 inch MERV 13 filters, about $55 total, make a DIY air cleaner often called a Corsi-Rosenthal box. Taped into a cube, with a cardboard top, it moves a large volume of air through the filters.
Beginner work: a box cutter, duct tape, and 30 minutes. Point every airflow arrow inward toward the fan.
It’s louder than a bought purifier, so it works best on low overnight or on high while you’re out.
22. Muslin garment covers for off-season clothes

Wool coats and heavy sweaters packed in plastic trap moisture and invite mildew. A 54-inch muslin cover folded to a 60-inch length breathes while keeping dust off.
Beginner-to-intermediate, about an hour each with a machine and a zipper or snap placket. It’s the right answer for a shallow closet that’s crammed from October to April.
Store clothes completely dry. Even breathable muslin can’t fix a damp coat.
23. A sealed cork pinboard wall
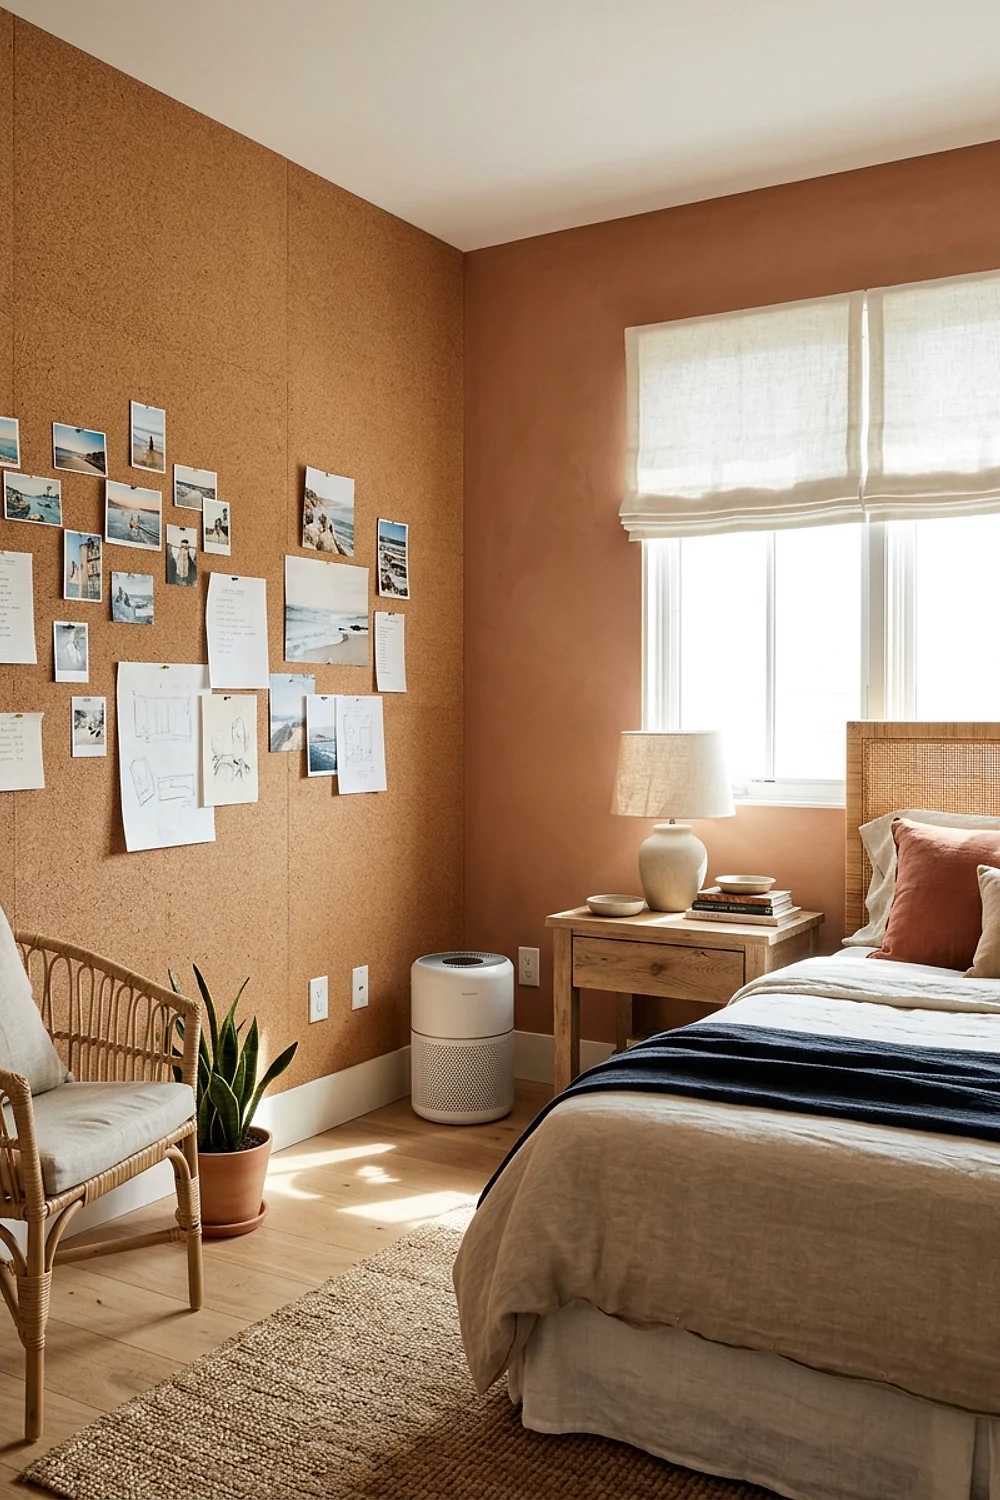
Twelve 12-inch cork tiles in a 3 by 4 grid make a 36 by 48 inch board. Cork resists mildew and doesn’t shed lint the way a fabric-wrapped board does.
Beginner project, about 90 minutes with a utility knife, a level, and a notched trowel for adhesive. Brush on a water-based sealer afterward.
Unsealed cork crumbles at the edges over time, so the sealing step shouldn’t be skipped.
24. A dresser refinished in warm white enamel

A warm white with a yellow undertone looks soft in morning light, while a blue-white can read cold. A quart of zero-VOC enamel, about $25, covers a standard 6-drawer dresser.
This is intermediate and takes a full weekend: sanding with 220 grit, wiping with a tack cloth, priming, and two thin coats applied with a foam roller.
Prime glossy veneer first, then let the finish cure for a week before loading the drawers. Sticky enamel traps dust.
25. Bed risers to open up the floor underneath
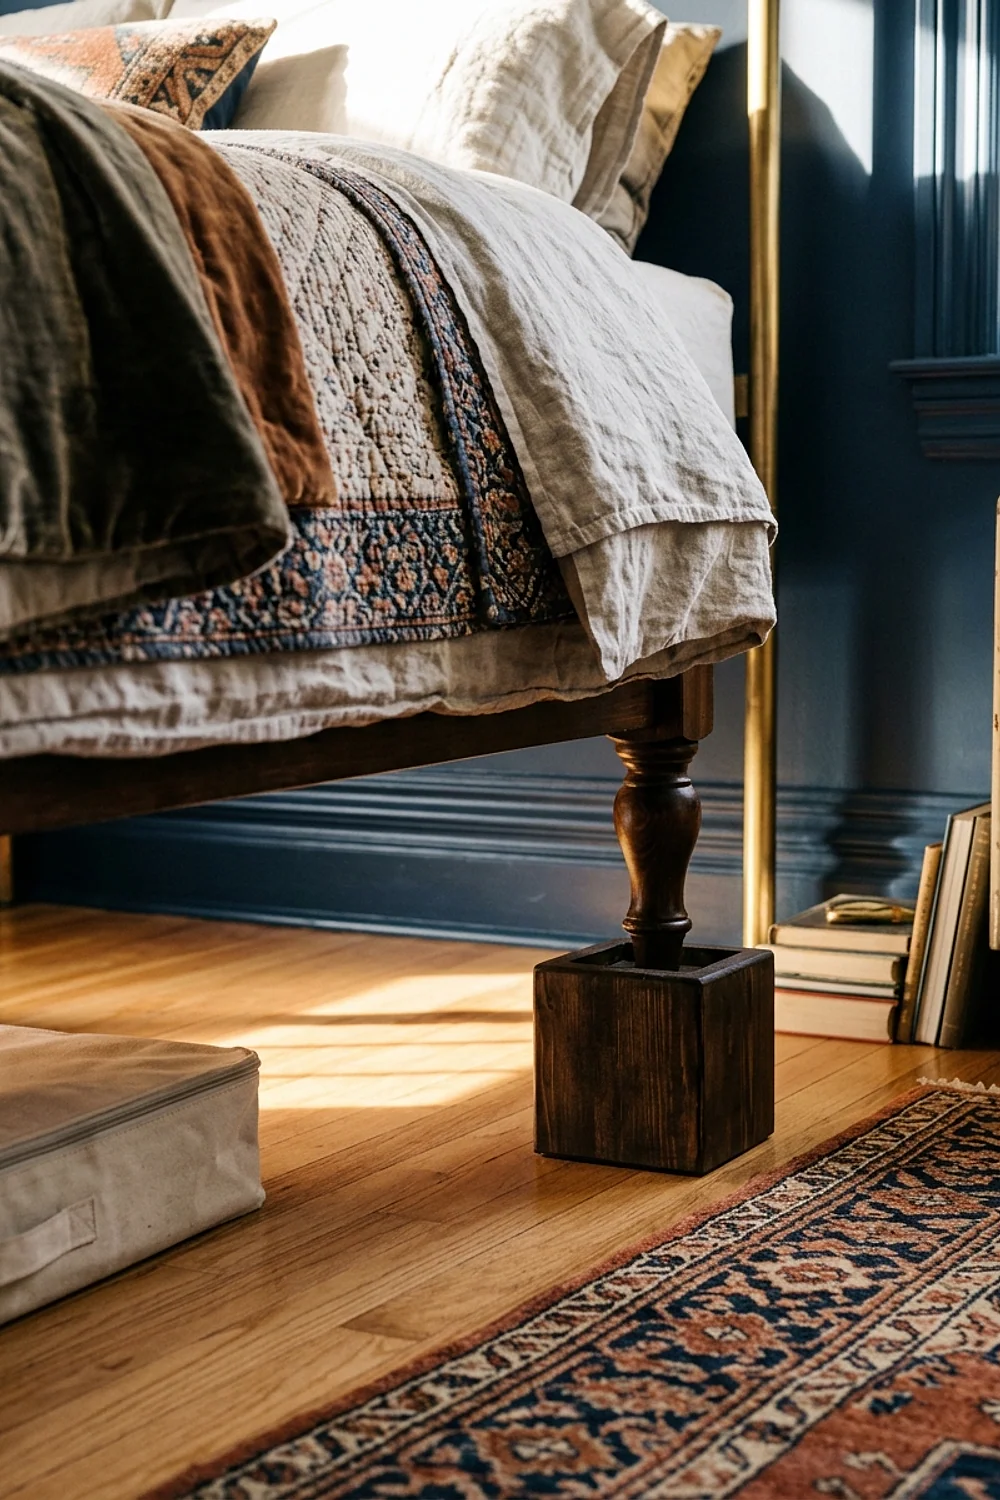
Most frames leave only 6 to 9 inches of clearance, and a vacuum head needs about 10. Rated risers, lifting the bed 3 to 6 inches, bring it into range.
It’s a beginner fix at 15 minutes with a helper and no tools. It suits standard slat-and-leg frames with a gap underneath, not solid platform bases.
Check the weight rating for two adults plus a mattress. Anything stacked past 8 inches starts to wobble.
26. A picture ledge cut from a 1×4
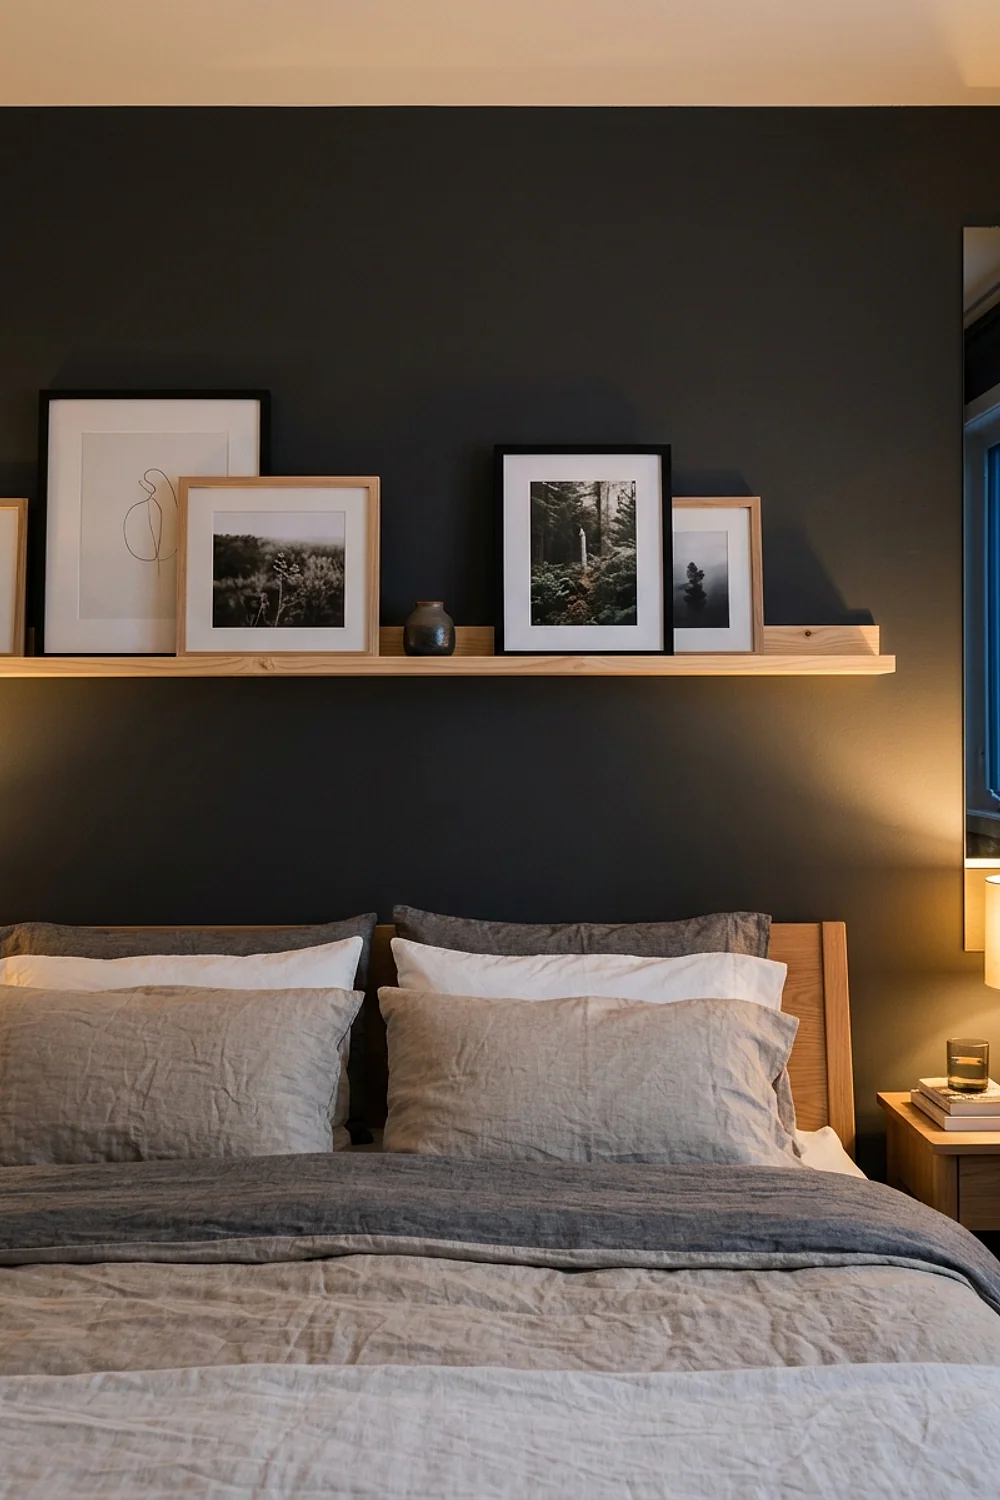
A 1×4 board with a thin lip glued along the front holds frames without nail holes. Sealed and painted, the shelf wipes clean in seconds.
Beginner level, about 45 minutes with a saw (or a hardware store’s free cut), a drill, a level, and screws. Make it 36 to 60 inches long.
Leave 2 inches between frames. Crowded ledges become dust traps you’ll avoid cleaning.
27. Frosted film on the lower window panes

At 4pm, a frosted lower pane turns harsh street-level glare into something soft, and no fabric is involved. Static-cling film goes on with a spray bottle of water and a drop of dish soap.
Beginner project, 30 minutes, with a squeegee and a utility knife. It suits street-facing windows where you’d otherwise hang lace.
Cut the film 1/8 inch smaller than the glass. Edge-to-edge sizing makes it curl at the corners.
28. Caulk along the baseboard, finished properly
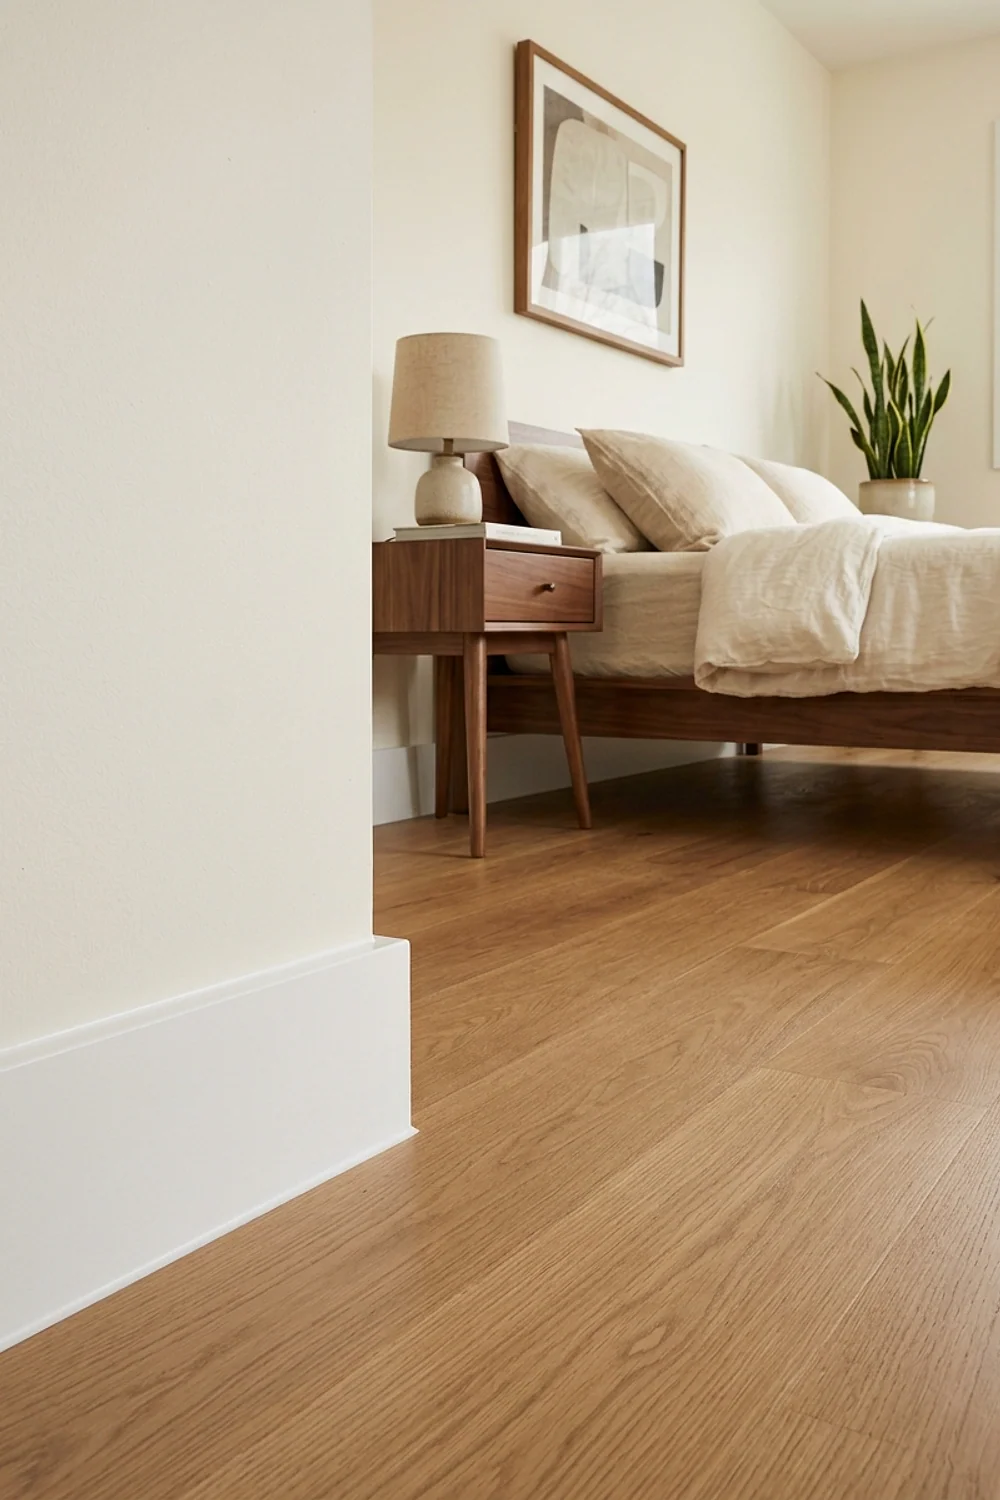
A 1/8-inch gap between baseboard and floor is a dust highway. Paintable acrylic latex caulk, about $6 a tube, seals it in an hour with a caulk gun, painter’s tape, and a damp finger.
Washing every sheet and leaving that gap is the interior-design version of locking the front door and leaving a window open. Half-measures are tempting because they’re fast, and they’re the reason the sneezing comes back.
Beginner level. Tape both sides of the seam, run one steady bead, and pull the tape before the caulk skins over.
The pieces that changed everything
Most of the 28 projects share the same supplies, and a starter kit runs about $120 if you own nothing. Buy it once and every project gets cheaper.
Here’s what covers most of the list:
- Sewing: a basic machine, zipper foot, pins, a rotary cutter, and cotton percale, muslin, or canvas.
- Woodwork: drill/driver, 4-foot level, stud finder, 220-grit sandpaper, and wood glue.
- Finishing: zero-VOC paint, water-based polyurethane, painter’s tape, and a 9-inch roller.
- Cleaning gear: microfiber cloths, a HEPA vacuum, and a spray bottle.
Wash all new fabric before cutting. Sizing chemicals and loose fibers wash out in the first cycle, not the tenth.
Plan the weekend in the right order
Anything that needs drying time goes first, and anything that needs a clean room goes last. Here’s an order that works.
- Friday night: wash all fabric at the hottest setting it tolerates, and start any sealer or paint.
- Saturday morning: sand, prime, and apply the second coats.
- Saturday afternoon: sew while the finishes dry.
- Sunday morning: mount shelves, hang curtains and sconces, and install the roller shade.
- Sunday afternoon: vacuum with a HEPA filter, wipe every hard surface, and make the bed.
When DIY isn’t worth it
Honestly, a few things are better bought than built. A certified mattress encasement, tested for pore size and zipper seal, runs roughly $40 to $100 and beats a homemade version.
- True HEPA purifiers: the box-fan version is helpful, but it isn’t a certified device.
- Hardwired lighting and outlets: hire an electrician.
- Sanding paint in a pre-1978 home: test for lead first.
- Visible mold or musty walls: that’s remediation, not decor.
If a project is still unfinished after two weekends, it’s no longer saving money. Buy the finished version and move on.
Upkeep that keeps hypoallergenic bedroom decor working
Hypoallergenic bedroom decor only stays that way if the washing happens. Sheets and pillowcases go in weekly at the hottest safe setting, and pillow protectors, curtains, and throws go in monthly.
Wipe sealed wood, enamel, and glass every week with a damp microfiber cloth. Vacuum floors and under the bed with a HEPA-filter vacuum, and shake out the rug outdoors.
Twice a year, pull the bed away from the wall and wipe the baseboards. It takes ten minutes, and it’s where the dust you couldn’t see has been waiting.
Pick one project and finish it
Hypoallergenic bedroom decor doesn’t require a full renovation. A pair of pillow protectors, a sealed baseboard, and a washable curtain already change what you breathe overnight.
Save or pin this list so it’s ready when the weekend arrives. Start with the pillow protectors, and measure your pillows before buying fabric.
Frequently asked questions
Does hypoallergenic bedroom decor have to be all cotton?
No. Weave density and washability matter more than the fiber. Tightly woven cotton, linen, and washable polyester all suit hypoallergenic bedroom decor, while heavy pile, feather fill, and dry-clean-only fabrics are harder to keep clean.
Will hypoallergenic bedroom decor help with pet dander?
It helps, because smooth, washable surfaces give dander fewer places to settle. Keep pets off the bed, wash covers weekly, and run a HEPA vacuum, since dander clings to fabric the way dust does.
How often should I wash bedding and covers?
Wash sheets and pillowcases weekly at 130°F (54°C) when the fabric allows it. Pillow protectors, duvet covers, and curtains need washing about once a month.
Can I do these projects in a rental?
Yes, many of them. Window film, felt glides, bed risers, the box-fan filter, slipcovers, rugs, and sewn bedding need no wall damage. Ask your landlord before drilling or repainting.